A quality tile cutting saw turns one of the most intimidating parts of a tiling project into a straightforward task, and choosing the right one depends on your material, project size, and budget. Most homeowners reach for a wet saw, which uses a water-cooled diamond blade to slice through porcelain, ceramic, stone, and glass without cracking or overheating.
Understanding the differences between saw types, blade quality, and features helps you avoid buying more machine than you need, or worse, one that chips every cut. This guide walks through everything from motor power to cutting technique so your tile edges come out clean and square.
Wet Saws vs. Other Cutting Tools
The category splits into a few tools. A wet saw looks like a small table saw with a water reservoir; the diamond blade spins into a tray of water that cools the blade and suppresses dust. Manual snap cutters, by contrast, score and break tile without power or water, and angle grinders with diamond blades handle rough or curved cuts.
For dense porcelain, natural stone, or large-format tile, a wet saw is the clear winner because the water keeps the blade from glazing over and the tile from chipping. Snap cutters work well for straight cuts in softer ceramic under about 3/8 inch thick, but they struggle with thick porcelain and cannot make notches or L-cuts.
Types of Tile Saws
Wet saws themselves come in several formats sized to different jobs. Picking the right footprint matters as much as picking the right blade.
- Tabletop wet saws: Compact and affordable at roughly $80 to $250, ideal for backsplashes and small floors. Cutting capacity is often limited to tiles around 12 inches on the diagonal.
- Sliding-tray or rail saws: The tile rides on a moving tray past a fixed blade, improving accuracy on cuts up to 24 inches or more. Expect $300 to $800.
- Bridge or overhead-motor saws: The motor slides on a rail above the tile, handling large-format and heavy stone. These are pro-grade at $500 to $1,500 and up.
- Handheld wet saws: Cordless models for trim cuts and touch-ups, useful but not a primary tool for a full floor.
Key Features to Consider
Motor power tells you what the saw can handle. A 1/2 to 3/4 horsepower motor suits most homeowner ceramic and porcelain work, while dense stone and repeated cuts benefit from a full 1 to 2 horsepower. Look at the maximum cutting length and diagonal capacity to be sure your largest tile fits.
A few features separate a frustrating saw from a pleasant one. Adjustable rip fences and miter guides deliver repeatable, accurate cuts. A 45-degree bevel tilt lets you miter edges for clean outside corners. Solid, splash-contained water delivery keeps your workspace and lungs cleaner, and a sturdy steel or cast tabletop reduces vibration that causes chipping.
Choosing the Right Blade
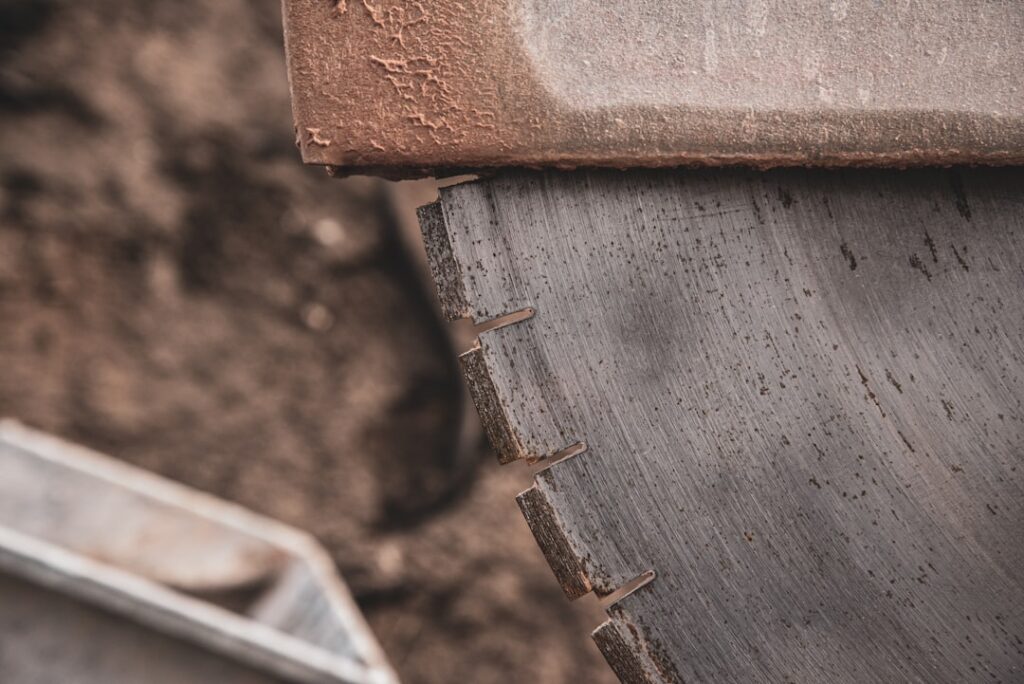
The blade matters more than most people expect. Tile saws use continuous-rim diamond blades rather than toothed blades, and blade quality directly controls chipping. A cheap blade on a good saw still produces ragged edges.
- Continuous rim: Smoothest cuts for ceramic, porcelain, and glass; the default choice for finish work.
- Segmented rim: Faster and cooler for thick stone, but leaves a rougher edge.
- Turbo rim: A middle ground that balances speed and edge quality.
Match blade diameter to your saw, commonly 7 inches or 10 inches. Replace blades when cuts slow down or edges start chipping, since a worn diamond rim generates heat and cracks tile. A good porcelain blade costs $25 to $80 and lasts through many projects if kept wet.
How to Use a Tile Saw Safely
Fill the reservoir until the blade’s lower edge sits in water, and confirm water flows onto the blade before every session; a dry blade overheats within seconds. Wear safety glasses, hearing protection, and keep loose clothing and cords clear of the blade path.
Feed the tile slowly and let the blade do the work rather than forcing it. Pushing too fast chips the edge and stresses the motor. For the smoothest finish, slow down as the blade exits the far edge of the tile, where breakout is most likely. Keep fingers at least a few inches from the blade and use a push stick for narrow cuts.
- Mark your cut line with a pencil or grease marker and align it with the blade before feeding.
- Cut with the glazed, finished face up on most saws so any minor chipping lands on the back.
- Make plunge or notch cuts by lowering the tile onto the blade gradually, never all at once.
Renting vs. Buying
Cost drives this decision. Home centers rent tile saws for roughly $40 to $70 per day, which makes sense for a one-time bathroom floor. If you tackle multiple rooms or plan future projects, buying a $150 to $300 tabletop saw pays for itself in a few rentals.
Consider storage and cleanup too. Wet saws are messy and need rinsing and drying after each use to prevent rust. For a single small backsplash of straight cuts, a $25 manual snap cutter may be all you need, but any porcelain, stone, or L-shaped cuts justify a real tile cutting saw.
Maintenance and Longevity
Clean the saw after every project. Drain and rinse the water tray to remove the fine slurry that hardens into a cement-like residue, and wipe the table dry to prevent corrosion. Check that the blade spins freely and remains true, replacing it at the first sign of chipping.
Store the saw in a dry space and periodically confirm the fence and miter guide stay square with a small framing square. A well-maintained tile cutting saw easily lasts a decade of occasional homeowner use, and the diamond blades are the only regular consumable. Treat the machine well and it rewards you with clean, professional cuts on every project.
Making Different Types of Cuts
Straight rip and crosscuts are the everyday work, but a few specialty cuts come up on nearly every project. Diagonal cuts for a floor pattern rely on the miter guide set to 45 degrees. Notch or L-cuts, needed where tile wraps around a window or outlet, require cutting from two directions and stopping precisely at the intersection.
For curved cuts around a toilet flange or pipe, mark the curve, make a series of straight relief cuts up to the line, then nibble away the waste with the blade or finish with tile nippers. Holes for shower valves are best drilled with a diamond hole saw rather than cut on the tile saw. Practice these cuts on scrap first, since a ruined tile costs far less than a ruined finished wall.
- Bevel or miter cuts create clean 45-degree outside corners without visible tile edges.
- Plunge cuts open up niches and outlet cutouts in the middle of a tile.
- Relief cuts make tight curves manageable on a straight-blade saw.
Common Mistakes to Avoid
Running a saw dry, even briefly, tops the list of errors because it overheats the blade, dulls the diamonds, and cracks the tile. Confirm water contact before every cut. Feeding too aggressively is the second big mistake; it chips edges and bogs down the motor.
Beyond technique, homeowners often mismatch blade and material, using a general blade on hard porcelain and wondering why every edge chips. They also skip squaring the fence, producing cuts that look fine on the saw but reveal a gap once installed. Take a minute to verify the fence is parallel to the blade and your cuts stay accurate all day.
Final Thoughts
Selecting a tile cutting saw comes down to your material and volume of work. A tabletop wet saw with a quality continuous-rim blade covers the vast majority of home projects, while heavier stone and large-format tile justify a rail or bridge saw. Prioritize blade quality, keep water flowing, feed slowly, and you will get chip-free edges that make your finished tile look like a pro handled it.
Prefer to explore on your own?
See how new flooring looks in your actual room in seconds — free, no signup.
Try the free Floor Studio →