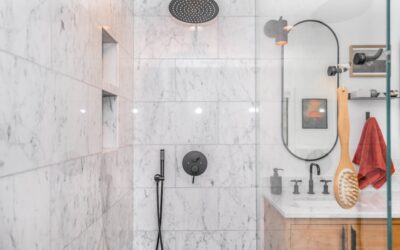
A well-built tiled shower is the centerpiece of a modern bathroom — open, bright, easy to step into, and endlessly customizable. A tiled walk in shower gives you design freedom no prefab surround can match, from floor-to-ceiling large-format porcelain to hand-set mosaic accents, plus the accessibility of a low or curbless entry. But behind the beautiful tile is a system of waterproofing and drainage that has to be done right, because a shower that leaks fails invisibly inside your walls. This guide covers tile choices, waterproofing, layout, cost, and the build process so your shower is as durable as it is good-looking.
Part of our Bathroom Remodeling & Flooring guide — explore the full guide →
Why Choose a Tiled Walk-In Shower
- Design flexibility: unlimited tile materials, sizes, colors, patterns, niches, and benches.
- Accessibility: low-threshold or curbless entry removes the trip hazard of a tub wall.
- Open, spacious feel: a glass-walled tiled shower makes a bathroom look larger and brighter.
- Resale appeal: a custom tiled shower is a premium feature buyers notice.
- Longevity: properly built, a tiled shower lasts decades with only grout and seal upkeep.
Choosing the Right Tile
Not every tile belongs in a shower, and the floor and walls have different demands.
Wall Tile
Walls have the widest options because they do not need slip resistance. Porcelain and ceramic are the workhorses — durable, water-resistant, and affordable. Large-format tiles (12×24 inches and up) minimize grout lines for a clean, low-maintenance look. Natural stone like marble is stunning but porous, requiring sealing and gentler cleaners. Glass mosaics make beautiful accent bands.
Floor Tile
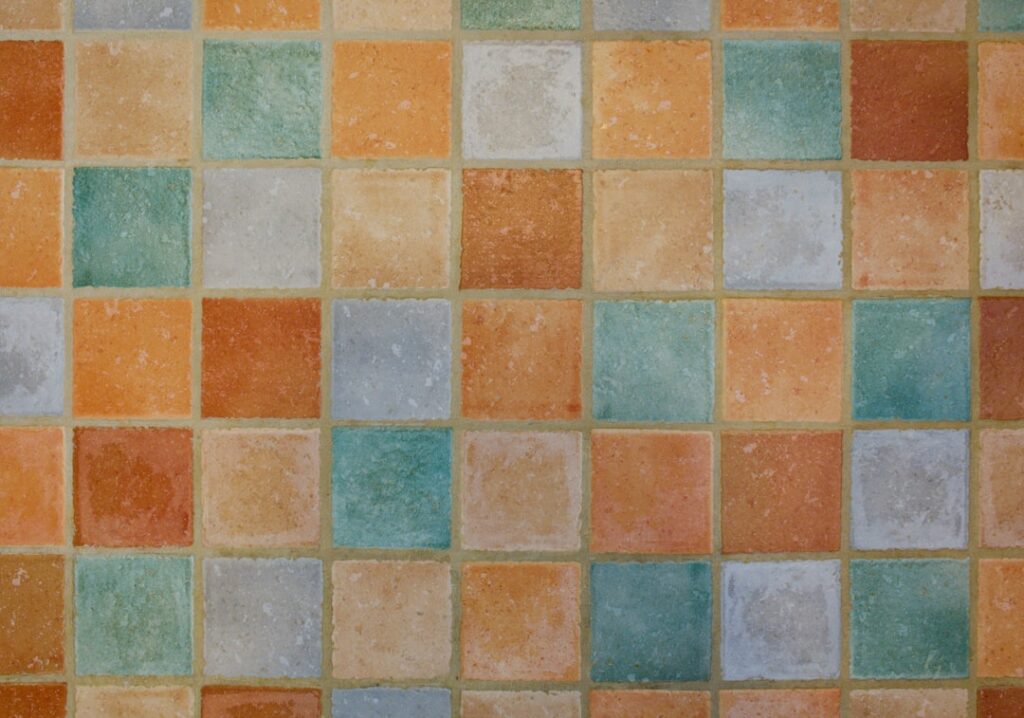
Shower floors must resist slips when wet. Choose tiles with a high slip rating and, importantly, smaller tiles — 2-inch mosaics or penny rounds — because the extra grout lines add traction and let the floor conform to the slope toward the drain. A glossy 12-inch tile on a shower floor is a fall waiting to happen. Match a porcelain floor mosaic to your larger wall tile for a coordinated look with safe footing.
Waterproofing: The Non-Negotiable Core
This is where showers succeed or fail. Tile and grout are not waterproof — water passes through grout over time — so a continuous waterproof layer behind and beneath the tile is what actually keeps water out of your structure. Modern showers use one of two approaches:
- Sheet or liquid membrane systems (such as foam board or a rolled-on/painted membrane over cement board) create a bonded, waterproof surface that tile adheres to directly. These are the current standard for reliability and speed.
- Traditional mortar bed with a liner uses a sloped mud base over a rubber pan liner and a weep-hole drain. It is proven but more labor-intensive and less forgiving of errors.
The floor requires a properly sloped base — about 1/4 inch of fall per foot toward the drain — and the waterproofing must be continuous from the pan up the walls, sealed at every corner, seam, and penetration. Curbs, benches, and niches are the most common leak points and demand extra care. If you take one thing from this guide, let it be that waterproofing cannot be rushed or skipped.
Planning the Layout
Good layout is planned before the first tile goes up. Consider:
- Shower size: aim for at least 36×36 inches; 42×60 or larger feels genuinely spacious. Curbless designs need proper floor slope and drainage planning.
- Niche placement: build a recessed niche for bottles at a comfortable height, aligned with your tile grid so cuts look intentional.
- Bench or seat: a built-in bench adds comfort and accessibility; it must be waterproofed and sloped slightly so water sheds.
- Drain type: a center point drain is simplest; a linear drain along one wall allows a single-slope floor and larger floor tiles, and suits curbless entries.
- Glass: a fixed panel or frameless door keeps the open feel; plan blocking in the walls for anchoring.
Dry-lay your tile and plan the layout so cuts fall in inconspicuous spots and full tiles land at focal points like the niche and the entry.
The Build Process
- Frame and prep: ensure walls are plumb and add blocking for the niche, bench, grab bars, and glass.
- Set the pan: install a pre-sloped shower base or build a sloped mortar bed to the drain.
- Waterproof: apply the membrane system continuously across floor and walls, sealing all seams, corners, and the drain flange.
- Flood test: plug the drain and fill the pan to check for leaks before tiling — a step pros never skip.
- Tile the walls and floor: set tile in thinset, keeping consistent spacing and slope, starting from a level layout line.
- Grout and seal: grout the joints, then seal natural stone and, if desired, the grout lines.
- Silicone and glass: caulk all changes of plane with mildew-resistant silicone and install the glass enclosure.
What a Tiled Shower Costs
Cost varies with tile choice, size, and complexity:
- Budget build: roughly $3,000 to $6,000 with basic ceramic tile and a standard glass door.
- Mid-range: about $6,000 to $12,000 with porcelain, a niche and bench, and frameless glass.
- High-end: $12,000 to $20,000 or more with natural stone, large-format tile, curbless entry, and premium glass.
Waterproofing and tile labor are the biggest cost drivers, and skilled tile setting is worth paying for. Fancy patterns, natural stone, and curbless designs all add labor.
Maintenance for a Long Life
A tiled shower is easy to keep up if you stay ahead of it. Squeegee the walls after showers to cut down on water spots and soap scum. Clean with a pH-neutral cleaner rather than harsh acids that can etch stone and erode grout. Reseal natural stone and grout periodically — annually is a good rhythm in a busy shower. Watch the silicone at corners and replace it when it discolors or pulls away, since those seams are your first line of defense against water intrusion.
DIY or Hire a Pro?
Tiling walls is within reach for a skilled DIYer, but the waterproofing and pan work are where mistakes turn into hidden water damage that costs far more than the shower saved. If you are experienced with tile and willing to learn a proper membrane system and flood-test your pan, a DIY tiled walk-in shower is achievable. For most homeowners, hiring an experienced tile setter — or at least a pro for the waterproofing and pan — is the smart move. Get the hidden work right, choose slip-safe floor tile, and your tiled walk-in shower will stay watertight and beautiful for decades.
Choosing the Right Grout and Sealant
Grout choice affects both looks and maintenance more than most people expect. Traditional cement grout is affordable and comes in many colors, but it is porous and needs periodic sealing to resist staining and mildew. Epoxy grout costs more and is harder to install, but it is essentially waterproof, stain-resistant, and never needs sealing — a strong choice for a shower floor and busy walls. Many homeowners split the difference, using epoxy grout on the floor where water pools and cement grout on the walls.
For the changes of plane — where the wall meets the floor, inside corners, and around the bench — never use grout. Those joints move slightly and must be filled with a mildew-resistant silicone caulk that flexes without cracking. Grout in a corner will crack and open a path for water, so keep grout on the flat field and silicone at every corner and transition.
Frequently Asked Questions
How long does a tiled shower last? Built correctly with proper waterproofing, a tiled shower lasts 20 years or more. The tile itself far outlives the grout and silicone, which are the parts you refresh over time.
Can I tile over an existing shower? Tiling over old tile is risky because you cannot verify the waterproofing beneath. The reliable approach is to demo down to the studs and install a fresh membrane system.
What size floor tile is safest? Small tiles — 2-inch mosaics or penny rounds — add grout lines for traction and conform to the slope toward the drain, making them far safer underfoot than large glossy tiles.