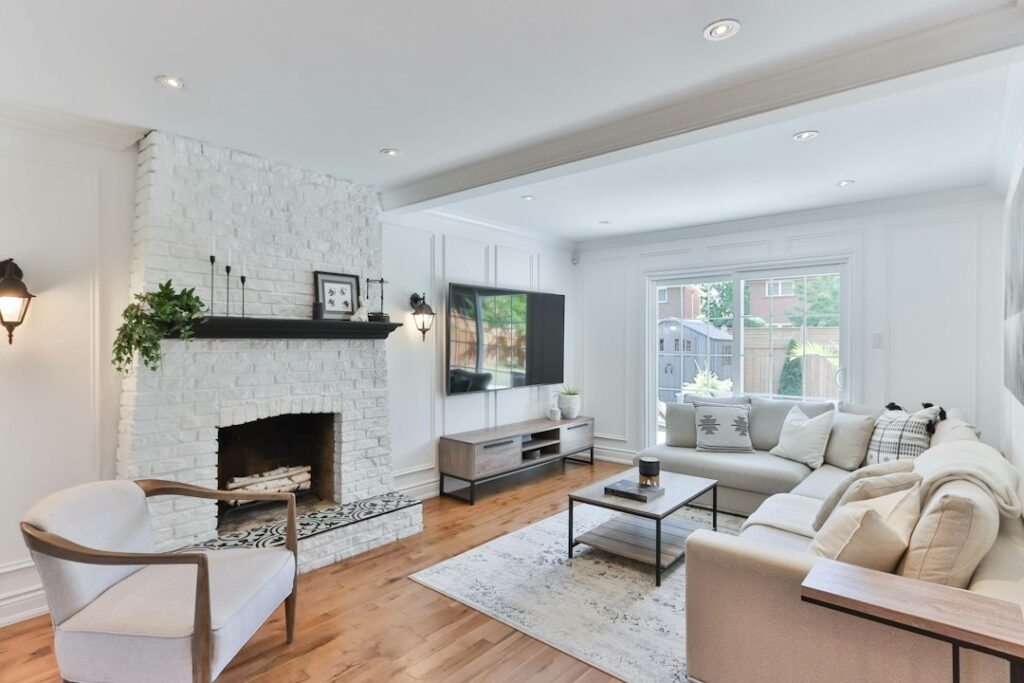
A flat 8 foot ceiling makes a room feel like a box. Raise the center a few inches, or drop the perimeter, and the same room suddenly has depth and a focal point. That is the whole idea behind tray ceiling designs: a recessed center panel framed by a lower border, sometimes with one step and sometimes with several, often lit from inside the edge. The design you pick depends on how much height you have, how the room is framed and how much drama you want overhead.
In practice there are five main tray ceiling types: the single step tray, the double tray, the angled (or sloped) tray, the coved tray and the round or oval tray. Each works best in certain rooms and at certain ceiling heights. A single step needs the least height and budget, while double and round trays look best in rooms with ceilings of 9 feet or more and usually require framing changes.
Comparing Tray Ceiling Designs at a Glance
Every tray has the same basic anatomy: a perimeter soffit or border, a vertical or sloped riser, and the raised center field. What changes is the shape of the riser and the number of steps.
| Design | Typical depth | Best rooms |
|---|---|---|
| Single step | 6 to 12 in | Bedrooms, dining rooms |
| Double tray | 12 to 24 in total | Great rooms, primary suites |
| Angled tray | 12 to 30 in | Living rooms, rooms under trusses |
| Coved tray | 8 to 16 in | Dining rooms, formal spaces |
| Round or oval | 6 to 12 in | Dining, foyers, over islands |
Single step tray
The classic version: one vertical riser between the border and the center. It is the simplest to frame and finish, and a contrasting paint color or crown molding on the riser makes it look custom. A single step that rises 6 to 8 inches is enough to change the feel of a bedroom.
Double tray ceiling
A double tray ceiling adds a second, smaller step inside the first, creating a layered wedding-cake effect. It needs more vertical space and more precise layout because both rectangles must stay parallel and evenly spaced. Each step can carry its own crown or a hidden light channel, so the double tray is the go-to for large primary bedrooms and great rooms.
Angled tray ceiling
An angled tray ceiling replaces the vertical riser with a sloped plane, usually at 30 to 45 degrees. Builders often use this design because it follows the bottom of scissor or raised-heel trusses, which makes it common in newer homes. The slope reads softer than a vertical step and can hold a lot of height in a small border.
Coved tray
Here the riser is a smooth curve instead of a flat face. Coves are built with flexible drywall, plaster or pre-formed cove molding. They are harder to finish cleanly but give an elegant, traditional look and spread indirect light evenly across the center.
Round and oval trays
A circular or oval recess is a strong centerpiece over a dining table, a foyer or a kitchen island. These need curved framing and flexible drywall, so they cost more per square foot than rectangular trays of similar size.
Height Requirements and Proportions
Ceiling height is the main constraint. A tray that drops the perimeter makes the edges of the room lower, so check how much headroom the border leaves. As a working guide:
- 8 foot ceilings: only a shallow single step of 4 to 6 inches made by dropping the border, or a recessed tray if there is space in the attic above.
- 9 foot ceilings: single step trays of 6 to 12 inches look balanced.
- 10 feet and up: double, coved and round trays have room to work.
Keep the border wide enough to look intentional, typically 12 to 24 inches in a bedroom and up to 36 inches in a large living room. The center field should roughly echo the shape of the room. In a long rectangular room, a rectangular tray looks better than a square one.
Room-by-Room Ideas
Kitchen tray ceiling
A kitchen tray ceiling works best centered over the island or the main work zone rather than the whole room, since wall cabinets often run close to the ceiling. Keep the border level with or just above the cabinet tops, and plan recessed lighting and pendant boxes before framing. Use a scrubbable paint sheen near the range because grease and steam will reach the riser.
Living room tray ceiling
A living room tray ceiling can define a seating area in an open floor plan. Align the tray with the main furniture grouping or fireplace wall, not just the room walls, and consider an angled or double tray in rooms with taller ceilings. A ceiling fan mounted in the center of the tray should hang with blades at least 7 feet above the floor.
Bedrooms and dining rooms
A single step tray with a darker or warmer color in the center field makes a bedroom feel calmer. In dining rooms, coved and round trays frame a chandelier and give the room a formal look.
Lighting and Finish Choices
Hidden lighting is what makes many tray ceiling designs come alive. A small ledge or channel along the inside of the riser can hold LED strip light that washes the center field with soft, indirect light. Use a low-voltage LED system with a listed driver sized for the total strip length plus some headroom, keep the driver in an accessible, ventilated spot and never bunch or coil excess strip inside the channel. The power feed for the driver is line voltage, so the driver location and any new switch or circuit should be wired by a licensed electrician, with the breaker off and the circuit confirmed dead with a non-contact voltage tester first.
For paint, the usual approach is a lighter color in the center to lift it visually, or a deeper color or metallic finish for drama. Crown molding at the top of the riser, a picture-frame trim on the border or wood planks in the center field add more texture.
Building a Tray: Framing Basics and Structural Limits
There are two ways to create a tray. The first is to build down: frame a soffit around the perimeter from 2x lumber or metal studs, fastened to the existing ceiling joists, and cover it with drywall. This is the usual retrofit approach and does not touch the structure. The second is to build up: raise the center into the attic space by altering joists or using special trusses. Cutting, heading off or removing joists or truss members to recess a ceiling is a structural change that needs an engineer’s design and a permit. Trusses in particular should never be cut without an engineered repair.
Plan for the soffit weight, insulation and air sealing at the riser, and any HVAC ducts or wiring in the way. In older homes, test plaster and popcorn texture for asbestos and old paint for lead before cutting into the ceiling. Work from a stable ladder or scaffold, wear eye protection, and use two people or a drywall lift for overhead panels.
Troubleshooting Common Tray Problems
- Tray looks crooked: walls are rarely square. Lay out from room center lines and use a laser, not the walls.
- Cracks at riser corners: usually framing movement or thin tape joints. Use corner bead and set-type compound at outside corners.
- Hot spots in LED light: the strip is too close to the visible edge. Move it back or use a diffuser channel.
- Room feels lower: the border is too deep or too dark. Paint the border to match the walls and keep the center lighter.
Cost Ranges
A simple single step soffit built down from an existing ceiling is the least expensive option, often in the range of a few to the low teens of dollars per square foot of ceiling when hired out. Double, coved and round trays, and any design that requires structural changes, cost several times more because of extra framing, finishing and engineering. Hidden lighting and crown molding add to the total.
When to Call a Pro
Use a contractor for any tray that alters joists or trusses, any curved design and ceilings over 10 feet. A structural engineer and permit are required for changes to framing, and a licensed electrician should handle new lighting circuits, switches and LED drivers.
Frequently Asked Questions
What are the main tray ceiling types?
The common types are single step, double tray, angled or sloped, coved and round or oval. They differ in the shape of the riser and the number of steps.
Can you put a tray ceiling in a room with 8 foot ceilings?
Yes, but keep it shallow, about 4 to 6 inches, or recess it into the attic with an engineered framing change. Deep trays make an 8 foot room feel cramped.
How deep should a tray ceiling be?
Most single step trays are 6 to 12 inches deep. Double trays often total 12 to 24 inches, split between the two steps.
Is an angled tray ceiling cheaper than a stepped one?
In new construction an angled tray can be economical because it follows the truss shape. As a retrofit, it usually costs about the same or more than a simple step.
Do tray ceilings need special lighting?
No, but indirect LED strip lighting in the riser or recessed lights in the border are popular. New wiring should be installed by a licensed electrician.