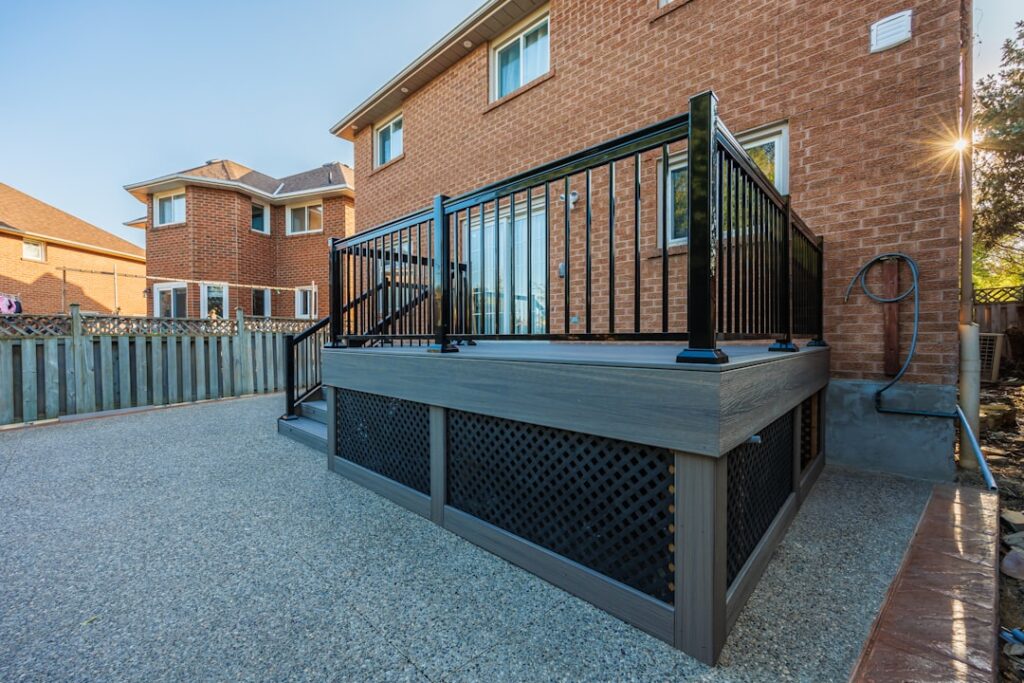
Vinyl deck covering is a rolled PVC membrane that bonds directly to a plywood deck to create a fully waterproof, walkable surface. If you have a second-story deck sitting over a garage, sunroom, or finished living space, a vinyl deck covering is often the single best way to stop water from ever reaching the room below. I have torn out plenty of rotted framing that started with a deck someone thought was “good enough,” and the fix always costs more than doing the membrane right the first time. This guide walks through the products, the slope you need, substrate prep, seam welding, real costs, and whether you should tackle it yourself.
Part of our Decks & Outdoor guide — explore the full guide →
What Vinyl Deck Covering Actually Is
The product is a reinforced PVC sheet, usually 50 to 60 mil thick, sold in rolls typically 6 feet wide and 60 to 100 feet long. A polyester or fiberglass scrim inside the membrane gives it dimensional stability so it does not stretch or shrink through hot and cold cycles. The top surface is embossed with a texture, and it comes in colors and patterns that mimic slate, wood plank, or a simple gray or tan stipple.
Unlike a paint-on coating or a loose deck tile, this membrane is a continuous waterproof skin. Water cannot get through it, and when the seams are heat-welded correctly, it cannot get through the joints either. That is the whole point: the covering is both your finished walking surface and your roof over whatever sits underneath. Contractors sometimes call it “walkable roofing,” and that is a fair description.
Where It Makes the Most Sense
Vinyl decking earns its keep anywhere a leak would ruin something below. The classic case is a balcony or deck over a heated room. It also works well on:
- Rooftop decks and terraces over occupied space
- Entry landings and stair treads exposed to weather
- Boat docks, RV floors, and trailer decks
- Pool surrounds where slip resistance matters
On a ground-level wood deck with open framing and gaps between boards, a membrane is usually overkill unless you want dry storage underneath. Where there is no living space below, traditional decking is cheaper and breathes better.
Slope: The Non-Negotiable Detail
Membrane decks do not tolerate standing water forever, and manufacturers require positive drainage. The industry minimum is 1/4 inch of fall per foot of run, which is a 2 percent slope. On a 12-foot-deep deck that means the outer edge sits 3 inches lower than the wall. Anything flatter invites ponding, and ponding is where premature failures start.
If your existing deck is dead level, plan on building slope into the substrate with tapered sleepers or a sloped plywood layer before the membrane goes down. Do not skip this. Beautiful installs can fail in two seasons purely because water sat in a low spot and worked its way into a seam.
Plywood Substrate Requirements
The membrane is only as good as what it sticks to. Manufacturers almost universally require a solid, screwed-down plywood or OSB deck, not spaced boards. Standard practice is two layers: a structural subfloor, then a 1/2 inch cap layer of exterior-grade or pressure-treated plywood with the joints offset.
Every sheet needs to be fastened tight, roughly every 6 inches on the edges and 8 to 12 inches in the field, with screws set flush so no head telegraphs through the vinyl. Sand any high spots, fill gaps wider than 1/8 inch, and make sure the surface is bone dry. Moisture trapped under the membrane will blister it. A gap between sheets of about 1/8 inch allows for expansion, and those gaps get taped or filled per the manufacturer’s spec.
Seams, Flashing, and Heat Welding
Seams are where a deck lives or dies. Adjacent sheets overlap about 1-1/2 to 2 inches, and a hot-air welder fuses the PVC into a single continuous piece. Done right, the weld is stronger than the surrounding membrane, and you can prove it with a probe test along the edge. This is the step most DIYers underestimate, because a cold weld or a skipped section looks fine but leaks under pressure.
Just as important is the perimeter. The membrane must turn up walls at least 4 to 6 inches behind the siding or under a counterflashing, and it wraps down and over the outer fascia with a metal drip edge. Posts, drains, and door thresholds all get detailed with pre-formed corners or field-fabricated boots. Water always finds the weak transition, so those details deserve patience.
Cost Per Square Foot
Material alone runs roughly $2.50 to $6 per square foot depending on thickness and pattern. Professional installation, including substrate correction, flashing metal, and welding, typically lands between $9 and $18 per square foot installed. A 200-square-foot balcony therefore often falls in the $1,800 to $3,600 range for a full pro job.
Prices climb with complex shapes, lots of posts, stairs, or when rotted framing has to be replaced first. Get that framing sound before anyone rolls out membrane, because you cannot fix structure through a finished surface. The membrane itself is the cheap part; labor and detailing carry the cost.
DIY vs Hiring a Pro
A handy homeowner can install substrate, slope, and even fully-adhered membrane on a simple rectangular deck. The sticking point is the heat welder. Renting one is possible, but welding PVC well takes practice, and a bad weld on a deck over your living room is an expensive lesson. Some products offer a peel-and-stick seam tape aimed at DIY, and those can work on small, simple decks with generous slope.
My honest take: if the deck protects finished space below, hire an installer who does this for a living and stands behind the seams with a workmanship warranty. If it is a small, forgiving surface like a shed roof or a dock, DIY is reasonable. Either way, follow the specific manufacturer’s installation manual, because warranty coverage hinges on it.
Lifespan and Maintenance
A quality PVC deck membrane installed correctly lasts 15 to 25 years, and top products carry warranties in that range. UV exposure and foot traffic slowly wear the embossed texture, but the waterproofing holds long after the surface starts to look tired.
Maintenance is light. Sweep off debris, rinse with mild soap and water a couple of times a year, and keep the drains and scuppers clear so water actually leaves at that 1/4-inch slope. Avoid dragging sharp metal furniture legs, and put pads under anything heavy. Inspect the seams and wall flashings each spring. Catch a lifted seam early with a fresh weld or patch and you protect the whole system for another decade.
Final Thoughts
Vinyl deck covering is not glamorous, but it is one of the most reliable ways to turn a leak-prone deck into a dry, finished, walkable surface. Nail the three fundamentals: at least 1/4 inch per foot of slope, a tight screwed-down plywood substrate, and properly heat-welded seams with real perimeter flashing. Get those right, budget honestly for labor, and the deck will keep the room below it dry for two decades or more.