Vinyl gutters are the friendliest rain-management system for a do-it-yourself homeowner. They are lightweight, they snap together without soldering or special tools, and they never rust. But the first time most people stand in the gutter aisle, they are baffled by the wall of odd-shaped pieces. Understanding vinyl gutter parts and how each one connects is the key to buying the right pieces the first time and assembling a system that actually carries water where you want it.
This guide walks through every major component in a PVC gutter system, from the long runs to the small connectors, so you can plan a layout, make a parts list, and put it all together with confidence.
Gutter Sections: The Main Channels
The heart of the system is the gutter section itself, the long open channel that runs along the eave and catches water off the roof. Vinyl sections typically come in ten-foot lengths in a K-style or half-round profile, and you cut them to fit your run. K-style, with its flat back and decorative front, is by far the most common because it holds more water and matches most modern homes; half-round has a traditional look suited to older houses.
Sections are the backbone, and nearly every other part exists to join, cap, turn, or support them. When you plan a run, measure the total length of each eave and remember that sections overlap slightly where they meet a connector, so you will need a little more material than the raw wall length. Buying an extra section or two is cheap insurance against a miscut, and leftover pieces are handy for practicing cuts before you commit to a critical piece.
Connectors and Slip Joints
Where two gutter sections meet along a straight run, a connector, sometimes called a slip joint or union, bridges the gap and seals the seam. The two section ends slide into the connector, which snaps over them and holds them in alignment while allowing for the slight expansion and contraction vinyl undergoes with temperature. Many vinyl connectors include a rubber gasket that forms the watertight seal without any caulk.
Getting these joints right is where leaks are won or lost. The sections should seat fully into the connector, and on gasketed types the gasket must be clean and properly placed. On non-gasketed connectors, a bead of gutter sealant along the joint keeps water from weeping through. Because vinyl moves with heat, avoid gluing sections rigidly end to end; the connector is designed to let them float slightly, and forcing a rigid joint invites cracking.
End Caps and Corners
At the end of a gutter run, an end cap closes off the channel so water does not simply pour out the end. End caps come in left and right versions to match the profile and the side they close, and they snap onto the section end, often with a bead of sealant for a watertight finish. A run that terminates without an end cap will dump water at the wrong place and defeat the whole purpose of the gutter.
Where gutters turn a corner of the house, you use inside or outside miters, the corner pieces that carry water around the bend. An inside miter handles a corner where the walls form an inside angle, and an outside miter wraps around a projecting corner. These join to the sections with connectors just like a straight seam, and because corners see a lot of flow, they benefit from careful sealing to stay leak-free.
Outlets, Drops, and Downspouts
Water has to leave the gutter somewhere, and that is the job of the outlet, also called a drop outlet or end outlet. This part fits into the bottom of the gutter run and provides the hole and the collar that feed water down into the downspout. Placement matters: you position outlets at the low points of your sloped run, typically near corners of the house, so the whole gutter drains toward them.
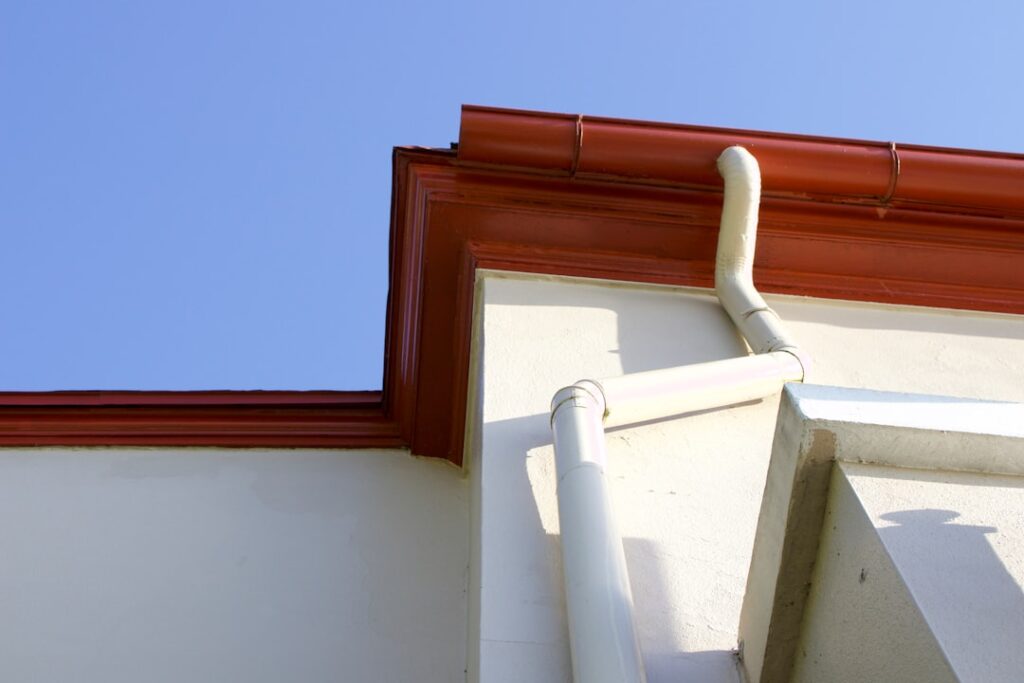
From the outlet, the downspout, the vertical pipe, carries water down the wall to the ground. Downspouts come in matching lengths and are joined to the outlet and to each other by connectors and by the elbows that redirect them. At the bottom, a downspout typically ends in an elbow or an extension that pushes water away from the foundation. Sizing the downspouts and outlets to the roof area they serve keeps the system from overflowing in heavy rain.
Elbows: Turning the Water
Elbows are the angled fittings that steer the downspout where you need it. There are two main types. A front, or A-style, elbow turns the water forward or backward, away from or toward the wall, and is used at the top of a downspout to bring it from the outlet back against the house. A side, or B-style, elbow turns the water left or right, useful for routing around obstacles or directing discharge along the ground.
Most downspout installations use a pair of elbows near the top to jog the pipe from the gutter outlet back to the wall, then more elbows at the bottom to kick the flow away from the foundation. Because elbows simply slide together and into the downspout with a friction fit, they are easy to dry-fit and adjust before you fasten anything. Plan the elbow path first, then cut the straight downspout pieces to connect them.
Splash Blocks, Guards, and Accessories
Beyond the core structural pieces, a few accessories round out a well-planned system. At the base of each downspout, a splash block or a downspout extension carries discharge away from the foundation so water does not pool against the house and find its way into the basement. This small, inexpensive part protects the single most important thing your gutters exist to guard, the foundation, and it is a mistake to run downspouts that simply dump at the wall. Roll-out extensions and buried drain tile are upgrades worth considering where drainage is a problem.
Gutter guards and leaf strainers are the other common add-ons. A guard, whether a screen, a foam insert, or a solid cover, keeps leaves and debris out of the channel so it does not clog and overflow, which is especially valuable under trees. A small wire strainer, or basket, dropped into each outlet catches debris before it can jam the downspout. None of these are strictly required, but on a leafy lot they dramatically cut the frequency of climbing a ladder to clean the gutters, and they help a vinyl system flow freely through heavy autumn rains.
Hangers, Brackets, and Fasteners
None of these parts do any good if the gutter is not held firmly to the house, which is where hangers and brackets come in. Vinyl systems typically hang from brackets that fasten to the fascia board at regular intervals, cradling the gutter section and supporting the weight of water and debris. Spacing the hangers correctly, generally every couple of feet and closer in snowy climates, prevents the gutter from sagging and creating low spots that pool and overflow.
When you assemble your parts list, count hangers generously and match them to your gutter profile. You will also want gutter sealant for the joints and the fasteners appropriate to your fascia. As you lay everything out, remember the single most important number in the whole system: slope. A gutter run needs a slight, consistent pitch toward the outlets so water always moves toward the downspout. A useful rule of thumb is to pitch the run roughly a quarter inch for every ten feet of length toward the outlet, enough to drain reliably without being visually obvious against the fascia. Combine all these vinyl gutter parts with the right slope and secure hangers, and you will have a leak-free system you installed yourself and can maintain for years.