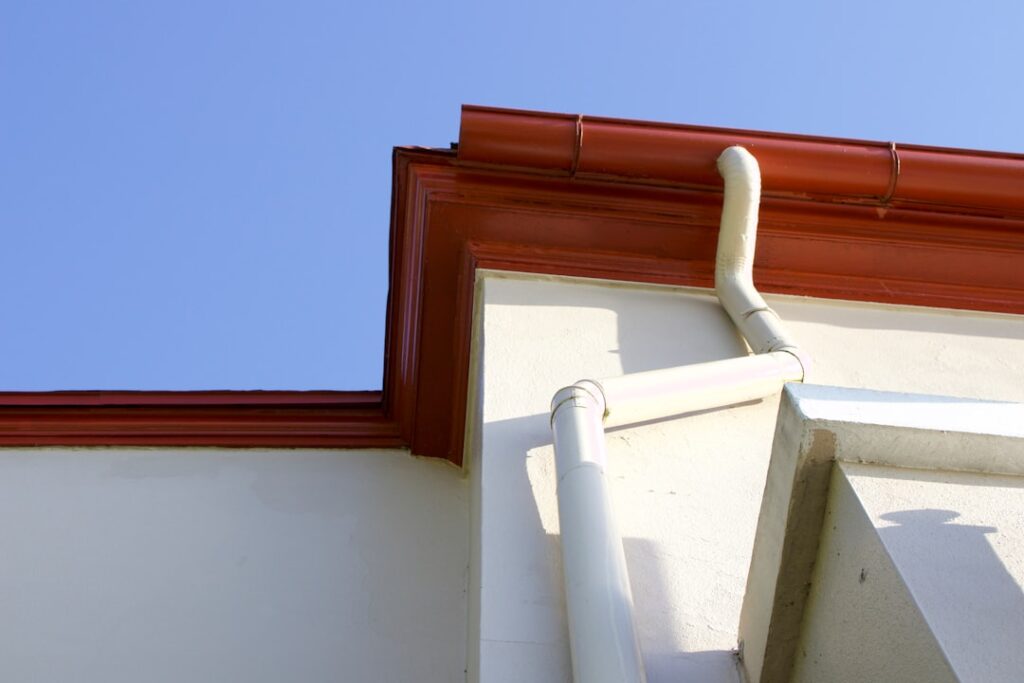
Water is patient. Let it pour off your roof edge unchecked for a few seasons and it will find its way into your fascia, your foundation, and eventually your basement — a repair bill that dwarfs the cost of a rain gutter. Learning how to install gutters yourself with off-the-shelf sectional aluminum is a genuinely achievable weekend project that saves you roughly half the cost of hiring out, usually the difference between $3 to $5 per foot in materials and $8 to $15 per foot installed. The work is not hard; it is fussy about two things — slope and fastening — and this guide gets both right.
Part of our Roofing guide — explore the full guide →
You will be installing K-style sectional gutter, the ridged profile sold in 10-foot lengths at any home center. Seamless gutter requires a truck-mounted roll former and a crew, so it is not a DIY material. Sectional snaps and screws together, and for a straightforward one- or two-story house it performs just fine.
Tools and Materials You Need
Assemble everything before you climb a ladder. For a typical run you will want:
- Gutter sections: 10-foot K-style aluminum, .027 gauge minimum
- Hangers: hidden bracket hangers with screws, one every 24 inches
- End caps, inside/outside corners, slip joints, and downspout outlets
- Downspouts, elbows, and downspout straps
- Gutter sealant (a tripolymer or silicone gutter caulk)
- Chalk line, level (a 4-foot and a torpedo), tape measure
- Tin snips or a metal-cutting blade, cordless drill, hex driver bits
- A stable extension ladder and a helper
Measure your total roof-edge length and add 10 to 15 percent for waste and overlaps. Count corners and downspout locations so you buy the right fittings — running short on a Sunday afternoon kills the project.
Plan the Slope and Downspout Locations
Gutters look level but must not be. They need to pitch toward the downspouts so water actually drains, and the rule of thumb is 1/4 inch of drop for every 10 feet of run. On a run longer than about 35 to 40 feet, slope from a high point in the middle down toward a downspout at each end, so no single downspout is starved and no run pitches too steeply.
Decide where the downspouts go first, ideally at corners where they discharge away from the foundation and toward a positive-drainage direction. A downspout can handle roughly 30 to 40 feet of gutter run, so a long side of the house wants one at each end.
Snap a Chalk Line for the Pitch
Mark the high end of the run first. The top edge of the gutter should sit about 1/2 inch below the drip edge of the roof so water shooting off the shingles lands inside it. From that high mark, measure your total run length, then drop the far end by 1/4 inch per 10 feet — a 40-foot run drops a full inch. Mark that low point, then snap a chalk line between the two marks along the fascia. That line is where the top back edge of the gutter rides. Check it with a level to confirm a gentle, continuous fall.
Attach Hangers and End Caps
Hidden hangers clip inside the gutter and screw through the back into the fascia, ideally hitting the rafter tails or at least solid fascia board. Space them no more than 24 inches apart, and tighten that to 18 inches in snow country where ice load is heavy. A hanger every two feet is what keeps gutters from sagging and pulling loose — under-fastening is the number-one DIY failure.
Before hanging a section, install end caps on the terminal ends and cut in the downspout outlet where each downspout will drop. Seal every end cap and outlet joint with gutter sealant on the inside seam and let it skin over. Assemble as much as practical on the ground; a 20-foot pre-joined run is easier to set on hangers than fighting slip joints up on the ladder.
Cut, Join, and Hang the Sections
Cut gutter to length with tin snips or a fine-tooth metal blade — measure twice, because aluminum does not forgive. Join sections with slip-joint connectors or by overlapping 4 to 6 inches and riveting or screwing the seam, always sealing the joint with gutter caulk. Point overlaps so the upstream section sits inside the downstream one, letting water flow over the joint rather than into it.
Lift each section to the chalk line, seat it into the hangers, and drive the hanger screws home into the fascia. Work from the high end toward the downspout. As you go, hold a level along the top to confirm the intended fall, and eyeball that the front edge sits slightly lower than the back so overflow spills outward, not back against the house.
Install Corners and Connect Downspouts
At corners, use pre-formed inside or outside miter fittings, seal both seams, and screw them to the adjoining gutter sections. Once the horizontal runs are hung, build the downspouts. From each outlet, run two offset elbows to bring the downspout back to the wall, then a straight downspout section fastened to the wall with a strap every 6 to 8 feet. At the bottom, add an elbow and a splash block or an extension to carry water at least 4 to 6 feet away from the foundation.
Dry-fit the downspout assembly first, then fasten. Downspouts should slip together with the upper piece inside the lower so water stays contained the whole way down.
Working Safely on the Ladder
More people get hurt hanging gutters than any other part of the job, and none of it is worth a trip to the ER. Use an extension ladder rated for your weight plus tools, set it on firm, level ground at the right angle — the base one foot out from the wall for every four feet of height. Never stand on the top two rungs, and keep your hips between the rails; reaching sideways to save a ladder move is how people fall. Have a helper foot the ladder and hand up sections so you are not carrying a floppy 10-foot piece of aluminum up the rungs one-handed.
A stabilizer bar that spans the gutter area keeps the ladder off the fresh gutter and gives a wider, steadier stance. Wear gloves, because cut aluminum edges are sharp enough to open a knuckle, and safety glasses when cutting or driving screws overhead. On a two-story house, seriously consider whether the job is within your comfort zone at all — the height multiplies both the difficulty and the consequences, and this is the point where hiring out becomes the smart money.
Maintenance to Make Them Last
New gutters only protect the house if they stay clear, so build in a little upkeep. Clean them at least twice a year — late spring and late fall — pulling out leaves, seeds, and grit that would otherwise clog the outlets and cause overflow. After each cleaning, run a hose through to confirm the downspouts flow freely; a backed-up downspout is the most common reason gutters overflow even when the trough looks clean.
While you are up there, check that the hangers are still tight and the slope has not shifted, and eyeball the seams and end caps for any sealant that has cracked or peeled, resealing as needed. If your house sits under heavy tree cover, gutter guards cut the cleaning frequency dramatically and are worth the $4 to $12 per foot. Catch a loose hanger or a failing seam early and a set of DIY sectional gutters will run its full 15-to-20-year life; ignore them and a single clog can send water over the edge and right back against the fascia you installed them to protect.
Test, Seal, and Final Checks
Run a hose into the high end and watch. Water should sheet toward the downspouts with no pooling and drain freely out the bottom. Any spot where water stands more than about 1/4 inch deep means the slope is off there — loosen the nearby hangers and coax the gutter down a touch. Watch every seam for drips and add sealant to any that weep.
Once it drains clean and dry, walk the whole run one more time: hangers every 24 inches and tight, all seams sealed, downspouts strapped, and discharge aimed away from the house. Done correctly, DIY sectional gutters last 15 to 20 years and protect the single most expensive thing you own. Take your time on the slope and the fastening, and installing gutters yourself turns into one of the most satisfying — and money-saving — home projects on the list.