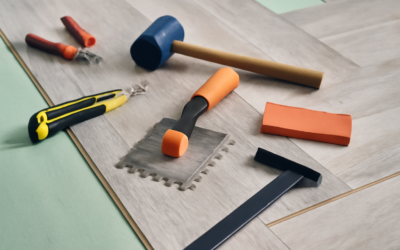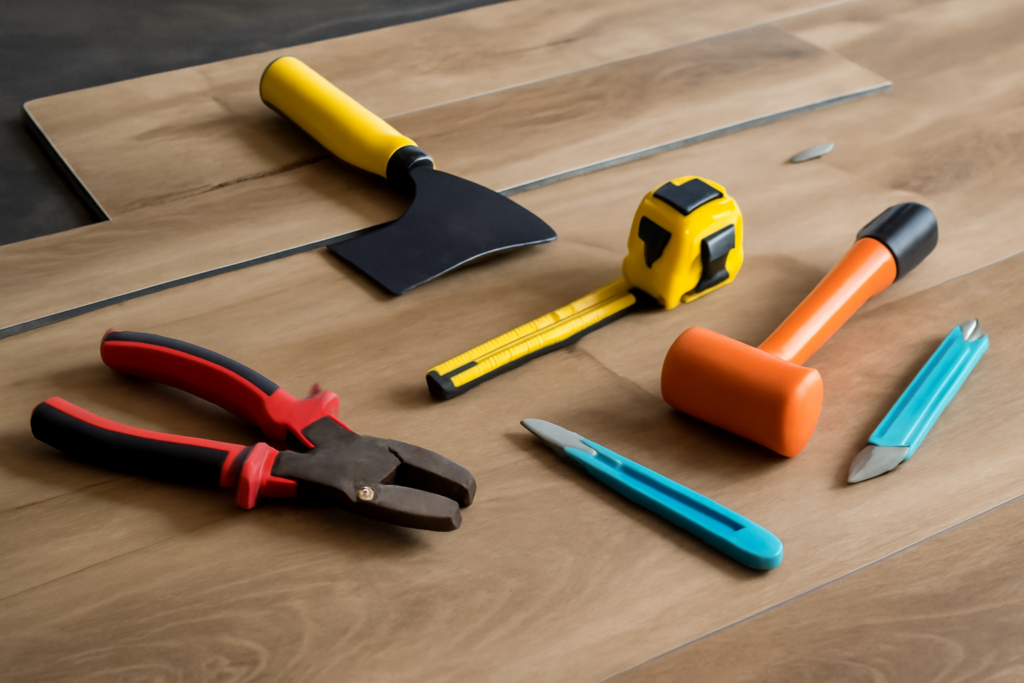
Most botched LVP jobs fail because of a missing $8 tool, not a missing skill. Gather the right vinyl plank flooring installation tools before the first plank clicks together and the install becomes a rhythm; skip one and you will improvise with a hammer and a scrap of 2×4 until a locking edge cracks. The good news is the complete kit is cheap. Outside of a jigsaw you may already own, everything on this list totals $100 to $250, and each piece earns its place. Here is the full toolkit, what each item does, honest price ranges, and where you can safely substitute.
- Layout and Measuring Tools
- Moisture Meter and Subfloor Prep Gear
- Cutting Tools: Knife, Cutter, and Jigsaw
- Click-Lock Assembly: Tapping Block, Pull Bar, and Mallet
- Spacers and the Expansion Gap
- Jamb Saw and Undercutting Door Casings
- Finishing and Nice-to-Have Extras
- Buy, Rent, or Improvise: A Sensible Shopping Plan
Layout and Measuring Tools
Every install starts with math. You need a 25-foot tape measure, a pencil, and a chalk line to snap a straight starting reference, because walls are never straight and following one blindly telegraphs its wander across the whole floor. A speed square or framing square guides your crosscut marks and keeps end cuts square.
Two layout numbers decide how good the floor looks. First, measure the room width and divide by plank width; if the final row would be under about 2 inches, rip the first row narrower so both edges balance. Second, plan end-joint stagger of at least 6 inches, ideally 8 or more, so joints do not stack into a stair-step pattern. A $10 calculator moment here prevents the most common visual complaint on DIY floors.
- Tape measure, 25 ft: $10 to $25
- Chalk line: $8 to $15
- Speed square: $8 to $20
Moisture Meter and Subfloor Prep Gear
A moisture meter is the tool most DIYers skip and most pros will not work without. On concrete slabs, excess moisture wrecks glue-down adhesive and can void floating-floor warranties; a pinless meter or a calcium chloride test kit tells you whether the slab is ready. On wood subfloors, readings above roughly 12 to 14 percent mean you wait or find the leak. Basic pin meters start around $25 to $40; solid pinless models run $50 to $150.
Flatness matters just as much as moisture. Most vinyl plank manufacturers specify a subfloor flat to within 3/16 inch over 10 feet, so you need a straightedge or a 6-foot level to hunt humps and dips, a bag of floor patch and a trowel for low spots ($15 to $30 per bag), and a belt sander or grinder for high spots. Add a good shop vacuum and a scraper; click floors tolerate zero grit under the locking edges.
Cutting Tools: Knife, Cutter, and Jigsaw
Three tools cover every cut on a vinyl plank job. The utility knife with a fresh blade handles score-and-snap crosscuts and full-length rips; buy a 10-pack of blades because a dull edge is the main cause of ragged cuts. A guillotine-style plank cutter ($60 to $200, or $15 to $30 a day to rent) is the speed upgrade for big jobs; it shears end cuts silently with no dust, though it only makes straight crosscuts, so it supplements the knife rather than replacing it.
The jigsaw, fitted with a fine-tooth blade, is the shape tool. Door casings, floor vents, toilet flanges, and closet corners all demand notches and curves that neither the knife nor the cutter can produce. A basic corded jigsaw costs $40 to $80, and for the handful of cuts per room that need it, basic is plenty. A hole saw kit helps for pipe penetrations, and remember to oversize holes by about 1/2 inch so the floor can float.
Click-Lock Assembly: Tapping Block, Pull Bar, and Mallet
These three inexpensive items are the heart of the kit, and they exist to deliver force without destroying the locking profile:
- Tapping block ($5 to $15): a plastic block shaped to sit against the plank edge and spread mallet blows evenly. Striking the plank directly, or using wood scrap with a proud edge, crushes the tongue and leaves gaps that open later.
- Pull bar ($8 to $20): an S-shaped steel bar that hooks over the plank end at walls where there is no room to swing. The last plank in every row and the entire final row are pull-bar territory.
- Rubber mallet ($10 to $20): white or non-marring rubber, not a steel hammer. It drives the tapping block and seats stubborn end joints with a couple of firm taps.
Technique note from the field: most rigid SPC planks today are designed to click in at an angle and drop, with tapping reserved for snugging end joints. If a joint needs violent hammering, the row is misaligned or there is debris in the groove. Force is a diagnostic, not a solution.
Spacers and the Expansion Gap
Vinyl plank floats, and floating floors move with temperature. Wedge spacers ($5 to $12 a bag) hold a consistent 1/4-to-3/8-inch gap, per your product’s spec sheet, between the flooring and every wall, cabinet, and pipe. Set them every 18 to 24 inches along the starting wall and at each row end.
Skipping spacers is the classic rookie shortcut, and it fails invisibly: the floor looks fine in April, then buckles into a hump in August when summer expansion runs out of room. Pull every spacer before installing baseboard or quarter round, since a wedged floor cannot float either. If your layout pins the floor under a heavy island or fixed cabinets, check the manufacturer’s instructions; many rigid-core products prohibit cabinets on top of a floating floor entirely.
Jamb Saw and Undercutting Door Casings
Sliding plank under a door casing looks factory-made; scribing plank around a casing looks like a caulk advertisement. A jamb saw, either a $20 to $40 hand version or a $100-plus oscillating multi-tool with a flush-cut blade, trims the bottom of casings and jambs so flooring slips underneath. The trick is to lay a plank scrap (plus underlayment, if you are using any) upside down next to the casing as a height guide and saw flat across the top of it.
An oscillating multi-tool is the better buy if you own neither, because it also handles toilet flange trims, tight notches, and the last-row rip in place. It is the one power tool on this list that keeps earning its cost after the flooring is done.
Finishing and Nice-to-Have Extras
The floor is not finished until transitions and trim go in. Budget for T-molding or reducers at doorways ($15 to $40 each), quarter round or shoe molding to cover the expansion gap, and a finish nailer or brad pusher to attach trim to the wall, never through the flooring. Knee pads are not optional past the second row; your body will file a complaint by row ten. A pair of work gloves saves fingertips from sharp SPC edges, and a headlamp helps when you are notching in a dark closet.
Glue-down installs add their own short list: the manufacturer-specified adhesive, the exact notched trowel size named on the adhesive bucket (usually 1/16 inch square-notch), and a 75-to-100-pound flooring roller, which rents for $20 to $40 a day.
Buy, Rent, or Improvise: A Sensible Shopping Plan
Rank the list by consequence. Buy outright the cheap, high-consequence items: spacers, tapping block, pull bar, mallet, utility knife, and blades, because improvising any of them risks damaging planks that cost far more than the tools. Rent or borrow the occasional-use items: plank cutter, flooring roller, and possibly the moisture meter if a contractor friend has one. Improvise only where physics allows, like using a stiff putty knife as a temporary pull bar in one doorway, and even then expect slower work.
Assemble your vinyl plank flooring installation tools in one bucket before you open the first carton, check the flooring manufacturer’s instructions for any product-specific requirements, and the install itself becomes the easy part. The floor goes down plank by plank, but it goes down right because the kit was complete on day one.
Prefer to explore on your own?
See how new flooring looks in your actual room in seconds — free, no signup.
Try the free Floor Studio →