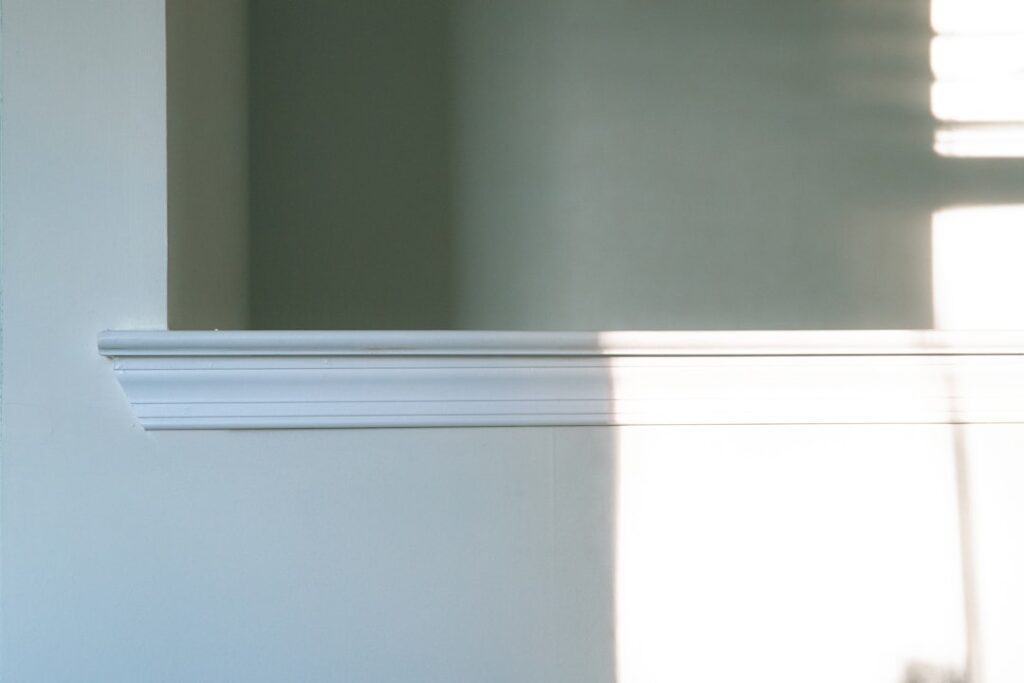
Few details do as much work for as little money as white baseboard trim. It hides the messy seam where the wall meets the floor, protects drywall from vacuum cleaners and shoe scuffs, and frames a room with a clean, finished line that ties the whole space together. Whether you are building from scratch, replacing tired old molding, or simply repainting what you already have, getting the trim right pays off every time you walk into the room.
This guide walks you through the styles, materials, sizes, and paint choices that matter, plus the practical steps and small tricks that separate a sharp professional look from an amateur one. None of it requires a contractor’s budget, but all of it rewards a little patience.
Why White Is the Default Choice
White has dominated baseboards for decades for good reasons. It reflects light, which makes floors and walls read brighter and rooms feel larger. It also acts as a neutral visual buffer, letting wall colors and flooring tones stand on their own without competing. A crisp white border around the bottom of a room is the design equivalent of a clean haircut: nobody points it out, but everybody notices when it is missing.
There is also a practical angle. White trim is forgiving when you change wall colors later. Repaint the walls navy, sage, or terracotta and the same white baseboards still look intentional. That flexibility is why builders default to it and why it remains the safest resale-friendly choice.
Common Baseboard Styles
The profile you choose sets the tone of the room. Here are the styles you will encounter most often:
- Flat or square stock: A simple rectangular board, often with a slightly eased top edge. It suits modern and minimalist interiors and is the easiest to install and clean.
- Rounded (bullnose) top: A gently curved top edge that softens the look. A common builder-grade default in mid-century and traditional homes.
- Stepped or sculpted: Profiles with ogee curves, coves, or steps that add shadow lines and a more formal, detailed feel.
- Colonial and ranch: Classic milled patterns widely stocked at home centers, offering traditional character at a low price.
Taller, more detailed profiles read as upscale, while slim flat stock leans contemporary. Match the trim to your home’s era and your existing door and window casing so the millwork feels cohesive rather than pieced together.
Choosing the Right Material
White baseboard trim comes in several materials, each with trade-offs in cost, durability, and ease of work:
- MDF (medium-density fiberboard): Affordable, dead-straight, and pre-primed for a glass-smooth painted finish. It is the most popular choice for painted white trim, but it swells if it gets wet, so keep it away from chronically damp areas.
- Solid wood (pine, poplar): Stronger and more moisture-tolerant than MDF, and it holds up better to dents. Poplar in particular paints beautifully. It costs more and may have knots or grain that need extra priming.
- PVC and composite: Waterproof and rot-proof, making them ideal for bathrooms, basements, and laundry rooms. They cost more but shrug off moisture that would ruin MDF.
- Finger-jointed wood: Short pieces glued together and pre-primed; a budget-friendly middle ground meant only for painting, never staining.
For most interior rooms, pre-primed MDF delivers the cleanest white finish for the lowest price. Reserve PVC or solid wood for spots that see water or heavy abuse.
Picking the Right Height and Proportion
Baseboard height should feel proportional to your ceilings. As a rough guide, standard 8-foot ceilings pair well with baseboards in the 3 to 5 inch range, while 9- and 10-foot ceilings can carry 5 to 7 inches or more without looking heavy. Taller baseboards signal a more substantial, custom feel, which is why so many renovations swap short builder trim for taller stock.
Keep the relationship between baseboard, door casing, and crown molding in mind. Baseboards are typically the same height or slightly taller than the door casing is wide, so the trim package looks balanced. When in doubt, hold a sample length against the wall and live with it for a day before committing to a full order.
The Right White and Paint Sheen
Not all whites are equal. Bright, cool whites look crisp against gray or blue walls, while soft or warm whites flatter cream, beige, and earthy palettes. A common pro move is painting the trim a slightly different white than the walls, or using the same white in a higher sheen, so the trim reads as a distinct, clean frame.
For sheen, semi-gloss and satin are the workhorses for baseboards. They wipe clean easily and stand up to scuffs and the occasional mop splash. Semi-gloss is the most durable and stain-resistant but shows surface flaws, so fill and sand carefully first. Satin hides imperfections better while still cleaning up well. Avoid flat finishes on baseboards; they mark up and are nearly impossible to wipe down.
Installing White Baseboard Trim
Installation is well within reach for a confident DIYer. Plan your runs to minimize seams, and always cut outside corners with miters and inside corners with coped joints for the tightest fit. Here is the basic sequence:
- Measure each wall and cut pieces slightly long, then fine-tune the angles with a miter saw.
- Cope inside corners by cutting a 45-degree miter, then following the profile line with a coping saw so one piece nests over the other.
- Dry-fit every joint before nailing so you can adjust for walls that are out of square.
- Fasten into studs with finish nails or a brad nailer, keeping nails near the top and bottom of the board.
- Fill nail holes and gaps, sand smooth, and caulk the top seam where the trim meets the wall.
Caulking the top edge is the single biggest factor in a professional result. A thin, even bead of paintable caulk erases the gap between trim and wall, giving you that seamless built-in look. Run a damp finger along the bead to smooth it, wipe excess immediately, and let it cure before painting.
Maintenance and Keeping It Crisp
White trim shows dust and scuffs, but it is easy to keep looking new. Wipe it down every few weeks with a microfiber cloth, and tackle scuffs with a damp sponge and a little mild soap. A magic eraser handles stubborn black marks, though use a light touch so you do not dull the paint sheen. Keep a small jar of your trim paint on hand for quick touch-ups; one dab with a fine brush makes nicks disappear.
Over years of use, baseboards eventually need a fresh coat. When that day comes, clean thoroughly, lightly sand, spot-prime any bare spots, and recoat. Because the surface is small and linear, repainting trim is one of the fastest, highest-impact refreshes you can give a room. Done well, white baseboard trim quietly elevates everything above it, year after year.