
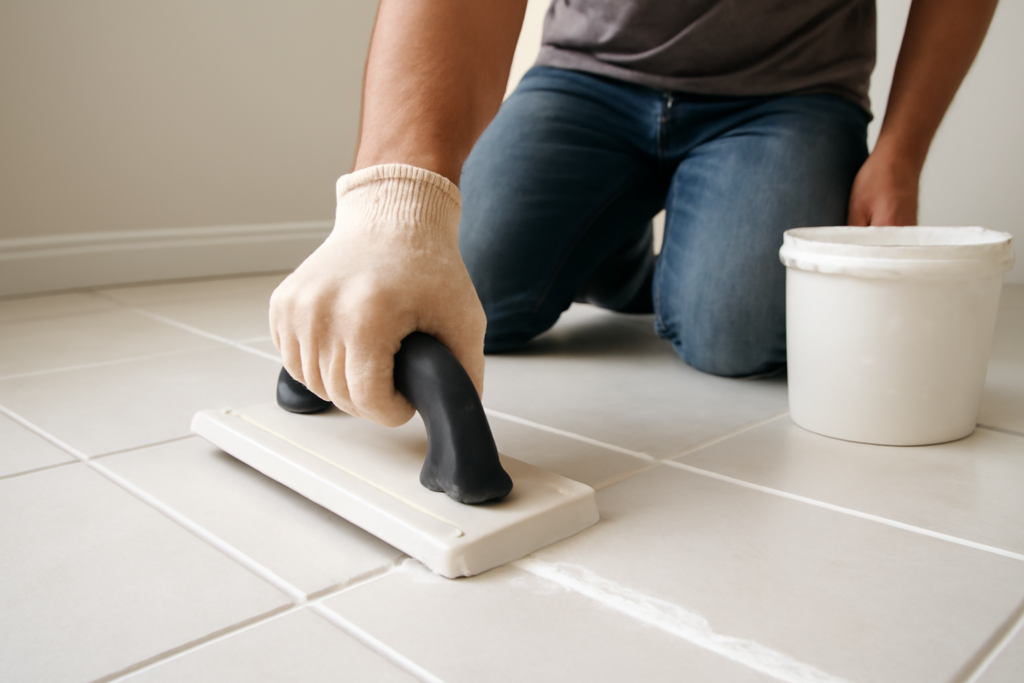
If you have ever scrubbed a dingy gray line between bright tiles and wished it would just stay clean, white epoxy grout is the upgrade you have been looking for. Unlike traditional cement grout, which is porous and prone to soaking up coffee, wine, and grease, white epoxy grout forms a dense, nonporous joint that shrugs off stains and keeps its crisp color for years. That difference matters most with white, where every shade of discoloration shows.
Part of our Epoxy, Concrete & Garage Floors guide — explore the full guide →
This guide walks you through what epoxy grout actually is, how it compares to cement grout, where it makes sense, and how to install and maintain it. Whether you are tiling a kitchen backsplash, a shower, or a busy floor, knowing the trade-offs up front will save you frustration and money.
What Makes Epoxy Grout Different
Epoxy grout is a two-part product. Instead of relying on water and Portland cement, it combines an epoxy resin with a hardener and a fine filler powder. When you mix the parts together, a chemical reaction kicks off that cures the grout into a tough, plastic-like solid. The result is a joint that is essentially waterproof, highly resistant to chemicals, and far less likely to crack, crumble, or absorb dirt over time.
For a white joint, this chemistry is a genuine advantage. Cement grout slowly yellows and grays as it pulls in minerals, soap film, and grime. Epoxy stays bright because there is nothing for the staining agents to penetrate. You spend less time scrubbing and far less time wondering whether your grout will ever look new again.
White Epoxy Grout vs. Cement Grout
Both products do the same basic job of filling and sealing the space between tiles, but they behave very differently in daily life. Here is how they stack up:
- Stain resistance: Epoxy is nonporous and resists coffee, oil, juice, and dyes; cement absorbs them unless sealed and resealed.
- Water resistance: Epoxy is naturally waterproof, making it strong in showers and around sinks; cement needs sealing and can still wick moisture.
- Color stability: White epoxy holds its tone; white cement grout tends to yellow or gray.
- Durability: Epoxy resists cracking and chemical attack; cement is more brittle and chips more easily.
- Cost: Epoxy materials typically run several times the price of cement grout per unit, and installation labor is higher.
- Workability: Cement is more forgiving for beginners; epoxy is stickier and has a limited working window.
The takeaway is simple. If you want a bright white joint that stays bright in a wet or high-traffic spot, epoxy is worth the premium. For a low-use area on a tight budget, sealed cement grout may be fine.
Where White Epoxy Grout Works Best
Certain rooms practically beg for epoxy. Showers and tub surrounds top the list because constant moisture is exactly where cement grout fails first. Kitchen backsplashes are another natural fit, since they catch grease splatter and sauce that would permanently mark cement. Mudrooms, entryways, and laundry areas benefit too, thanks to the abuse they take from foot traffic and spills.
Commercial-style kitchens and bars rely on epoxy for its chemical resistance, and that same toughness pays off in a busy household. The one place to think twice is over very large floor areas with a do-it-yourself crew, simply because the faster cure and stickier handling make big jobs harder to manage cleanly.
How to Install White Epoxy Grout
Installation rewards preparation and speed. Read the manufacturer instructions before you open anything, because brands vary in mix ratios and working times. A typical sequence looks like this:
- Let the tile set fully. Make sure the thinset under your tile has cured per the data sheet so nothing shifts while you grout.
- Clean the joints. Remove spacers, dust, and any thinset squeeze-out so the grout fills cleanly.
- Mix only what you can use. Combine the resin, hardener, and filler thoroughly. Epoxy often has a working time of roughly 45 to 90 minutes depending on temperature, so mix in batches.
- Pack the joints. Use a hard rubber float held at an angle to press grout fully into each line, then scrape off the excess.
- Wash early and often. Use a damp sponge and clean water to wipe the surface before the haze hardens. Epoxy haze is much harder to remove once cured, so do not let it sit.
- Final detailing. A second and third pass with fresh water removes residual film and leaves crisp white lines.
Because the cure clock is unforgiving, many homeowners hire a tile pro for shower walls or large jobs and reserve do-it-yourself epoxy for small backsplashes. There is no shame in that choice; a sloppy haze on white grout is very visible.
Safety and Handling
Epoxy is a chemical product, so treat it with respect. Work in a well-ventilated space and open windows or run a fan to keep fumes moving. Wear nitrile gloves and eye protection, since uncured resin can irritate skin and eyes. Never mix epoxy components with other cleaners or chemicals, and follow the manufacturer mixing ratios exactly rather than improvising. Keep the product away from children and pets until it is fully cured, and dispose of leftover material according to local guidelines. If you have sensitivities or a large enclosed area, a professional with proper equipment is the safer route. None of this is medical advice; when in doubt, defer to the product data sheet.
Keeping White Epoxy Grout Bright
One of the joys of epoxy is how little maintenance it asks for. Routine cleaning with warm water and a mild, neutral cleaner is usually all you need. Avoid harsh abrasives and strong acids that could dull the surface over time. For the occasional stubborn spot, a soft brush and a gentle cleaner will lift it without damaging the joint. You should not need to seal epoxy grout the way you reseal cement, which saves an annual chore.
To protect the look, wipe up spills on backsplashes promptly and squeegee shower walls to reduce soap film buildup on surrounding surfaces. While the grout itself resists staining, keeping the whole area clean helps everything read as fresh and bright.
Is White Epoxy Grout Worth It?
For most homeowners installing white grout in a wet or hardworking space, the answer is yes. You pay more up front in materials and possibly labor, but you trade away years of scrubbing, sealing, and disappointment over yellowed lines. The clean, uniform look of white epoxy grout holds up to real life in a way cement simply cannot match.
Weigh the project size, your comfort with a fast-curing product, and the room’s exposure to water and stains. A small backsplash is a great first epoxy project, while a full shower or large floor may justify professional help. Either way, choosing epoxy for your white joints is an investment in a finish that still looks intentional and crisp years down the road.


