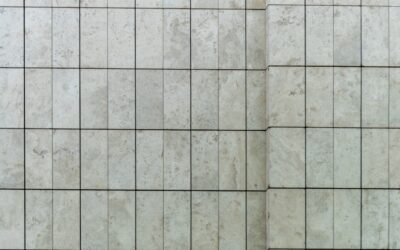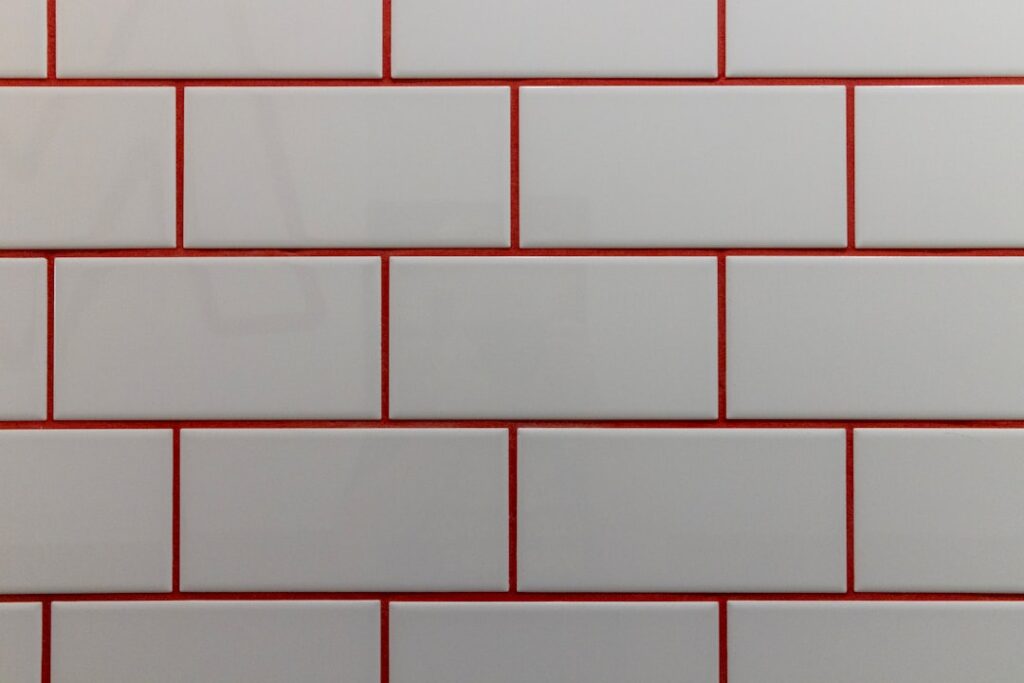
White subway tile with white grout creates one of the cleanest, most seamless surfaces in kitchen and bathroom design. Instead of the graphic grid you get from dark grout, matching white grout blends into the tile so the wall reads as a smooth, continuous field of bright white. It is elegant and timeless, but it comes with real tradeoffs in maintenance. This guide covers the pros, cons, cleaning realities, cost, and installation tips so you know what you are signing up for.
Part of our Tile & Grout guide — explore the full guide →
- The Look: Seamless and Bright
- Pros of White Grout With White Tile
- Cons: The Maintenance Reality
- Where It Works Best and Worst
- Choosing the Right White Grout
- What It Costs
- Installation Tips for a Seamless Result
- Sealing and Keeping It White
- Cleaning White Grout
- Epoxy vs Cement Grout for White Joints
- Lighting and How White Reads
- Common Mistakes to Avoid
The Look: Seamless and Bright
When grout matches the tile, the eye stops reading individual tiles and instead sees one clean plane. This makes a space feel larger, calmer, and more upscale, which is why designers reach for white-on-white in minimalist, modern, and luxury interiors. It is the opposite of the trendy white-tile-dark-grout look that emphasizes the brick pattern; white grout downplays the pattern for a soft, cohesive surface that recedes rather than announces itself.
Pros of White Grout With White Tile
- Seamless, spacious feel: the wall reads as one bright surface, making rooms look bigger.
- Timeless and versatile: white-on-white never looks dated and pairs with any cabinet or counter.
- Hides layout imperfections: minor variations in tile spacing are far less visible than with contrasting grout.
- Bright and reflective: bounces light around, ideal for small or dim kitchens and baths.
- Elegant, upscale impression: the clean look reads as high-end and intentional.
Cons: The Maintenance Reality
The honest downside is that white grout shows dirt, grease, and mildew more than any other color. In a kitchen backsplash behind a cooktop, splatter and grease darken white grout over time. In a shower, soap scum and mildew can turn white joints gray or pink. White grout demands regular cleaning and, ideally, a good sealer or an epoxy grout to stay bright. If you dislike scrubbing, white grout in a wet or greasy area will test your patience.
Where It Works Best and Worst
White subway tile with white grout works beautifully in lower-mess zones: a bathroom accent wall, a laundry room, a powder room, or a backsplash away from the stove. It is more challenging directly behind a cooktop or in a heavily used shower, where grease and mildew attack the joints. If you love the look for a high-mess area, the solution is epoxy grout, which is far more stain and mildew resistant than standard cement grout, though it costs more and is harder to install.
Choosing the Right White Grout
Not all whites match. Grab physical grout samples and compare them to your actual tile, because a bright white tile against a slightly warm or gray-white grout will read as a mismatch, defeating the seamless effect. For the truest blend, choose a grout labeled bright white and confirm it against your tile in the same lighting. Consider epoxy grout in white for its stain resistance and consistent color, or a high-quality single-component grout that includes a built-in sealer.
What It Costs
The tile and installation cost is the same as any white subway backsplash. Basic white ceramic subway tile runs $2 to $8 per square foot, with handmade and zellige styles reaching $15 to $30. Standard cement grout is inexpensive, a few dollars per pound, while epoxy grout costs more, roughly $40 to $80 per unit, and takes longer to install, which raises pro labor. For a typical 35-square-foot backsplash, DIY materials land around $150 to $400, and professional installation adds $8 to $15 per square foot.
Installation Tips for a Seamless Result
Because white grout blends with the tile, your layout still needs to be clean, even though small imperfections hide better than with dark grout. Use consistent spacers, typically 1/16 or 1/8 inch, and work off a level line rather than the countertop. Mix white grout to a consistent, uniform slurry, since inconsistent water ratios cause patchy shading that shows even in white. Apply, wipe the haze thoroughly, and avoid over-wetting the sponge, which can wash pigment unevenly and leave blotches.
Sealing and Keeping It White
If you use cement grout, seal it after it fully cures, then reseal periodically, especially in wet or greasy areas. A penetrating grout sealer helps repel stains and mildew and makes routine cleaning far easier. For the lowest maintenance, epoxy grout needs no sealing and resists staining by design, making it the best choice for keeping white joints bright behind a stove or in a shower. Wipe spills and splatter promptly rather than letting them set.
Cleaning White Grout
Routine cleaning with a mild dish soap solution and a soft brush handles everyday grime. For darkened or moldy grout, a paste of baking soda and water scrubbed in, or an oxygen bleach solution, brightens joints without the harshness of chlorine bleach, which can erode grout over time. For stubborn mildew in showers, a dedicated grout cleaner works. Avoid abrasive powders that scratch the tile glaze. Regular light cleaning beats occasional heavy scrubbing at keeping white grout looking new.
Epoxy vs Cement Grout for White Joints
This decision matters more with white grout than any other color, so it deserves a closer look. Cement grout is inexpensive, easy to work with, and available in a bright white, but it is porous, absorbs stains and grease, harbors mildew, and requires sealing and ongoing maintenance to stay white. Epoxy grout is made from resins rather than cement, so it is essentially nonporous, resists stains and mildew by design, holds its color permanently, and never needs sealing. The tradeoffs are that epoxy costs several times more, cures fast so you must work quickly, and is stickier and harder to clean off the tile during installation, which is why some DIYers find it frustrating. For a shower or behind a stove, epoxy’s stain resistance is worth the extra effort and cost; for a low-mess accent wall, quality sealed cement grout is fine.
Lighting and How White Reads
White is not a single color, and lighting dramatically changes how white tile and grout appear. Warm incandescent and warm LED bulbs cast a yellow tone that makes bright white read creamy, while cool daylight LEDs make it look crisp and even slightly blue. Because you are pairing white tile with white grout for a seamless effect, a mismatch between a warm-white grout and a cool-white tile becomes obvious under certain light. Evaluate your tile and grout samples together under the actual lighting in the room, at the times of day you use it, before committing. North-facing rooms with cool natural light and rooms with warm fixtures can make the same white-on-white combination look noticeably different, so judge it in place rather than in the store.
Common Mistakes to Avoid
The top mistake is choosing standard cement grout for a high-grease or high-mildew area and then fighting discoloration for years; use epoxy instead. Second is mismatching the white of the grout to the white of the tile, which ruins the seamless effect. Third is skipping sealer on cement grout. Fourth is inconsistent grout mixing that leaves patchy shading. Fifth is letting grease and soap scum build up instead of wiping regularly, which turns bright joints dingy.
White subway tile with white grout delivers a clean, seamless, timeless look that makes spaces feel bright and larger. The catch is maintenance: white grout shows dirt and mildew, so success depends on choosing epoxy grout or diligently sealing and cleaning cement grout, and on matching your whites precisely. Pick the right grout for the location and commit to easy regular upkeep, and you will have an elegant surface that stays beautiful for years.
Prefer to explore on your own?
See how new flooring looks in your actual room in seconds — free, no signup.
Try the free Floor Studio →