Window frame repair saves the average homeowner $400 to $1,000 per opening versus replacement, and most frame damage — soft sills, dinged aluminum, gaps around the perimeter — is repairable in an afternoon with the right materials. The trick with window frame repair is matching the fix to the frame material and the damage stage; I have seen $30 of epoxy rescue a 100-year-old sill, and I have seen people waste weekends patching frames that were structurally gone. This guide sorts the fixes by material and tells you honestly where the repair line ends.
Part of our Windows & Doors guide — explore the full guide →
Diagnose Before You Buy Anything
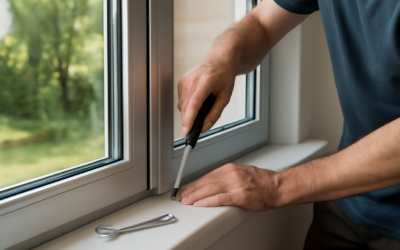
Walk the window with a screwdriver and probe every horizontal surface — sills, the bottoms of jambs, the lower corners where water sits. Firm wood resists the tip; rot lets it sink in with light pressure. Map the soft zone: rot always extends 1 to 2 inches beyond what looks bad, hiding under intact paint. Then find the water source, because repairing rot without fixing the leak is renting the repair. The usual suspects: failed caulk at the frame-to-siding joint, a missing drip cap above the window, clogged storm-window weep holes, and sprinklers hitting the glass daily. On metal frames, look for chalky oxidation, bent tracks, and separated corner joints. Ten minutes of diagnosis dictates the whole materials list.
Wood Rot: The Two-Part Epoxy System
Small-to-moderate rot — up to roughly a third of the sill’s cross-section — is a textbook epoxy repair, and the two-product system matters:
- Excavate. Dig out all punky fiber with a chisel and a carbide scraper until you reach wood that fights back. Drill a series of 1/4-inch holes into the surrounding sound-but-damp wood to accept consolidant.
- Dry it. Epoxy over wet wood fails. Tent the area for a few sunny days, or force it with a heat gun on low. Moisture meter target: under 18 percent.
- Consolidate. Flood the cavity and holes with liquid penetrating epoxy — Abatron LiquidWood or Smith’s CPES — which wicks into softened fiber and hardens it into a solid substrate. Two or three applications until it stops soaking in.
- Fill. Pack the void with structural epoxy paste: Abatron WoodEpox or West System with 407 filler. Overfill slightly. It kicks in 1 to 4 hours at 70°F; sculpt profiles while it is in the leather stage and save yourself sanding.
- Shape and finish. Rasp and sand to the original profile, prime with an oil-based primer, and topcoat twice. Done right, the epoxy zone outlasts the surrounding wood.
Kit cost runs $40 to $80 and covers two or three windows. Skip the hardware-store “wood filler” in tubs — vinyl spackle shrinks and pops out of exterior sills within two seasons.
When Rot Wins: The Dutchman and Sill Replacement
Past about one-third of the section — or when rot runs into the jamb ends — cut it out instead. A dutchman repair scarfs a matching block of new wood (cedar, fir, or sapele for durability) into the excavated area, glued with epoxy and screwed, then planed flush. Full sill replacement means cutting the old sill in the middle, collapsing it out, and sliding in a new sill blank — 8/4 sill stock runs $8 to $15 per foot — bedded in sealant. Budget two to four hours; it is joinery, not rocket science, but measure the sill angle before you cut anything.
Aluminum Frames: Dents, Oxidation, and Corners
Aluminum does not rot, so its repairs are cosmetic and mechanical. Shallow dents in exposed extrusions can be filled with two-part auto-body filler (Bondo), sanded to 220 grit, and sprayed with a color-matched enamel — the same workflow as a car fender, and it disappears. Deeper creases in a sash or track usually mean replacing that extrusion; parts houses like Swisco stock sash rails, corner keys, and glazing bead for hundreds of discontinued frames at $5 to $30 per piece. Chalky white oxidation cleans off with a Scotch-Brite pad and an aluminum-safe cleaner, followed by automotive paste wax to slow its return; heavy pitting needs a self-etching primer and repaint. Loose corners rack the frame and crack glass — pull the corner key, replace it, and re-square before blaming anything else. One warning: never run a steel wire wheel over aluminum, since embedded steel particles rust and freckle the finish permanently.
Vinyl Frames: Limited but Real Options
Vinyl frames crack at screw bosses and corners, and UV-embrittled sashes snap. Hairline cracks bond well with PVC cement or a two-part methacrylate adhesive (Plast-aid is the hobby-store version); back long cracks with an aluminum splice plate screwed inside the hollow chamber. Warped or blown-apart vinyl is not repairable — the welded corners are structural, and once one lets go the sash is scrap. The good news: most vinyl window failures are actually hardware (balances, locks, rollers), all replaceable, and the frame itself is fine.
Closing Gaps Around the Frame
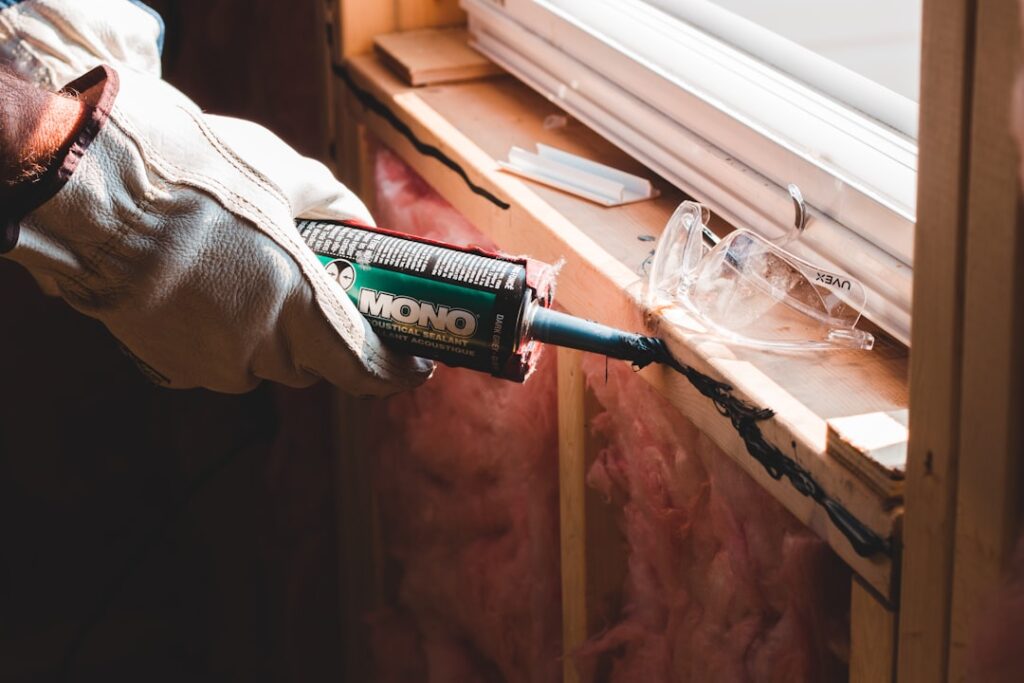
Gaps show up in two distinct places, and they take different fixes. Between frame and siding or masonry: rake out the failed caulk, brush clean, stuff backer rod into anything deeper than 1/2 inch, and gun in a polyurethane or hybrid sealant — OSI Quad Max or Vulkem 116 — tooled concave. A 10-ounce tube covers roughly two windows and costs $8 to $12. Between frame and rough framing (the drafty gap you feel at the interior casing): pull the casing, and fill the cavity with low-expansion window-and-door foam only — the blue-can minimal-expand type. Standard gap-filler foam generates enough pressure to bow jambs and lock sashes shut; I get called to fix that mistake a few times a year. Trim the cured foam, add backer rod and sealant at the interior air-seal line, and reinstall the casing.
Fiberglass and Clad Frames: Quick Notes
Fiberglass frames crack under impact rather than rotting, and they repair like a boat hull: rough the area with 80 grit, lay in a two-part polyester or epoxy filler (Bondo works, marine filler is better), sand, prime, and paint. Hairline gelcoat-style crazing is cosmetic — fill and forget. Aluminum-clad and vinyl-clad wood frames hide their trouble underneath the cladding: water sneaks in at cladding joints, and the wood core rots invisibly while the outside looks showroom-fresh. Probe the interior side of the sill and the lower jamb from inside the house, and press on the cladding near corners feeling for give. Caught early, the fix is resealing every cladding seam with color-matched sealant; caught late, clad units generally need sash or full-frame replacement because the core is inaccessible. Andersen, Pella, and Marvin all sell replacement sashes for clad lines going back decades, which routinely beats replacing the whole window.
Repair vs. Replace: The Honest Math
Run the numbers before sentiment decides. Typical costs:
- Epoxy rot repair, DIY: $40 to $80 in materials per window
- Carpenter-performed sill/dutchman repair: $250 to $600
- Aluminum parts-and-refinish repair: $20 to $150
- New vinyl replacement window, installed: $500 to $900
- New wood-clad window, installed: $900 to $1,800
Repair wins when damage is localized, the window operates, and the glass or sash is worth keeping — always true on historic wood windows, where the old-growth pine in the frame is denser and more rot-resistant than anything sold today. Replacement wins when rot has reached the jambs and header, when seal-failed insulated glass has fogged anyway, or when you are on the third repair of the same corner. My rule of thumb: if repair estimates cross 50 percent of replacement cost, or if more than two sides of the frame are compromised, stop patching.
Keep the Repair From Coming Back
Every frame failure I repair traces to water management, so close the loop. Verify there is a drip cap or head flashing above the window and add a $6 aluminum one if not. Keep the sill’s paint film intact — horizontal surfaces need repainting twice as often as the walls, roughly every four to six years. Hold sprinkler spray off the glass, keep storm-window weeps open, and maintain a 15-degree slope on any exterior sill patch so water leaves. Do a two-minute probe-and-caulk inspection every spring; catching rot at the 1-inch stage instead of the 1-foot stage is the difference between a $10 fix and a Saturday with the epoxy kit.