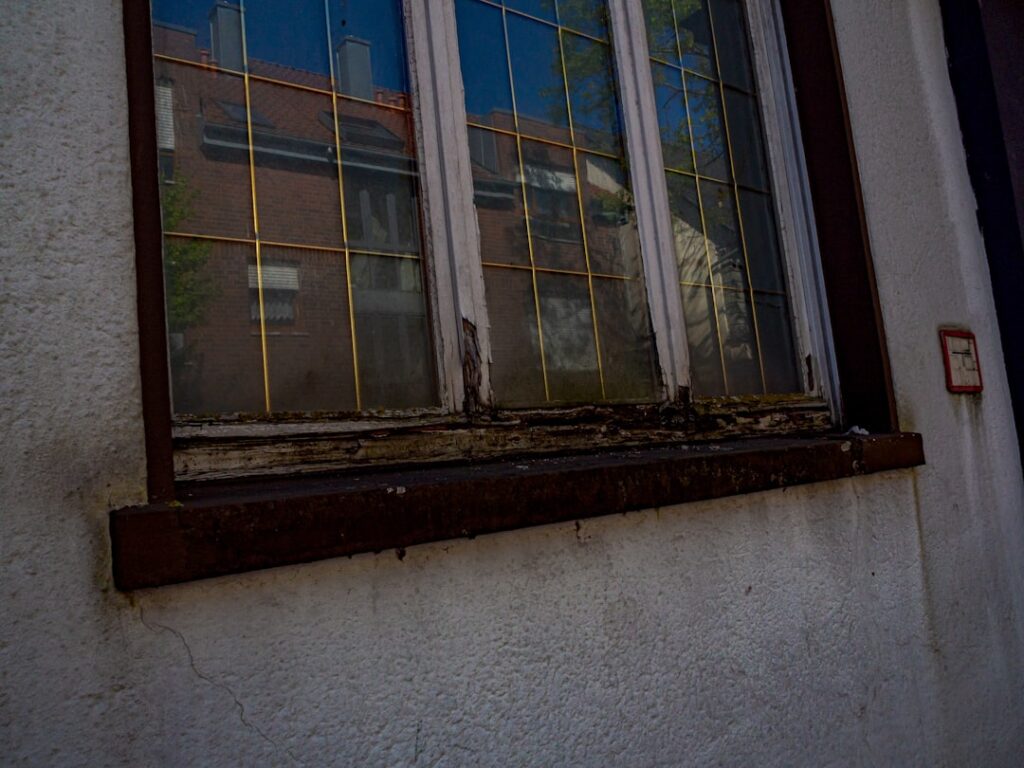
That soft, discolored ledge under your window is telling you something, and it is rarely good news. Window sill replacement is one of the most satisfying weekend projects a handy homeowner can tackle, because it stops water damage in its tracks and restores a clean, painted line to a room that had started to look tired. Whether the sill has rotted from years of condensation, split from sun exposure, or simply been gouged and painted over too many times, swapping it out is straightforward once you understand which part you are actually replacing.
Part of our Windows & Doors guide — explore the full guide →
This guide clears up the terminology, walks through the tools and steps, and covers the rot repair and sealing that separate a lasting job from one that fails again in two years.
Interior Sill, Exterior Sill, or Stool?
The word “sill” gets used loosely, and ordering the wrong part wastes a trip to the store. There are three distinct pieces, and knowing which one is damaged shapes the whole job.
- Interior stool — the flat, often painted shelf inside your home that people commonly call the sill. It sits below the sash and is what plants and knickknacks rest on.
- Apron — the trim piece directly beneath the interior stool.
- Exterior sill — the sloped ledge on the outside of the window that sheds rainwater away from the house. This is the piece that actually takes the weather and rots most often.
If you see peeling paint and soft wood inside, you are usually replacing the interior stool. If water is getting into the wall or the outside ledge is crumbling, you are dealing with the exterior sill, a bigger job that ties into flashing and the window unit itself.
Choosing a Replacement Material
Material choice determines how long the repair lasts, especially outdoors. For interior stools, paint-grade poplar or pine is inexpensive, easy to cut, and takes paint well. For a stained, natural look, match the species to your other trim, such as oak or maple.
Exterior sills demand rot resistance. Your best options are:
- PVC or cellular composite trim — completely waterproof, never rots, and a smart choice for the exterior where water pools. It cuts and installs like wood.
- Western red cedar — naturally rot-resistant and traditional, though it still needs sealing and repainting.
- Pressure-treated lumber — economical and rot-resistant but must dry before painting.
Avoid plain pine outdoors; it will be soft again within a few seasons. Composite costs a little more up front but ends the replacement cycle for good.
Tools and Materials You Will Need
Gather everything before you start so you are not chasing a tool mid-project. A basic replacement calls for a pry bar and a stiff putty knife, a utility knife to score old caulk and paint lines, an oscillating multi-tool for cutting the old sill free, a hammer and a nail set, a tape measure and a speed square, and a jig or circular saw for cutting the new stock. Round out the kit with exterior-grade wood glue or construction adhesive, finish nails or trim screws, paintable exterior caulk, wood filler, and a can of primer plus your finish paint.
For an exterior job, add a caulk gun loaded with a high-quality polyurethane or hybrid sealant and, if the flashing is compromised, self-adhering flashing tape.
Step-by-Step Replacement
Work methodically. Rushing the removal is how people crack the surrounding trim or the window jamb.
- Score the seams. Run a utility knife along every caulk line and paint bond where the old sill meets the jambs, apron, and wall, so you do not tear off adjacent finish.
- Remove the old sill. Gently pry it loose with a bar, working from one end. If it was nailed through the jambs, an oscillating tool cuts the fasteners cleanly. Note how it sat so the new one matches.
- Inspect the opening. With the sill out, check the framing and subsill for rot or moisture. Dry rot here must be addressed now, not covered up.
- Measure and cut. Transfer the old sill’s dimensions, including any notched “horns” that extend past the jambs, onto the new stock. Cut, then dry-fit before committing.
- Set the new sill. Bed it in adhesive, tap it into place, and fasten with finish nails or trim screws. Confirm the exterior sill keeps its downward slope so water runs off.
- Fill, caulk, and finish. Set nail heads, fill the holes, caulk the seams, then prime and paint. Caulk the joints, but leave a weep path on exterior sills so trapped water can escape.
Dealing With Rot in the Surrounding Wood
Often the sill is only the visible casualty. If you find soft framing or a punky subsill, probe it with a screwdriver; anything that pushes in easily is rotted and must be cut back to solid wood. For small areas, a two-part epoxy wood consolidant hardens the remaining fibers and rebuilds the missing shape. For larger damage, cut out the rotted framing and sister in new pressure-treated wood.
Never install a fresh sill over wet or rotted material. It will look fine for a season and then telegraph the same failure through your new paint, forcing you to do the whole job twice.
Cost and Time Expectations
An interior stool replacement is cheap: $15 to $40 in materials and a couple of hours of labor for a DIYer. Hiring a handyman runs $100 to $300 per window. Exterior sill work costs more because of the material and the weather-sealing, typically $50 to $150 in materials per window for DIY and $200 to $600 installed, more if flashing or framing repair is involved.
If multiple windows show rot, it often signals a bigger drainage or flashing issue, so factor in an inspection before replacing sills one by one.
Matching the New Sill to Existing Trim
A replacement sill that looks obviously new next to weathered trim undercuts the whole job, so plan for a seamless blend. For interior stools, note the profile of the front edge; older homes often have a rounded bullnose or an ogee edge that a plain square-edged board will not match. Bring a small offcut of the old sill to the store, or run the edge yourself with a router and a matching bit.
Paint or stain the new piece to match before or right after installation. For stained wood, test the stain on a hidden scrap first, because a fresh board takes color differently than aged wood, and you may need a conditioner on softwoods to avoid blotching. For painted sills, prime bare wood or composite fully, then apply two topcoats so the sheen matches the surrounding trim rather than standing out as a flat patch.
When to Call a Professional
Plenty of sill jobs are firmly in DIY territory, but a few signs mean it is time to bring in a pro. If removing the sill reveals rotted framing, active water intrusion into the wall, or damage to the window unit itself, the scope has grown beyond simple carpentry into moisture remediation and possibly window replacement. Extensive rot around multiple windows often points to a failed flashing detail that needs an experienced eye.
Likewise, if the window is on an upper floor requiring ladder work, or the exterior sill is integral to the window frame and cannot be removed without disturbing the unit, a carpenter or window specialist will do it faster and with proper flashing. Spending a few hundred dollars to fix the root cause once beats replacing the same sill again in two years because the underlying leak was never addressed.
Sealing Against Future Damage
The whole point of window sill replacement is to keep water where it belongs, so finish the job with prevention in mind. Maintain the slope on exterior sills, keep the paint or sealer intact and refresh it every few years, and check the caulk annually for gaps. Indoors, control condensation with proper ventilation and, in cold climates, address single-pane windows that sweat, since that moisture is what rotted the original sill. A well-sealed, well-sloped sill sheds water the way it was designed to and should outlast the paint you put on it.