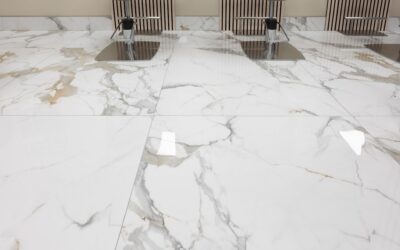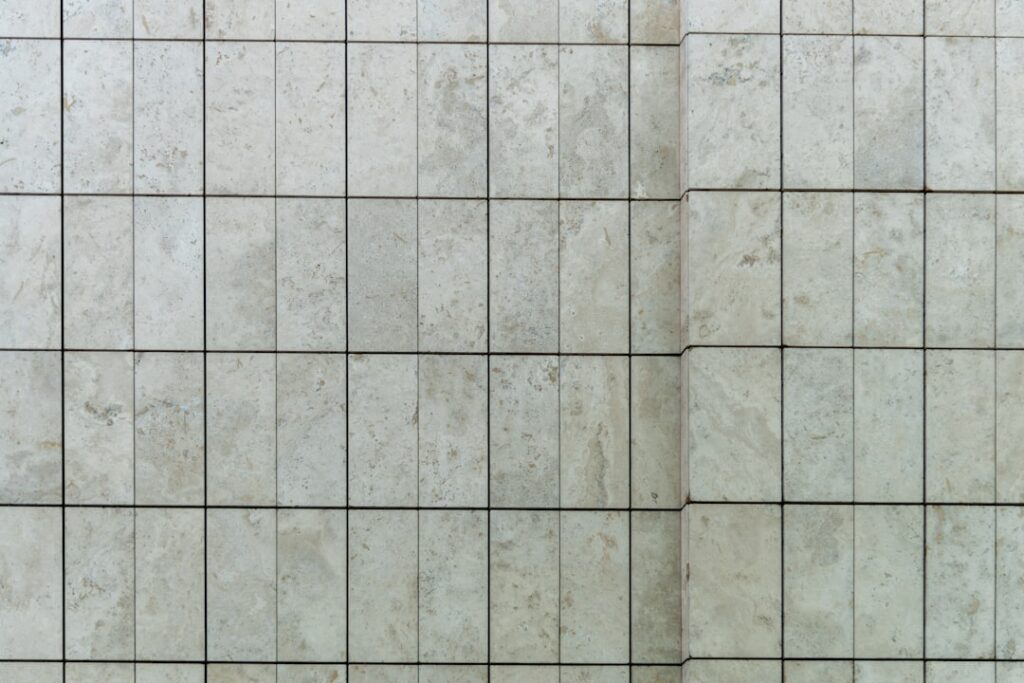
Large-format flooring has moved from luxury showrooms into everyday homes, and 24 x 24 porcelain tiles are leading that shift. A two-foot square covers four times the area of a standard 12-inch tile, which means fewer grout lines, a cleaner look, and a floor that feels expansive even in a modest room. But bigger tiles bring bigger installation demands. Before you fall in love with that seamless, gallery-like finish, it pays to understand what these tiles cost, how they go down, and where they perform best.
Part of our Tile & Grout guide — explore the full guide →
Why Homeowners Choose Large-Format Porcelain
The appeal is mostly visual. With half as many joints as a 12×12 layout, a 24-inch tile floor reads as continuous and calm. That minimal grout look is exactly why designers reach for it in contemporary kitchens, open living areas, and spa-style bathrooms. There is a practical upside too: fewer grout lines mean fewer places for dirt to collect and less grout to scrub over the years.
Porcelain itself adds durability to the equation. It is dense, hard, and highly water-resistant, with a water absorption rate below 0.5%. That makes 24×24 porcelain a strong pick for high-traffic and moisture-prone spaces where a softer tile would wear or stain.
Cost of 24 x 24 Porcelain
Large-format porcelain spans a wide price range depending on quality and finish. Use these figures for planning:
- Budget field tile: $2 to $4 per square foot.
- Mid-grade with realistic stone or concrete looks: $4 to $8 per square foot.
- Premium and designer lines: $8 to $15-plus per square foot.
- Installation: $8 to $18 per square foot, higher than small tile because of the labor and prep involved.
The installation premium is real. Setting large tiles flat and lippage-free takes skill, specialized tools, and more time, so labor often exceeds the cost of the tile itself.
Estimating Coverage
Each 24×24 tile covers four square feet. To find your count, divide the room’s square footage by four, then add waste. Because large tiles produce large, less reusable offcuts, bump your waste allowance up a bit:
- Straight layouts: add 10% to 15%.
- Diagonal or heavily cut rooms: add 15% to 20%.
A 200-square-foot room needs about 50 tiles before waste, so budget for roughly 55 to 58. Order all of it from one production lot, since shade variation between lots is more noticeable across big tiles.
The Flatness Challenge
Here is the single most important thing to understand: large tiles are unforgiving of uneven subfloors. A 12-inch tile can bridge a small dip, but a 24-inch tile spans so much distance that any hump or hollow shows up as lippage, where one tile edge sits higher than its neighbor. Industry guidance calls for a substrate flat to within 1/8 inch over 10 feet for large-format work.
That usually means self-leveling the floor or grinding down high spots before you set a single tile. Skipping this step is the number one reason large-format jobs look amateurish. If your subfloor is wavy, budget time and material to flatten it first.
Installation Essentials
Setting 24×24 porcelain calls for the right technique and tools. A few essentials make the difference between a flat floor and a lippage nightmare:
- Large-format thinset: Use a medium-bed or LFT mortar rated for big tile, not standard thinset that shrinks and slumps.
- Big-notch trowel: A 1/2-inch square-notch trowel delivers enough mortar for full coverage.
- Back-buttering: Spread a thin coat on the back of each tile to eliminate voids that lead to cracks.
- Lippage-control clips: Leveling systems pull adjacent tiles into the same plane while the mortar cures.
- The one-third offset rule: If you stagger the tiles, keep the offset under one-third of the tile length to avoid center-hump lippage.
You will also need a high-quality wet saw. These tiles are too large and hard to score and snap, and clean cuts require a diamond blade.
Design Ideas That Work
The straight grid is the most popular layout for 24×24 tiles because it maximizes that seamless, grid-minimal look. Running the tiles in the same direction as the longest wall stretches the room visually. For a subtle upgrade, choose a rectified tile, which has precisely cut edges that allow grout lines as tight as 1/8 inch and reinforce the continuous appearance.
Match your grout to the tile color for the most seamless effect, or pick a slightly contrasting shade if you want the grid pattern to register. Concrete-look and large-slab marble-look porcelains are especially popular in this size because the big format lets the pattern read the way natural material would.
Grout Choices for Large-Format Tile
With half as many joints as a small-tile floor, grout still plays a big role in the finished look. Because 24-inch tiles use tight, uniform joints, especially when rectified, an unsanded or fine-textured grout usually suits the narrow lines. Matching the grout color to the tile reinforces the seamless, continuous appearance that draws people to large format in the first place.
For high-traffic and wet areas, consider epoxy grout. It resists staining and never needs sealing, which keeps those long grout lines looking clean for years. If you use standard cement grout, seal it after curing and reapply periodically. Whatever you choose, keep joint width consistent, since any wandering grout line stands out far more across a big tile than it would on a busy 12×12 grid.
Maintenance and Longevity
One of the quiet advantages of 24×24 porcelain is how little upkeep it demands. Porcelain is nonporous, so it never needs sealing, resists stains, and stands up to heavy foot traffic and moisture. Day-to-day care is as simple as sweeping or vacuuming to remove grit, then damp-mopping with a pH-neutral cleaner.
- Avoid abrasive pads and harsh chemicals that can dull a polished finish over time.
- Seal the grout, not the tile, if you used a cement-based product.
- Wipe spills promptly on polished tiles to prevent water spotting.
Because the color and pattern run through printed and glazed layers built for durability, a quality large-format porcelain floor can look sharp for decades with almost no special attention.
Where 24×24 Porcelain Fits Best
These tiles shine in open-concept kitchens and living rooms, large bathrooms, entry foyers, and commercial-style spaces where the expansive look pays off. They can overwhelm a very small room, where a huge tile means lots of cuts against the walls, so a 12-inch or 18-inch format sometimes suits a tiny bathroom better. But in any generous space, the clean lines and durability of large-format porcelain are hard to beat.
It is also worth thinking about weight and handling before the tile arrives. A single 24×24 porcelain tile can weigh 12 to 18 pounds or more, which makes carrying, cutting, and setting a two-person job for safety and accuracy. Plan your delivery so the pallet lands close to the work area, and use suction cups or a rubber mallet and beating block to seat each tile without cracking it. These practical realities are easy to overlook when you are focused on the finished look, but they shape how smoothly the installation actually goes and whether you finish with breakage or without.
The Bottom Line
24 x 24 porcelain tiles deliver a modern, low-grout look and the toughness of dense porcelain, making them a smart long-term choice for busy, open, and moisture-prone rooms. Just respect what they demand: a dead-flat subfloor, the right mortar and tools, and a skilled hand to keep them lippage-free. Get the prep right and you will have a floor that looks like poured stone and lasts for decades.
Prefer to explore on your own?
See how new flooring looks in your actual room in seconds — free, no signup.
Try the free Floor Studio →