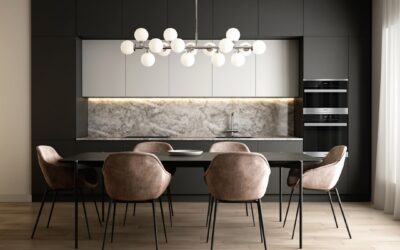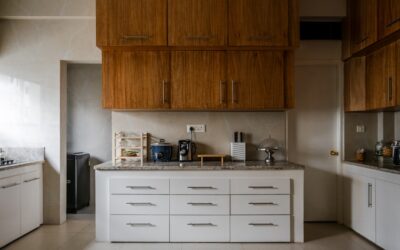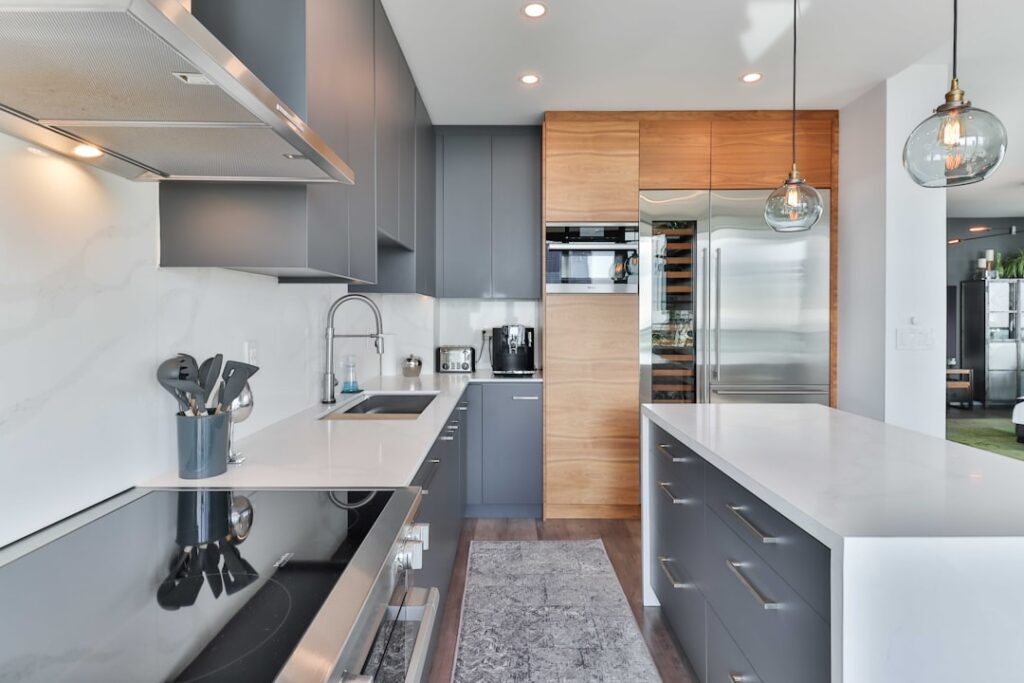
The cabinet above your refrigerator is the most under-used 12 cubic feet in most American kitchens. Above fridge cabinet ideas tend to fall into two categories — designers who give up and treat the space as decorative, and homeowners who jam holiday platters and travel mugs in there until the door does not close. There is a third option, and it depends on getting two details right: the cabinet depth and the access mechanism. Solve those, and you reclaim genuinely useful storage instead of a junk shelf.
Part of our Kitchen Remodeling guide — explore the full guide →
The Depth Problem No One Mentions
Standard wall cabinets are 12 inches deep. Standard refrigerators are 30 to 36 inches deep. That mismatch creates a 20-plus inch gap of wasted space behind whatever you store in a stock above-fridge cabinet. Things slide to the back wall, get forgotten, and reappear during the next remodel.
The fix is a deep above-fridge cabinet — typically 24 inches deep instead of 12 — that comes flush with the front of the refrigerator. Cabinet manufacturers like KraftMaid, Schrock, and most semi-custom brands offer these as a stock option for $200 to $450 more than the standard depth. You triple the storage volume and the look is dramatically more polished.
Pull-Down Shelving for Real Access
Even with the right depth, you still need to actually reach what is in there. The Rev-A-Shelf 5PD pull-down shelf system ($300 to $500) lowers a wire basket from the cabinet down to counter level with a smooth lift handle. Most homeowners under 6 feet tall cannot use the back half of an above-fridge cabinet without one.
Lower-cost alternatives include simple pull-out drawers within the cabinet, which require less hardware but only cover the front 12 inches of depth. For deep cabinets, the pull-down is the only mechanism that gets you to the back wall without a stepladder.
Five Storage Ideas That Actually Work
Once you have the depth and access sorted, fill the space with items you use seasonally or rarely. Daily items belong at counter or upper-shelf height. Above the fridge is for the second tier of kitchen gear.
- Large platters and serving trays: Vertical dividers like the Rev-A-Shelf 597 ($35) hold sheet pans and platters on edge for easy retrieval
- Holiday and seasonal dishware: Stack with cabinet shelf risers so you do not crush what is below
- Small appliances used monthly or less: Stand mixers, food processors, waffle makers — anything that earns its keep but lives behind closed doors
- Cookbooks and recipe binders: A surprisingly elegant use, especially behind glass doors
- Tall bottles and entertaining supplies: Olive oils, infused vinegars, party platters bundled together for easy hosting prep
Glass Doors and Display Options
Glass-front doors above the fridge work best when the contents are intentional rather than incidental. White serving bowls, clear glass pitchers, or a curated cookbook collection look polished. A jumble of mismatched Tupperware behind glass looks like an estate sale.
Mullion or muntin doors with multiple small panes add architectural detail and partially obscure the contents. Frosted or seeded glass goes one step further — visible enough to add depth, opaque enough to forgive less-than-perfect organization. Expect to add $80 to $200 per door upcharge for glass options on most cabinet lines.
The Bridging Trick for Visual Balance
A solo above-fridge cabinet stuck up high often reads as awkward — a floating box with too much air around it. Designers solve this by bridging it visually to adjacent uppers. Continuous crown molding across the top of all uppers including the fridge cabinet is the simplest fix and runs about $4 to $8 per linear foot for primed MDF profiles.
Another approach is decorative side panels that extend from the adjacent cabinets to flank the fridge entirely, creating a built-in look. This works best when the fridge is between two cabinet runs rather than standing alone at the end of a counter. The extra panels run $80 to $160 each and dramatically upgrade the visual weight of the whole composition.
Going Without a Cabinet Entirely
For modern kitchens with 9-foot or taller ceilings, leaving the space above the fridge open creates a different style entirely. Options include a single open shelf for cookbooks or art, a deep recessed nook lined with beadboard, or simply painted drywall in an accent color that draws the eye up.
This approach works best when the fridge itself is a panel-ready or counter-depth model that does not look industrial. A standard 36-inch deep stainless fridge with no upper cabinet looks like the cabinet is missing rather than intentionally absent. Counter-depth fridges run $1,500 to $4,000 and tuck flush with adjacent cabinetry for a built-in appearance.
Lighting the Top of the Fridge
If you are leaving the space open or going with glass doors, add lighting. A simple LED puck light wired into the soffit above ($25 to $50) draws attention to the styling and prevents the area from reading as a dark void at night. For glass-door cabinets, an interior LED strip activated by the door switch adds a high-end touch usually associated with custom builds.
Battery-operated puck lights work in a pinch but require monthly battery changes if used daily. Hardwired or low-voltage options pay for themselves in convenience within the first year.
Specifying for a New Kitchen Build
If you are remodeling, specify your fridge cabinet at the design stage rather than after framing. Cabinet shops can build the unit deeper, taller, or with custom interior fittings if you tell them at the order. Adding pull-down hardware after the fact is possible but often involves drilling new mounting holes that show inside the cabinet.
Confirm the height between your fridge and the underside of the cabinet during design — most refrigerators need a minimum of 1 inch of clearance for ventilation, and some French-door models require 2 to 3 inches above the door hinges to allow them to swing open fully. A few inches the wrong way during framing can mean a non-functional door later.