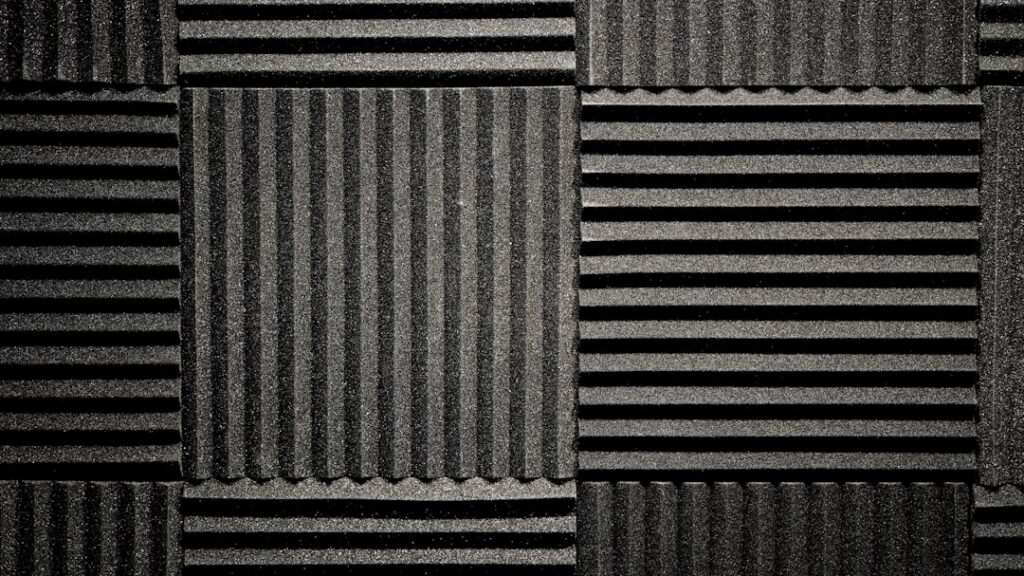
Acoustic tile is one of the most effective and affordable ways to tame noise in a room, absorbing sound that would otherwise bounce off hard walls and ceilings and create echo. Whether you are building a home theater, quieting a busy home office, or softening a reverberant basement, the right panels can transform how a space sounds and feels. This guide explains how acoustic tile works, the materials available, and how to choose and install it well.
Part of our Tile & Grout guide — explore the full guide →
Sound control is often overlooked during renovations, yet it has an outsized effect on comfort. A room can look beautiful and still feel exhausting if every voice and footstep echoes, and acoustic tile is the direct fix.
How Acoustic Tile Works
Acoustic tile reduces noise by absorbing sound energy rather than reflecting it. Hard surfaces like drywall, glass, and bare floors bounce sound waves around a room, creating reverberation that makes speech harder to understand and music muddier. Porous or specially shaped acoustic materials convert that sound energy into tiny amounts of heat as the waves pass through them.
It is important to understand the distinction between absorption and soundproofing. Acoustic tile excels at reducing echo and improving clarity within a room, but it does little to stop sound from passing through walls to adjacent spaces. Blocking transmission between rooms requires mass and isolation, which are different strategies altogether.
Understanding NRC Ratings
The single most useful specification when shopping is the Noise Reduction Coefficient, or NRC. This rating runs from 0 to 1 and indicates how much sound a material absorbs, where a higher number means better absorption:
- NRC 0.0 to 0.2: Reflective surfaces like glass and painted drywall.
- NRC 0.5 to 0.7: Moderate absorption suitable for general living spaces.
- NRC 0.8 to 1.0: High absorption ideal for studios, theaters, and conference rooms.
For most homes, panels rated NRC 0.7 and above deliver a clearly noticeable improvement. A material with an NRC of 1.0 absorbs essentially all the sound that reaches it, which is why studio treatments use high-rated foam and mineral panels.
Common Materials and Types
Acoustic tile comes in several forms, each with its own look and performance profile:
- Mineral fiber ceiling tiles: The familiar drop-ceiling squares, affordable and effective for offices and basements.
- Fiberglass panels: Excellent absorbers, usually wrapped in fabric for a finished, decorative appearance on walls.
- Acoustic foam: Lightweight wedge or pyramid panels popular in recording spaces, easy to mount but less durable.
- Polyester (PET) felt tiles: Modern, often made from recycled material, available in many colors and shapes for design-forward installs.
- Wood acoustic panels: Slatted or perforated wood backed with absorptive material, blending good performance with a warm look.
Where to Install Acoustic Tile
Placement matters as much as quantity. The goal is to cover the surfaces that reflect sound back toward listeners. In most rooms, the first reflection points on side walls and the ceiling deliver the biggest improvement per panel. You do not need to cover every surface; treating 15 to 30 percent of a room’s wall and ceiling area often produces dramatic results.
Home theaters, music rooms, home offices used for video calls, and open-plan living areas all benefit. In a home office, even a few well-placed panels can sharpen the clarity of your voice on calls. For ceilings, drop-in mineral tiles or suspended baffles work well, while walls suit fabric-wrapped or felt panels that double as decor.
Cost Expectations
Pricing varies by material, thickness, and finish, so use these figures as estimates rather than quotes. Basic mineral fiber ceiling tiles often run $1 to $4 per square foot. Acoustic foam panels are inexpensive, frequently $1 to $3 per square foot, but offer a more utilitarian look.
Fabric-wrapped fiberglass panels and designer felt tiles cost more, commonly $5 to $20 per square foot depending on quality and appearance. Decorative wood acoustic panels sit at the upper end. Professional installation, when needed, adds labor, though many wall and ceiling tiles are designed for straightforward DIY mounting, which keeps costs down.
Installation Basics
Many acoustic tiles are friendly to do-it-yourself installation. Lightweight foam and felt panels often attach with adhesive, hook-and-loop strips, or specialized clips, while ceiling tiles drop into a suspended grid. The general approach is simple:
- Identify the main reflection points and plan a layout, marking positions with a pencil and level.
- Clean the mounting surface so adhesives bond properly.
- Attach panels evenly, keeping spacing consistent for a tidy appearance.
- Leave a small air gap behind panels where possible, since this can improve low-frequency absorption.
Always follow the manufacturer’s mounting instructions and weight guidelines, and use appropriate anchors for heavier panels so nothing falls. For large drop-ceiling projects or installations involving electrical fixtures, hiring a professional is the safer route.
Common Mistakes to Avoid
Several misunderstandings trip up first-time buyers. The biggest is expecting acoustic tile to block noise between rooms; it absorbs reflections within a space but does little to stop sound transmission through walls, which is a separate job requiring mass and isolation. Buying thin foam alone and expecting it to tame deep bass is another common letdown, since low frequencies need thicker panels or air gaps to absorb effectively.
Placement errors also waste money. Scattering a few panels randomly does far less than concentrating them at the first reflection points on side walls and the ceiling. Conversely, covering every surface can leave a room sounding flat and lifeless. Aim for balanced, targeted treatment, listen as you go, and remember that soft furnishings work alongside the tile rather than competing with it. Avoiding these pitfalls ensures your investment delivers the audible improvement you are after.
Getting the Best Results
Combine absorption with smart room choices for the biggest impact. Soft furnishings like rugs, curtains, and upholstered furniture supplement acoustic tile and help round out the sound. Start with a modest amount of treatment, listen to the difference, and add more only if needed, since over-treating a room can make it feel unnaturally dead.
Done thoughtfully, acoustic tile delivers a remarkable upgrade in comfort for a relatively small investment. Clearer conversations, richer audio, and a calmer overall atmosphere are well within reach once you match the right panels to the right surfaces. Measure your space, target the reflection points, and choose an NRC rating suited to how you use the room.
Prefer to explore on your own?
See how new flooring looks in your actual room in seconds — free, no signup.
Try the free Floor Studio →