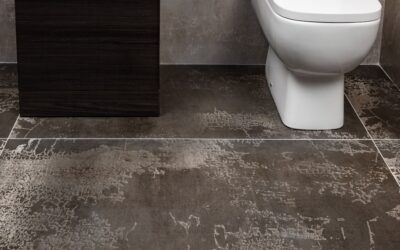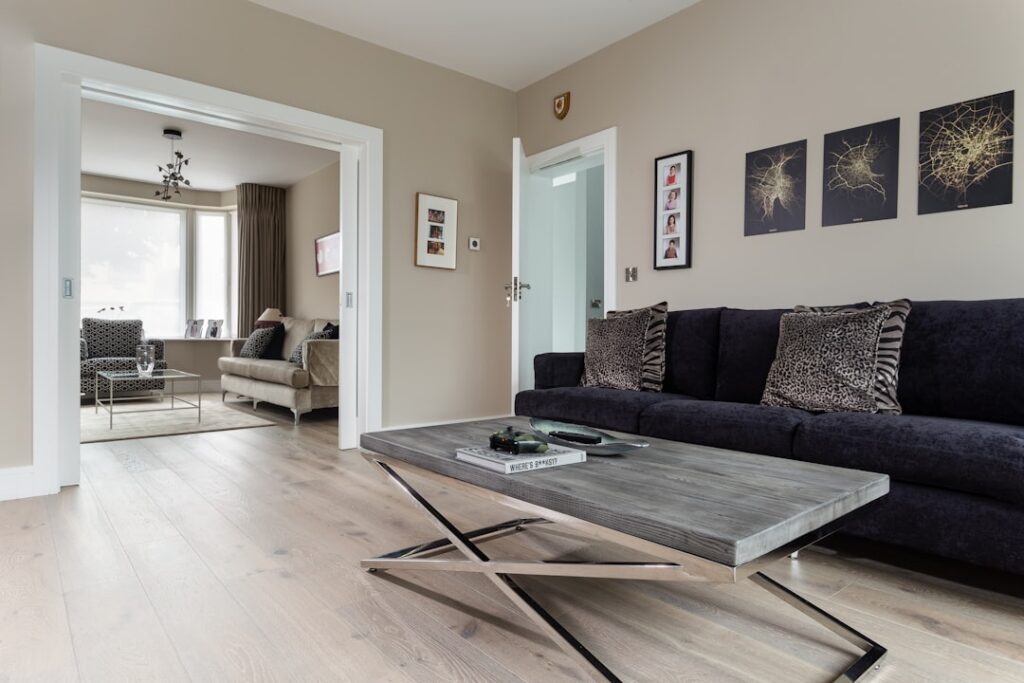
The phrase “laminate in a bathroom” used to be a guaranteed warranty void and a recipe for swollen edges within 18 months. Modern manufacturing changed that calculation completely. Bathroom laminate tiles now exist in genuinely waterproof formulations with sealed cores, gasketed seams, and warranties that explicitly cover bathroom installations. They still are not appropriate for every bathroom situation, but for half-baths, powder rooms, and dry main bathrooms with good ventilation, they make real sense. After installing modern waterproof laminate in three bathrooms and tearing out two failed traditional installs, here is the honest assessment.
Part of our Bathroom Remodeling & Flooring guide — explore the full guide →
- The Technology That Changed Bathroom Laminate
- Where Laminate Tiles Work in Bathrooms
- Pricing for Bathroom-Rated Laminate
- Subfloor Preparation Is Non-Negotiable
- Critical Sealing Around Fixtures
- Comparison with Traditional Ceramic Tile
- Patterns and Looks Available
- Installation Tips From the Field
- Maintenance for Long Life
The Technology That Changed Bathroom Laminate
Traditional laminate has a high-density fiberboard core that swells on contact with water. Once the core swells, the floor is finished; there is no way to compress it back. The new generation of waterproof laminate uses one of three approaches:
- HydroSeal cores: Treated HDF with water-resistant resins, used by Pergo Outlast+ and Mohawk RevWood
- SPC (stone-plastic composite) cores: Technically a hybrid, marketed as laminate-look but with vinyl-based cores
- Gasketed click joints: Drop-lock systems where each seam has a built-in waterproof seal
Combined with proper installation, these technologies allow a manufacturer to offer a 25-year waterproof warranty including bathroom use. Read the specific warranty language carefully though; some require professional installation, and most exclude full bathrooms with showers and tubs.
Where Laminate Tiles Work in Bathrooms
The product performs reliably in specific bathroom scenarios:
- Powder rooms with no tub or shower
- Half-baths off main living areas
- Master bathrooms with separate enclosed shower stalls
- Basement bathrooms with good ventilation and concrete subfloors
- Guest bathrooms used infrequently
It does not perform reliably in family bathrooms with combined tub-shower units used daily by multiple people, or in poorly ventilated bathrooms where standing humidity stays high. Even waterproof laminate eventually fails in chronic high-humidity environments because the surface seal degrades over time.
Pricing for Bathroom-Rated Laminate
Waterproof laminate carries a 20% to 40% price premium over standard laminate. Expect these price ranges:
- Pergo Outlast+ (waterproof): $3.00 to $4.50 per sq ft
- Mohawk RevWood Plus: $3.50 to $5.00 per sq ft
- Shaw Repel: $3.50 to $5.50 per sq ft
- Premium European waterproof brands: $5.50 to $8.00 per sq ft
Installation labor adds $2.00 to $3.50 per sq ft for floating installs over a properly prepared subfloor. For a 40 sq ft powder room, expect $250 to $500 total project cost. For an 80 sq ft master bathroom, $600 to $1,100 total.
Subfloor Preparation Is Non-Negotiable
Bathroom laminate fails most often from below, not above. The subfloor must be dead flat, dry, and sealed against vapor transmission. For concrete subfloors, test moisture content before installation; anything above 4.5% relative humidity means you need a vapor barrier or moisture suppression product.
For wood subfloors, check for soft spots around the toilet flange and tub edge. Any softness indicates previous water damage that must be cut out and patched with plywood before laminate goes down. Skipping this step is the leading cause of premature failure.
Critical Sealing Around Fixtures
The laminate itself may be waterproof, but the connections to fixtures are vulnerable. Apply 100% silicone sealant (not acrylic caulk) at every fixture penetration including:
- The toilet flange perimeter
- The base of the vanity cabinet
- The expansion gap behind the tub or shower threshold
- Any cuts around plumbing supply lines
- Door thresholds and transitions to other rooms
Use clear or color-matched silicone, not the universal white default. The sealant line should be smooth and continuous. A break of even half an inch creates an entry point that defeats the laminate’s waterproofing in months.
Comparison with Traditional Ceramic Tile
Laminate tiles offer several advantages over ceramic in the right situation:
- Warmer underfoot, particularly without radiant heating
- Faster installation, often a single day for a powder room
- No grout to clean or reseal annually
- Easier to replace if damage occurs
- Slightly more forgiving of dropped items than ceramic
Ceramic still wins on absolute waterproofing, longevity in wet areas, and resale value perception. For a forever home with frequent bathroom use, real tile remains the better choice. For rental properties, weekend houses, or budget bathroom refreshes, laminate tiles often make more practical sense.
Patterns and Looks Available
Modern bathroom laminate comes in surprisingly convincing tile and stone looks. Pergo, Mohawk, and Shaw all produce 12×24 inch tile-shaped pieces with grout-line bevels that read genuinely tile-like at first glance. The visual gap between premium laminate and real porcelain has narrowed dramatically in the past five years.
Popular looks include:
- White marble (Carrara, Calacatta) replicas with veining
- Travertine and limestone neutrals
- Slate-look textured surfaces
- Concrete-look minimalist styles
- Mosaic-pattern feature pieces
Installation Tips From the Field
Floating bathroom laminate installs go quickly when prep is done right. Acclimate boxes in the bathroom for 48 to 72 hours before install. Leave the 3/8 inch expansion gap at all walls, fixtures, and thresholds. Use a tapping block and pull bar to tighten seams without forcing them.
The first row matters most. Start along the longest straight wall and verify it is square before laying subsequent rows. A 1/4 inch error at the start compounds to a 2 inch error by the opposite wall. Use a chalk line snapped against the actual room geometry, not the visual wall, since older bathroom walls are rarely square.
Maintenance for Long Life
Even waterproof laminate benefits from daily care that keeps moisture from sitting on the surface. Use a microfiber mop with a barely damp cleaning solution; never a soaking wet mop or a steam cleaner. Wipe up splashes within minutes when possible. Run the bathroom exhaust fan during and 20 minutes after every shower to keep humidity from saturating the air.
Inspect the silicone seals annually and recaulk any cracked sections immediately. Five minutes of maintenance per year prevents most failures. Done correctly, modern bathroom laminate tiles deliver 15 to 20 years of reliable service at half the cost of equivalent ceramic.
Prefer to explore on your own?
See how new flooring looks in your actual room in seconds — free, no signup.
Try the free Floor Studio →