Choosing laminate tiles for the kitchen means getting the warm, realistic look of stone or wood at a fraction of the price — but kitchens are demanding rooms, and laminate has one historic weakness: water at the seams. Modern water-resistant laminate has closed much of that gap, and tile-format laminate (squares and large-format planks that mimic ceramic or natural stone) gives you a designer look that clicks together in an afternoon. This guide explains how to choose kitchen-ready laminate, decode the durability ratings, budget the project, and install it so moisture never gets a foothold.
Part of our Kitchen Remodeling guide — explore the full guide →
Can Laminate Really Handle a Kitchen?
The honest answer: yes, if you choose the right product and install it carefully. Standard laminate has a fiberboard (HDF) core that swells if water sits in the seams. But manufacturers now make water-resistant and even waterproof laminate with sealed edges and tighter locking joints rated to hold back spills for 24 to 72 hours. For a kitchen, you want at minimum a water-resistant rating; for households with frequent spills, a waterproof rigid product is the safer bet.
The Ratings That Matter
Two numbers separate kitchen-grade laminate from bedroom-grade. Learn both before you buy.
- AC rating (abrasion class): measures wear resistance. AC3 is the minimum for a kitchen; AC4 or AC5 better handles the heavy traffic and dropped pots a kitchen sees.
- Water-resistance spec: look for a stated time rating (such as 24 or 72 hours) and sealed edges. “Water-resistant” and “waterproof” are not the same — read the box.
Thickness matters too. An 8mm to 12mm board feels more solid and dampens noise better than a thin 6mm product.
Tile-Look vs. Wood-Look Laminate
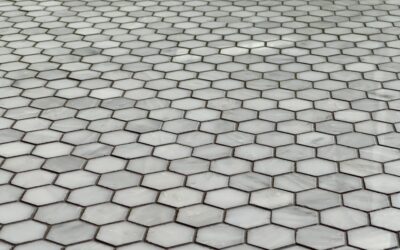
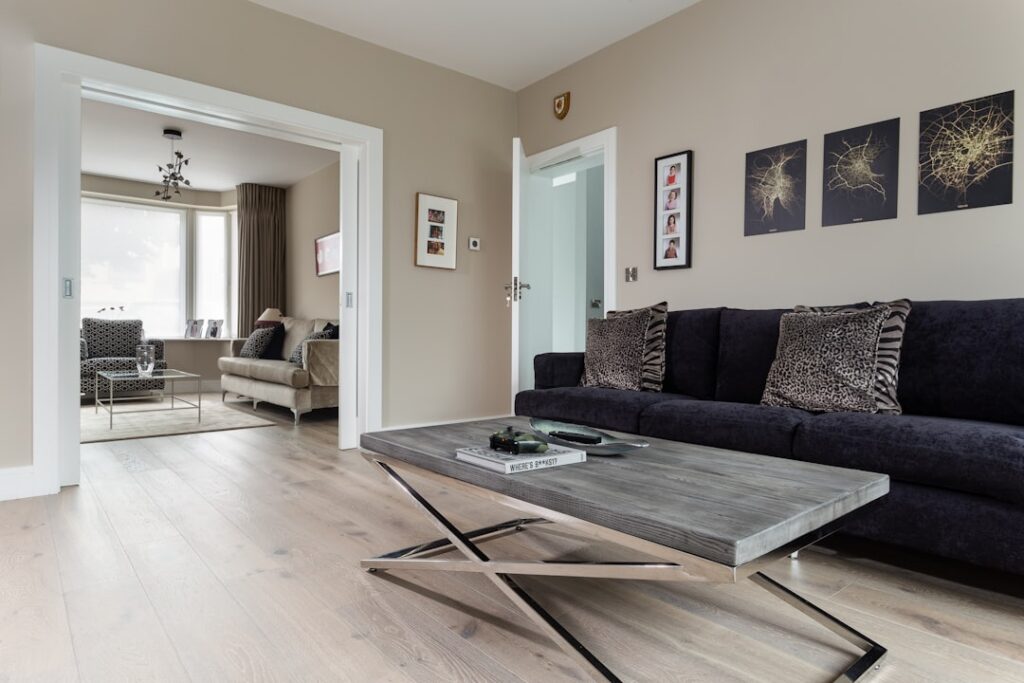
Laminate tiles come in two broad styles. Stone- and tile-look laminate arrives in square or large-format pieces that imitate ceramic, slate, or travertine — often with textured, grout-line embossing that reads convincingly as real tile from standing height. Wood-look laminate planks deliver the classic wood-floor warmth. For a kitchen, stone-look laminate pairs naturally with the room’s hard surfaces, while wood-look ties the kitchen into adjoining living spaces. Both install the same click-lock way.
What Laminate Kitchen Tiles Cost
Laminate’s price advantage is its biggest selling point. Typical material ranges:
- Budget laminate: $1 to $2 per sq ft
- Mid-range water-resistant: $2 to $3.50 per sq ft
- Premium thick, waterproof tile-look: $3.50 to $5 per sq ft
Installation adds roughly $2 to $4 per sq ft if you hire it out, or nothing if you DIY the click-lock system. For a 200 sq ft kitchen in a mid-range product, material runs about $400 to $700 — well below the cost of real porcelain tile installed.
Installation Tips to Keep Moisture Out
The seams are everything in a kitchen. Follow these to protect them:
- Acclimate the boxes in the kitchen for 48 hours before installing.
- Install over a flat, dry subfloor with a moisture barrier on concrete slabs.
- Leave a 1/4 to 3/8 inch expansion gap at all walls and around the island base.
- Run a bead of manufacturer-approved sealant in the perimeter expansion gap under the toe-kick and at the dishwasher and sink cabinet, where leaks start.
- Use a 100 percent silicone seal where the floor meets cabinets rather than rigid grout, which cracks.
Wipe spills promptly even with water-resistant product — no laminate likes standing water indefinitely.
Care and Maintenance
Laminate is easy to live with. Sweep or dry-mop regularly to keep grit from dulling the wear layer, and damp-mop with a well-wrung microfiber and a laminate-safe cleaner. Never wet-mop with a sopping mop or use steam cleaners, both of which force moisture into the seams. Felt pads under chairs and a mat at the sink protect the finish from the two spots that wear fastest.
Laminate Tiles vs. Real Tile and LVP
It’s worth knowing how kitchen laminate stacks up against its main rivals before you commit. Compared with real porcelain tile, laminate is far cheaper, warmer and softer underfoot, and a realistic DIY project — but it can’t match porcelain’s lifetime waterproofing or its resistance to a dropped cast-iron pan. Against luxury vinyl plank, laminate often delivers a crisper, more textured surface and a lower price on budget tiers, while LVP wins outright on waterproofing for the wettest rooms. The honest takeaway: if your kitchen sees heavy spills and you want zero worry about water, a waterproof rigid LVP or porcelain tile is the safer pick, but for a kitchen with normal use and a tighter budget, today’s water-resistant laminate tiles are a genuinely good-looking, cost-effective choice.
Layout Tips for a Realistic Tile Look
Half the convincing-tile effect comes from how you lay the pieces. Stone-look laminate squares look most authentic when you stagger or grid them the way real tile would be set, rather than running them in obvious parallel rows. Pay attention to the embossed grout-line detail and orient adjacent pieces so the faux joints align into a believable grid. Plan your layout so cut pieces fall along the least-visible walls and under the cabinet toe-kick, and start from a centered reference line so the room reads balanced. Mixing planks from several different boxes as you go prevents a repeating pattern or a cluster of identical-looking pieces, which is the detail that gives away a printed product.
The Bottom Line
Laminate tiles for the kitchen deliver a convincing stone or wood look at a budget price, and with today’s water-resistant and waterproof products they hold up to real kitchen life — as long as you spec an AC4 or higher board, seal the seams at the sink and dishwasher, lay the pieces for a realistic grid, and wipe spills promptly. Get those details right and you’ll have a kitchen floor that looks like tile, installs like a weekend project, and costs a fraction of the real thing.
Prefer to explore on your own?
See how new flooring looks in your actual room in seconds — free, no signup.
Try the free Floor Studio →