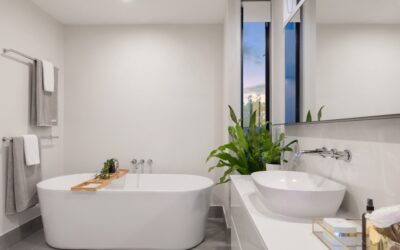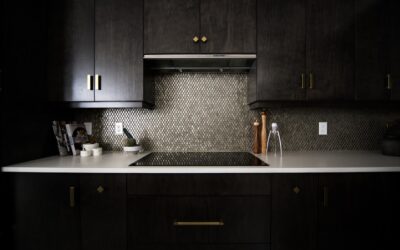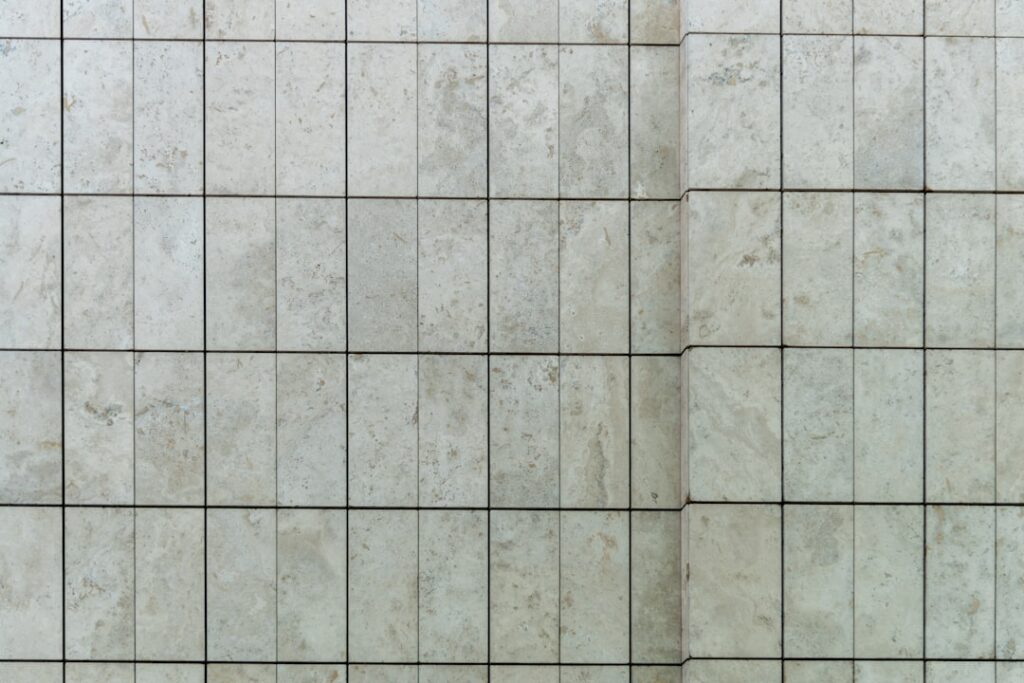
A bathroom tile backsplash earns its keep twice over. It shields the wall behind your sink from splashes, toothpaste, and soap that would otherwise stain and degrade drywall, and it gives the room a finished, designed look that paint alone can’t match. Whether you want a subtle strip above the vanity or a bold full-height feature wall, the right tile choice sets the tone for the entire space.
Part of our Bathroom Remodeling & Flooring guide — explore the full guide →
Getting it right means thinking through material, height, layout, and the small details like grout color that separate a custom-looking result from a builder-grade afterthought.
Why Your Bathroom Needs a Backsplash
Water is relentless. Every time you wash your hands or brush your teeth, fine droplets hit the wall behind the faucet. Over months and years, that moisture soaks into untreated drywall, lifting paint, breeding mildew, and eventually crumbling the surface. Tile creates a waterproof, wipeable barrier exactly where you need it most.
Beyond protection, a backsplash adds visual interest at eye level. It’s one of the most cost-effective upgrades in a bathroom because it covers a small area yet draws immediate attention, making it a favorite for both full remodels and quick refreshes.
Choosing the Right Tile
The wall behind a vanity sees moisture but not the constant submersion of a shower, so you have wide latitude in material. Each option brings a different look and price point.
- Ceramic: Affordable, easy to cut, and available in endless colors and finishes. A reliable all-rounder, typically $1 to $5 per square foot.
- Porcelain: Denser and less porous than ceramic, with excellent water resistance. Great for high-humidity bathrooms, usually $3 to $8 per square foot.
- Glass: Reflects light and makes small bathrooms feel brighter and larger. Often sold as mosaic sheets, ranging $7 to $20 per square foot.
- Natural stone (marble, travertine): Luxurious and timeless, but porous and requiring periodic sealing to resist staining.
- Mosaic sheets: Small tiles mounted on mesh backing, ideal for curves, accent strips, and DIY-friendly installation.
How High Should It Go?
Backsplash height is a design decision with practical roots. There’s no single correct answer, but a few common approaches guide most bathrooms.
- Standard (4 inches): A simple ledge of tile just above the countertop. Practical and budget-friendly, though it looks dated in many modern designs.
- Mid-height (to the mirror, roughly 18 to 24 inches): Covers the area most exposed to splashing and creates a clean, intentional band. The most popular choice today.
- Full height (floor to ceiling or up to the mirror top): A dramatic feature wall that makes a strong style statement and offers maximum protection.
For a powder room you want to feel special, full height delivers impact. For a busy family bathroom, mid-height balances cost and coverage well.
Popular Layout Patterns
The same tile looks completely different depending on how you set it. Layout is where personal style shows.
- Subway (running bond): Classic rectangular tiles offset by half. Timeless and forgiving of minor wall imperfections.
- Stacked (grid): Tiles aligned in straight vertical and horizontal lines for a crisp, modern look.
- Herringbone: Angled rectangles that add movement and a high-end, custom feel.
- Vertical stack: Subway tiles turned upright to draw the eye up and heighten a small room.
- Penny round or hexagon mosaics: Playful, texture-rich patterns that work well as accents.
Grout: The Detail That Defines the Look
Grout color changes everything. A contrasting grout, like white tile with charcoal lines, emphasizes the tile pattern and adds graphic punch. A matching grout creates a seamless, calm surface. For most bathrooms, choose a grout color slightly darker than pure white, since bright white grout near a sink shows discoloration quickly.
Use a stain-resistant, mildew-resistant grout, and consider sealing cement-based grout after it cures. Epoxy grout costs more and is harder to work with, but it resists stains and moisture without sealing, which makes it a smart upgrade in wet areas.
Installation Basics
A backsplash is one of the more approachable tile projects, but precision matters because it sits at eye level where every flaw shows. The general process runs like this.
- Clean and prime the wall, and confirm it’s flat. Patch any divots so tiles sit flush.
- Mark a level reference line. Counters are rarely perfectly level, so don’t assume the countertop is your baseline.
- Apply thin-set mortar or a quality tile adhesive with a notched trowel, working in small sections.
- Set tiles with spacers for consistent grout lines, cutting around outlets and the faucet with a wet saw or nippers.
- Let the adhesive cure fully, usually 24 hours, before grouting.
- Apply grout, wipe the excess with a damp sponge, and seal once cured.
Always shut off power at the breaker before removing outlet covers near the vanity, and follow the manufacturer’s mixing and cure times for thin-set and grout. Ventilate the room while working with adhesives. For full-height walls, intricate stone, or if your walls are badly out of plumb, hiring an experienced tile setter is money well spent.
Coordinating With the Rest of the Bathroom
A backsplash never exists in isolation, so the most successful ones tie into the room’s other surfaces. Echo a tone from your countertop, vanity, or floor tile in the backsplash so the elements feel related rather than random. A common designer move is to pull the accent color of the backsplash from the veining in the counter or the grout color used on the floor.
Scale matters as well. In a small powder room, a large-format or simple subway backsplash keeps the space calm, while busy mosaics can overwhelm. In a roomy primary bath, you have license to go bolder with pattern and height. Think too about your fixtures: brushed nickel, matte black, and brass hardware all read differently against warm versus cool tile tones, so hold samples together before you commit.
Making It Last
Wipe the backsplash down regularly with a soft cloth and a pH-neutral cleaner. Skip abrasive pads on glass and harsh acidic cleaners on natural stone, which can etch the surface. Reseal stone and cement grout on the schedule the manufacturer recommends, typically once a year, and your bathroom tile backsplash will stay watertight and good-looking for decades.
Prefer to explore on your own?
See how new flooring looks in your actual room in seconds — free, no signup.
Try the free Floor Studio →