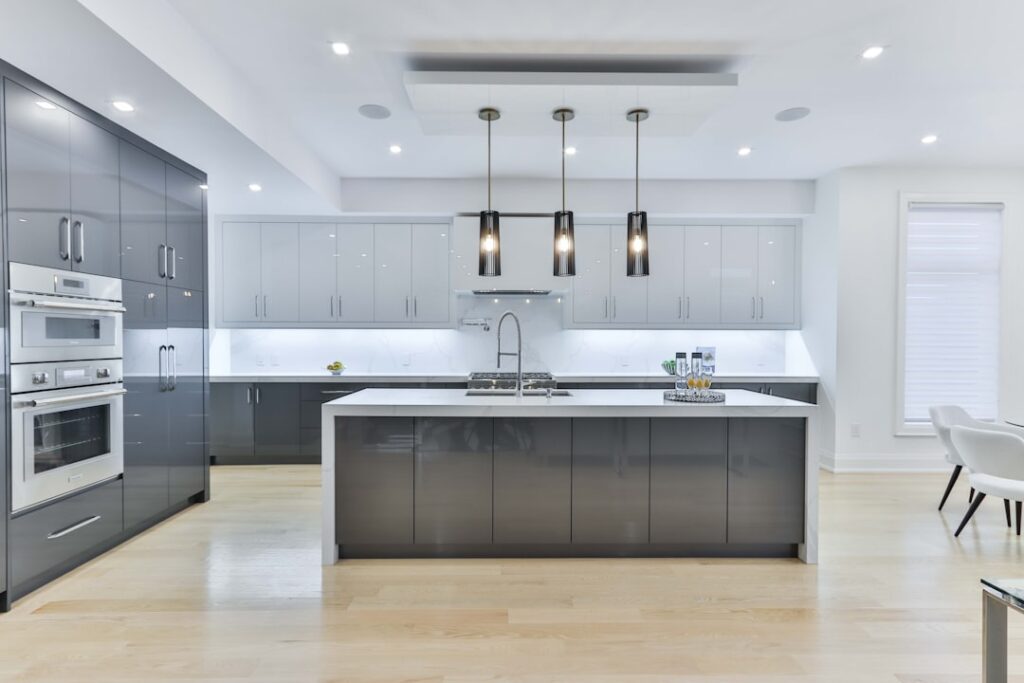
Installing new knobs and handles looks simple until you drill your first hole a quarter inch off and it stares back at you forever. A cabinet hardware template is the inexpensive jig that removes the guesswork, giving every knob and pull an identical, dead-straight position across an entire kitchen. This guide covers what these templates are, how to use one, standard placement measurements, and the mistakes that ruin cabinet doors.
Part of our Kitchen Remodeling guide — explore the full guide →
- What a Cabinet Hardware Template Is
- Why You Should Not Freehand It
- Types of Templates and Jigs
- Standard Placement Measurements
- Tools You Will Need
- How to Use a Cabinet Hardware Template Step by Step
- Handling Doors Versus Drawers
- Special Cases and Adjustments
- Costs and Whether a Jig Is Worth It
- Common Mistakes to Avoid
- Fixing a Hole That Went Wrong
- Frequently Asked Questions
- Final Thoughts
What a Cabinet Hardware Template Is
A hardware template, also called an installation jig, is a rigid plate, usually plastic or aluminum, with an adjustable grid of holes and sliding fences. You clamp or hold it against the corner of a door or drawer front, and it positions your drill bit at the exact spot for a knob screw or the two holes of a pull. Because the jig references the same edges every time, every piece of hardware lands in the identical location.
Templates range from a $2 cardboard cut-out you make yourself to $25 to $60 store-bought jigs with hardened steel drill guides that resist wandering bits. The better ones adjust for edge offset and for pull sizes with different screw spacings.
Why You Should Not Freehand It
Measuring and marking each hole by hand invites tiny errors that compound. On a run of ten drawers, knobs that each sit an eighth of an inch high or low read as visibly crooked when your eye scans the row. A jig locks in consistency and speed, turning a nerve-wracking task into a repeatable routine.
- Consistency: every knob sits in the same place relative to the edge.
- Speed: no re-measuring for each of dozens of doors and drawers.
- Accuracy: steel drill guides keep the bit from wandering off the mark.
- Confidence: far less chance of an off-center hole in a finished door.
Types of Templates and Jigs
There are three broad categories, and choosing the right one depends on your budget and how many pieces you are installing.
- DIY cardboard or plywood template: free to nearly free, fine for a small job but wears out and can shift.
- Fixed plastic jigs: affordable, cover common placements, but limited adjustability.
- Adjustable pro jigs: aluminum body, hardened bushings, sliding fences and edge stops that handle knobs, pulls, and cup handles of many sizes.
Standard Placement Measurements
There is no single legal rule, but decades of practice have produced widely accepted defaults that look right in most kitchens. Use these as starting points and adjust to taste.
- Knobs on lower (base) cabinet doors: 2.5 to 3 inches down from the top inside corner of the door.
- Knobs on upper (wall) cabinet doors: 2.5 to 3 inches up from the bottom inside corner.
- Pulls on drawers: centered horizontally, and centered vertically on drawers up to about 6 inches tall.
- Pulls on tall drawer fronts: placed in the upper third rather than dead center for a balanced look.
- Vertical pulls on doors: aligned with the knob height reference, typically 2.5 to 3 inches from the corner.
The single most important rule: pick one measurement standard and apply it identically to every matching piece.
Tools You Will Need
Beyond the template itself, gather a small kit before you start so you are not hunting for a drill bit halfway through.
- Power drill and sharp brad-point bits (a brad point prevents wandering on the surface).
- The correct bit size, usually 3/16 inch for standard hardware screws.
- A backer block or scrap wood to prevent splintering where the bit exits.
- Painter’s tape to mark the surface and reduce chip-out.
- A screwdriver and the new knobs, pulls, and screws.
How to Use a Cabinet Hardware Template Step by Step
The exact adjustments vary by brand, but the workflow is consistent across nearly every jig.
- Set the jig’s edge stops for your chosen offset (for example, 2.75 inches from the corner).
- For pulls, set the on-center spacing to match your hardware (common spacings are 3, 96mm, or 128mm).
- Place a strip of painter’s tape where the hole will go to reduce chip-out on painted or laminate doors.
- Clamp or firmly hold the jig against the reference corner of the door or drawer.
- Drill through the steel guide bushing, keeping the drill perpendicular, until the bit just breaks through.
- Support the back with a scrap block so the exit hole does not splinter.
- Remove the jig, insert the screw from the back, and thread the knob or pull.
Always drill a test hole in scrap material first to confirm your settings before you touch a real door.
Handling Doors Versus Drawers
Doors reference an inside corner, so the jig positions the knob a set distance from both the vertical and horizontal edges. Drawers reference the center, so most jigs have a centering feature or a scale that finds the horizontal midpoint automatically. Mixing these references up is the most common source of a crooked-looking installation, so slow down when you switch from doors to drawers.
Special Cases and Adjustments
Not every cabinet is a simple square door. Glass-front doors, appliance panels, and very wide drawers need thought. On oversized drawers you may install two pulls or a single long appliance pull, and you should measure to keep them symmetrical about the center. On shaker doors, many people align the knob with the inside edge of the stile rather than the outer edge for a cleaner look, so decide your reference before drilling the first hole.
Costs and Whether a Jig Is Worth It
A quality adjustable jig costs roughly $25 to $60. Against the cost of even one ruined cabinet door, which can run $40 to $150 to replace and refinish, the jig pays for itself the moment it prevents a single mistake. For a full kitchen of 30-plus pieces of hardware, the time savings alone justify the purchase. If you truly have only two or three knobs to install, a careful cardboard template may be enough.
Common Mistakes to Avoid
- Not drilling a test hole in scrap before committing to a finished door.
- Forgetting to support the exit side, causing the veneer to splinter.
- Using a twist bit instead of a brad-point, letting the bit skate off the mark.
- Mixing up door and drawer reference points midway through the job.
- Failing to re-check the jig’s stops after a bump loosens them.
- Drilling the wrong on-center spacing for pulls and ending up with two useless holes.
Fixing a Hole That Went Wrong
If you drill in the wrong spot, do not panic. Fill the hole with a wood filler or, on painted MDF, a two-part filler, sand it flush, and touch up the finish. On a natural wood door you can glue a matching wood plug, sand, and refinish. Then reposition the jig correctly and drill the new hole. Careful color-matched repairs are nearly invisible once the hardware covers the area.
Frequently Asked Questions
Can I make my own template? Yes. Cut a piece of thin plywood or stiff cardboard to reference the corner and mark your hole locations; it works for small jobs but lacks a steel guide, so drill slowly. What drill bit size do I need? Most cabinet hardware uses a 3/16 inch bit, but always check the screw diameter. Do I need different settings for every cabinet? No. That is the entire point of the jig; set it once for your standard and reuse it across all matching pieces.
Final Thoughts
Whether you are updating a single vanity or outfitting an entire kitchen, a cabinet hardware template is the cheapest insurance you can buy against crooked, mismatched knobs and pulls. Set your placement standard, test on scrap, support the exit side of every hole, and let the jig do the precision work. The result is a professional-looking installation that lines up perfectly across every door and drawer in the room.