A ceiling fan that hums but will not spin has, in the overwhelming majority of cases, a failed $10 part — and electricians charge $100 to $250 to swap it because the trip costs more than the component. Ceiling fan capacitor replacement is squarely within reach of a careful DIYer: the part is standardized, the markings tell you exactly what to buy, and the job takes under an hour with a screwdriver and wire strippers. This guide covers the symptoms that point to the capacitor, how to read the markings and source the right CBB61 replacement, the wiring patterns from 3-wire through 5-wire, and the swap itself. (If you have not yet confirmed the capacitor is the culprit — power, switches, and remote receiver all check out — run through our general fan troubleshooting guide first.)
What the Capacitor Does and Why It Fails
A ceiling fan uses a single-phase induction motor, which cannot start itself — it needs a second winding fed through a capacitor to create the rotating magnetic field that kicks the rotor into motion, and additional capacitor sections in series with the windings to set the speeds. The capacitor is a small block (usually black plastic, sometimes a bare metallized-film brick) mounted in the switch housing below the motor. Failure is a matter of when, not if: film capacitors dry out and lose capacitance with heat and years, and power surges finish weak ones. Ten to fifteen years is a typical service life — conveniently shorter than the motor’s, which is why a “dead” older fan so often has a perfectly good motor behind a cooked cap.
Symptoms That Point at the Capacitor
- Hums but never turns — the classic. The run winding energizes (hum) but no rotating field exists to start motion.
- Starts only with a hand push — spin the blades gently with the fan switched on; if it catches and runs, the start section is dead. This is nearly diagnostic by itself.
- Stuck speeds — high works but medium/low are dead or all feel the same; the speed sections have failed while the start section survives.
- Noticeably slower than it used to be — a fading capacitor delivers reduced phase shift; the fan lumbers at partial speed on every setting.
- Physical evidence — open the switch housing and look: a swollen, cracked, oozing, or scorched block is a confession. (A normal-looking capacitor can still be dead, but a melted one is never fine.)
The lights working normally while any of the above happens strengthens the case — it proves power delivery and narrows the fault to the motor circuit.
Finding It and Reading the Markings
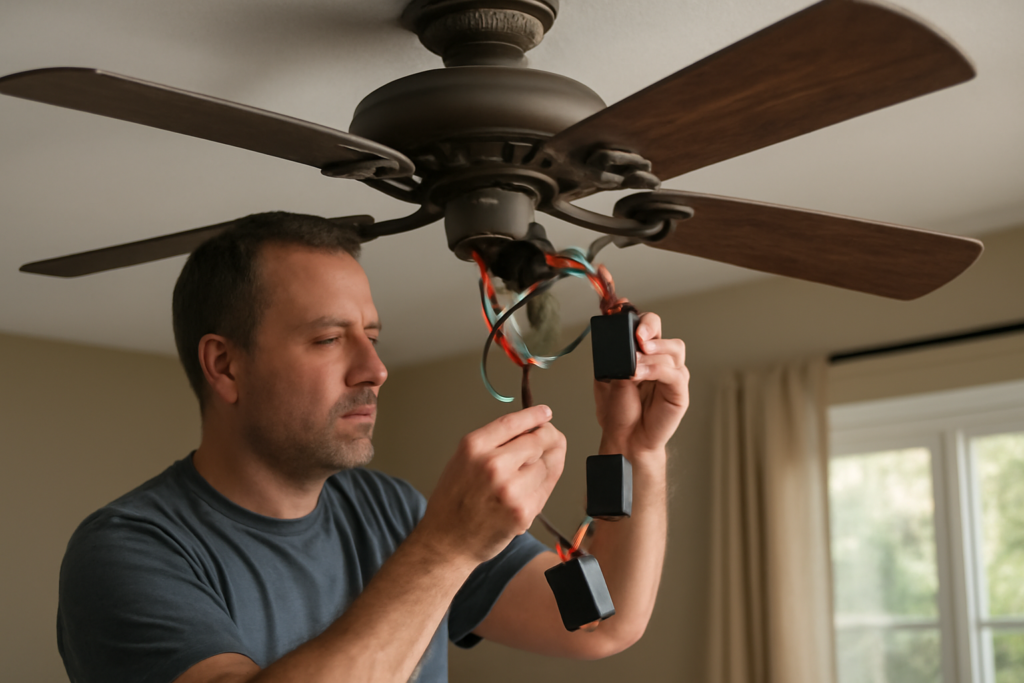
Kill power at the breaker — not just the wall switch — and verify with a non-contact tester. Drop the switch-housing cup below the blades (typically three small screws) and you will find the pull-chain switch, a nest of wires, and the capacitor block. Photograph everything before disconnecting anything. The block’s printed markings tell you the whole story:
- Capacitance values: printed in microfarads (µF or uF). A single-value cap reads like “5uF”; a multi-section cap reads like “4.5uF+6uF” (two sections, four wires) or “4uF+4.74uF+6uF” (three sections, five wires). Tolerance is usually ±5%.
- Voltage rating: “250VAC,” “300VAC,” or “450VAC.” Replacements must be equal or higher voltage — higher is always safe; lower is not.
- Type designation: almost universally CBB61, the standard metallized polypropylene fan capacitor family. This is the search term that unlocks sourcing.
Match capacitance values exactly (a ±0.5 µF difference on a speed section audibly changes that speed), match or exceed voltage, and match the wire count. If the old markings are burned beyond reading, the fan’s manual, the manufacturer’s parts line, or forums for your model number will supply the spec — guessing is the one shortcut to avoid.
Wire Counts Decoded: 2 Through 5 Wires
The wire count maps to how many capacitor sections your fan’s speed switching uses:
- 2-wire (single section): one value, e.g. 5uF — a simple start/run cap. Found in basic fans and many light-duty models; both wires typically join the start winding circuit. Easiest swap: like-for-like, wire-for-wire.
- 3-wire (two sections, shared common): e.g. “4uF+5uF” with one common lead. The common goes to line/switch, the two section leads feed the winding taps to create speeds.
- 4-wire (two independent sections): two values with two leads each. Sections are wired separately by the speed switch — the photograph of your original hookup matters most here.
- 5-wire (three sections): e.g. “4.5uF+4.5uF+6uF” — the most common configuration in mid-range 3-speed pull-chain fans. The speed switch combines sections in series/parallel to produce low, medium, and high.
Wire colors on CBB61s follow loose conventions (gray or white common; red, purple, brown for sections) but are not standardized across manufacturers — the printed diagram on the capacitor body and your photo of the original wiring are the authority, not the colors. When the replacement’s colors differ from the original’s, map by section value: the 6uF lead of the new part goes where the 6uF lead of the old part went, and so on.
Sourcing the Part
CBB61 capacitors cost $8 to $15. Amazon and eBay carry every common value combination with next-day shipping — search the exact string on your old part (“CBB61 4.5uF+6uF 250VAC 5 wire”). Physical stores are hit-or-miss: electrical supply houses and some appliance-parts counters stock common values; big-box stores generally do not. Two buying tips: prefer listings showing 250VAC minimum and a recognizable brand or CE/UL marking over the very cheapest generic (capacitor quality varies, and a $3 saving is not worth a repeat repair), and buy a spare if your fan is one of several identical units in the house — the siblings are the same age. Check physical dimensions too; switch housings are cramped, and a replacement a half-inch larger may not let the cup close.
The Swap, Step by Step
- Power off at the breaker, verify dead with a tester at the fan’s wiring. The wall switch is not sufficient.
- Open the switch housing and photograph the wiring from two angles, capturing where every capacitor lead terminates.
- Discharge the old capacitor before handling: touch a screwdriver blade across its terminals (insulated handle, fingers off the shaft). Fan caps hold modest charge, but the habit is correct.
- Disconnect the old part — cut its leads close to the old body if they are crimped into the harness, or release the wire nuts if they are nutted. Leave yourself maximum lead length on the fan side.
- Connect the new capacitor section-by-section per your photo and the value mapping, using small wire nuts on stripped 3/8-inch ends. Tug-test every nut.
- Stow and close: fold the capacitor and wiring into the housing so nothing presses against the pull-chain switch levers, refit the cup, restore power.
- Test all speeds plus the light and the reverse switch. Each speed should be distinct and the fan should reach full speed from a standstill in a few seconds without hand assistance.
Total time: 30 to 60 minutes. If the fan still hums after a correct capacitor swap, revisit the pull-chain speed switch (jumper it to test) — and if that too checks out, the motor winding itself is open or shorted, which ends the repair economically; a new fan beats a motor rewind every time in residential sizes.
DIY vs Calling It In
The math: $8 to $15 DIY versus $100 to $250 for a handyman or electrician call-out — the part is a rounding error; you are paying for the ladder trip either way. Do it yourself if you can confidently kill a circuit, work from a stable ladder, and follow a photograph; the voltages involved are ordinary house current and the wiring is four to six connections in an accessible cup. Hire it out for 20-foot great-room ceilings, fans on unverifiable circuits, aluminum wiring, or any housing showing scorch damage beyond the capacitor itself (burned harness insulation means a deeper problem worth professional eyes). Either way, replace the capacitor at the first symptom rather than living with a hand-start fan — running a motor on a failed start section overheats the windings, and the $10 part you defer eventually takes the $150 motor with it.