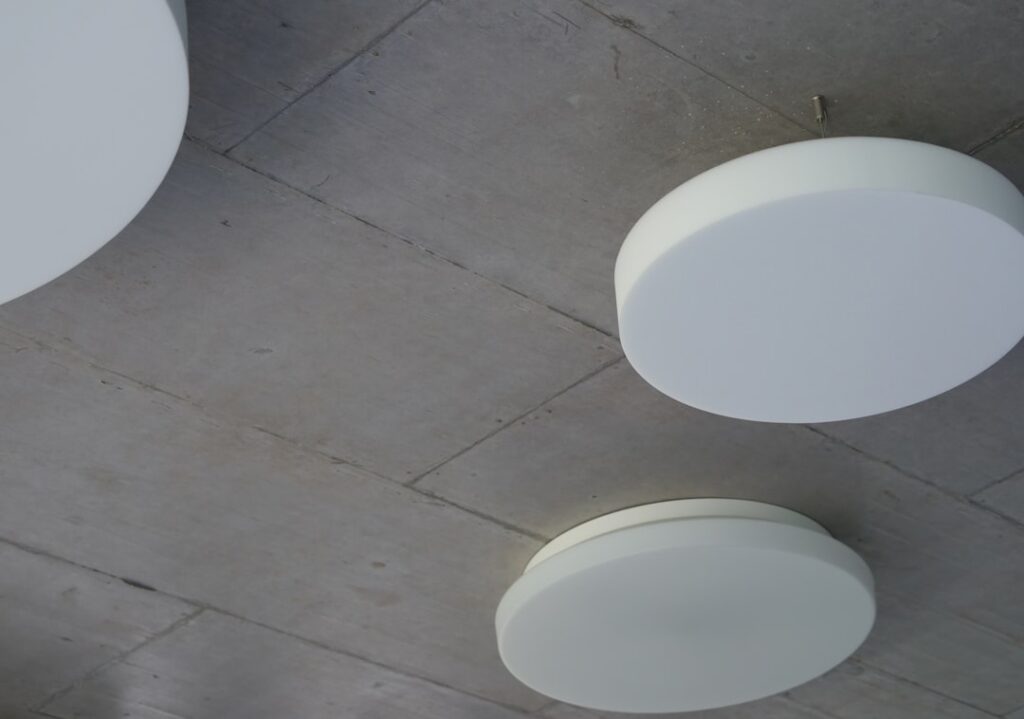
Ceiling tile lights are fixtures designed to drop into a suspended grid ceiling, replacing one or more standard tiles with a panel that lights the room evenly. If you have a basement, office, laundry room, or finished garage with a grid ceiling, these fixtures are the cleanest way to add bright, modern light without cutting into drywall or framing.
Part of our Tile & Grout guide — explore the full guide →
This guide explains the main fixture types, how to size them to a standard grid, what to know about wiring and dimming, and the safety steps that matter when line voltage is involved. Done right, swapping a few tiles for LED panels can transform a dim, flickering space into one that actually feels finished.
How Ceiling Tile Lights Work
A suspended ceiling, sometimes called a drop ceiling or T-bar grid, holds lightweight tiles in a metal framework hung below the structural ceiling. Tile lights are built to the same modular dimensions as those tiles, so a fixture simply rests in the grid where a tile used to sit. The gap above the grid hides the wiring and any driver components.
Because the fixture sits in place of a tile, installation is far less invasive than recessed cans in drywall. You are not cutting holes, patching, or painting. For most grid ceilings, the hardest part is running power to the fixture, not mounting it.
Common Types of Ceiling Tile Lights
There are a few distinct styles, and the right one depends on your ceiling, your brightness needs, and your budget:
- Flat LED panels: Thin, edge-lit panels that produce soft, even light across the whole surface. They are energy-efficient, run cool, and are the most popular choice today.
- LED troffers: The classic recessed-style fixture with a deeper housing, common in offices and great for high-output general lighting.
- Backlit panels: A newer panel design with diodes spread across the back for very uniform brightness and slim depth.
- Retrofit fluorescent troffers: Older fixtures that held fluorescent tubes; many can be upgraded with LED retrofit kits for big efficiency gains.
For most homeowners adding light to a basement or workspace, flat LED panels are the easiest, most efficient pick. They weigh little, install quickly, and last 50,000 hours or more.
Sizing to Your Grid
The single most important measurement is your grid size. Suspended ceilings in North America almost always use one of two layouts:
- 2×2 foot grid: Square openings, common in homes and smaller rooms.
- 2×4 foot grid: Rectangular openings, common in larger or commercial-style spaces.
Measure the actual opening, not just the nominal name; a “2×2” opening is typically a hair under 24 inches to account for the grid rails. Buy panels that match your grid so they drop in flush without modification. If you only have 2×4 openings but want 2×2 panels, you can use grid adapters, but matching the panel to the grid from the start is simpler.
Brightness and Color Temperature
Lumens measure brightness, and watts measure energy use; with LED you get high lumens for low watts. As a rough target, a 2×2 panel in the 30 to 45 watt range commonly delivers around 3,500 to 5,000 lumens, plenty for a work area. For ambient living spaces, you may want less; for a garage workshop, lean brighter.
Color temperature, measured in Kelvin, sets the mood. Around 2700K to 3000K is warm and cozy, 3500K to 4000K is a neutral, balanced white good for kitchens and laundry, and 5000K is a crisp daylight tone ideal for garages and workshops. Many modern panels are selectable, letting you flip a switch on the fixture to choose the temperature. Look for a CRI of 80 or higher so colors look natural.
Wiring, Dimming, and Power
Most ceiling tile lights run on standard 120-volt household power and include an LED driver, the component that converts and regulates power to the diodes. If you are simply replacing an existing fluorescent troffer that already has a power feed, the job is straightforward. Adding a brand-new circuit is a bigger project.
If you want dimming, confirm the panel is labeled dimmable and pair it with a compatible LED dimmer switch. Mismatched dimmers cause flicker and buzz. Note that many panels are not dimmable by default, so check the spec sheet before you buy if dimming matters to you.
Safe Installation Steps
Working with line-voltage wiring is where caution is non-negotiable. If you are hardwiring panels into a ceiling grid and are not fully comfortable with electrical work, hire a licensed electrician for the connections. Permits may be required for new circuits in your area.
- Turn off power at the breaker for the circuit you will work on, and verify it is dead with a non-contact voltage tester before touching any wires.
- Remove the old tile or fixture and confirm the grid can support the panel; most LED panels are very light, but always add safety support wires per the instructions.
- Connect the supply wires to the fixture leads following the manufacturer’s diagram, matching hot, neutral, and ground.
- Secure all connections in the junction box or fixture housing, then set the panel into the grid.
- Restore power and test. If a panel flickers or fails to light, kill the breaker again before re-checking connections.
Always follow the manufacturer’s instructions, which override general advice, and never overload a circuit by daisy-chaining more fixtures than it is rated for.
Energy Savings and Lifespan
One of the strongest arguments for switching to LED ceiling tile lights is the long-term cost. LED panels typically use 50 to 60 percent less energy than the fluorescent troffers they replace, and they last far longer, often rated for 50,000 hours or more. In a room you light daily, that translates to years of use before you ever think about replacement, plus lower bills the whole time.
LEDs also turn on instantly at full brightness, with no flicker or warm-up, and they do not contain mercury the way fluorescent tubes do, which simplifies disposal. Because they run cool, they reduce heat load in the room compared with older fixtures. When you tally the energy savings, the long replacement interval, and the better light quality, the modest upfront cost of LED panels usually pays for itself well within the fixture’s lifetime, which is why so many homeowners are making the switch in basements, offices, and garages.
Are Ceiling Tile Lights Worth It?
For any room with a suspended grid ceiling, tile lights are one of the highest-value upgrades you can make. They install without drywall damage, sip electricity, last for years, and instantly modernize a dated space lit by humming fluorescent tubes. Match the panel to your grid size, choose the right brightness and color temperature, and confirm dimming compatibility up front.
Above all, respect the electrical side of the job. Kill the breaker, verify with a tester, follow the instructions, and bring in a licensed electrician for any line-voltage work you are unsure about. Handle those basics and your new ceiling tile lights will give you clean, even, maintenance-free light for the better part of a decade.
Prefer to explore on your own?
See how new flooring looks in your actual room in seconds — free, no signup.
Try the free Floor Studio →