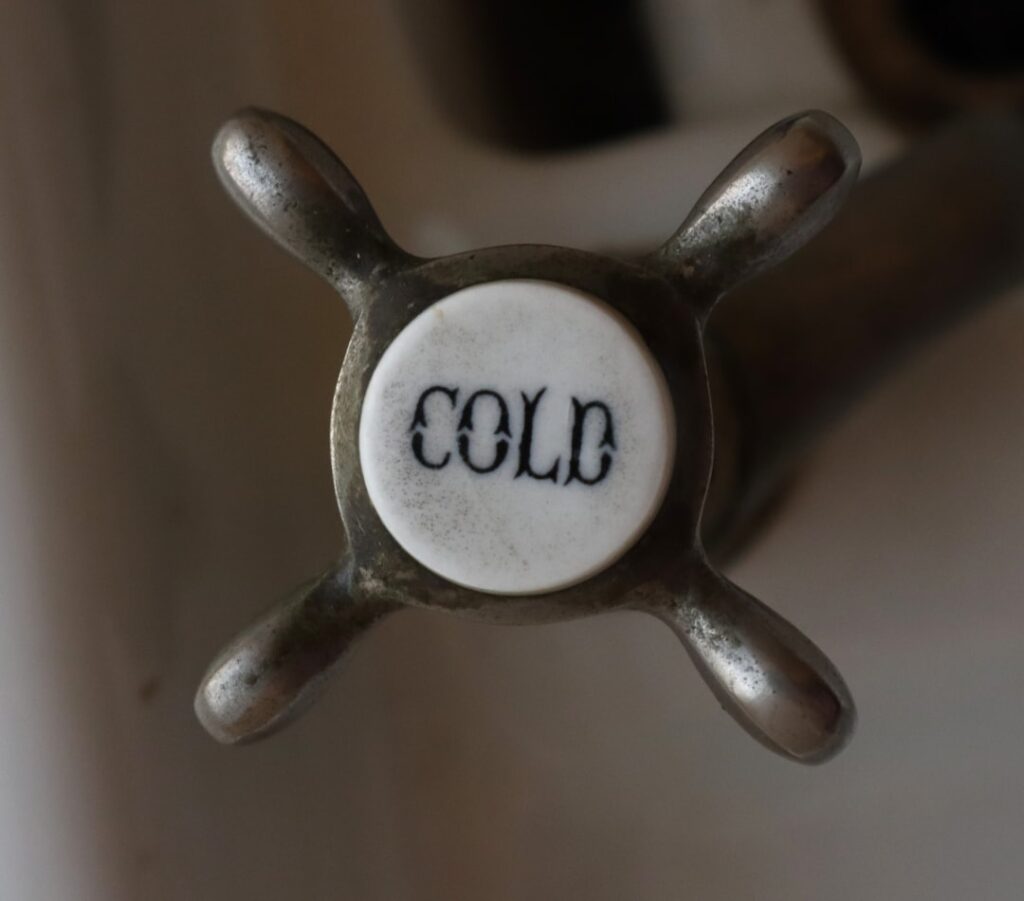
When a supply line under the sink lets go and water starts spraying, you have about thirty seconds before a minor leak becomes a ceiling repair. Knowing where your cold water shut off valve is and how to close it is the single most valuable piece of plumbing knowledge a homeowner can have. Every fixture in your house has one, and so does the main line, yet most people never touch them until an emergency forces the issue, at which point they discover the valve is corroded shut.
What a Cold Water Shut Off Valve Does
A shut off valve isolates the water supply to a fixture or a whole section of plumbing so you can stop the flow, make a repair, or replace a component without draining the entire house. The cold water valve specifically controls the incoming cold supply, the line that feeds cold taps directly and also feeds your water heater, which then produces the hot side.
These valves come in two scales. Fixture-level stop valves sit right at each sink, toilet, dishwasher, and washing machine, letting you shut off just that one fixture. The main shut off valve controls the entire home’s incoming supply, and closing it stops all water everywhere. Knowing both locations means you can isolate the smallest possible area for a repair while keeping the rest of the house running.
Where to Find Your Shut Off Valves
Fixture valves are the easy ones. Look under any sink and you will see one or two small oval or football-shaped handles on the supply lines coming out of the wall; the cold line is almost always on the right as you face the fixture. Toilets have a single stop valve on the wall or floor behind and to the left of the bowl. The washing machine has a pair of valves, often recessed in a wall box, and the dishwasher usually shares the cabinet under the kitchen sink.
The main shut off is harder to locate if you have never looked. In warm climates with slab foundations, it is often outside near an exterior wall, in a below-grade box near the street, or in a utility closet or garage. In colder climates it is typically inside where the main line enters the house, frequently in a basement, crawl space, or near the water heater. Find it now, in daylight, before you need it in a 2 a.m. flood, and confirm it turns.
Common Valve Types
Two designs dominate residential plumbing. The older multi-turn valve, including compression and gate valves, requires several full rotations of the handle to open or close. These are reliable when new but notorious for seizing after years of sitting untouched, and the rubber washer inside can fail and leak. The oval-handled stop valves under most sinks are usually this type.
The modern choice is the quarter-turn ball valve, which uses a lever handle that moves 90 degrees from fully open to fully closed. When the lever is in line with the pipe, water flows; when it is perpendicular, the water is off. Ball valves are faster, more reliable, and far less likely to seize than multi-turn valves, which is why plumbers install them on nearly every new job. If your fixture stops are old multi-turn valves that stick, upgrading them to quarter-turn ball valves is a cheap, worthwhile improvement.
How to Shut Off the Water in an Emergency
For a leak at a single fixture, go straight to that fixture’s stop valve. Turn a multi-turn handle clockwise until it stops, or swing a lever valve a quarter turn until it is perpendicular to the pipe. Then open the affected faucet to relieve pressure and confirm the flow has stopped. This isolates the problem and lets the rest of the house keep running.
If the leak is in a supply line you cannot isolate at a fixture, or the fixture valve itself is broken, head for the main. Close the main shut off valve fully, then open the lowest faucet in the house to drain the pressure out of the lines. Practice this once when nothing is wrong; a valve that has not moved in a decade may need firm, steady pressure to break free, and you do not want to discover it is stuck while water pours onto your floor.
Replacing a Bad Shut Off Valve
A stop valve that will not fully close, drips around the stem, or is frozen solid needs replacement. For a standard sink stop, shut off the water at the main, open the faucet to drain the line, and place a towel and small bucket underneath to catch residual water. Disconnect the supply line from the valve, then remove the old valve; compression-style valves unthread or pull off the copper stub, while others require cutting.
The simplest modern replacement is a push-to-connect quarter-turn valve that slides onto the pipe with no soldering, no glue, and no special tools, sealing with an internal O-ring and grip ring. These cost around $8 to $15 and let a homeowner make a permanent, reliable repair in about ten minutes. If your supply pipe is a type or condition you are not sure about, or the valve is soldered onto copper deep in a wall, that is the point to call a plumber rather than risk a bigger leak.
Shutting Off Water for Appliances and Repairs
Beyond leak emergencies, the cold water shut off valve is your starting point for routine work. Replacing a faucet, swapping a toilet fill valve, installing a new dishwasher, or connecting an ice maker line all begin by closing the relevant fixture stop. Doing so lets you work on that one component while the rest of the house keeps water, which is far more convenient than killing the main every time you change a washer.
The water heater deserves special attention here, because its cold inlet has its own dedicated shut off valve on the incoming cold line at the top of the tank. Closing that valve isolates the heater so you can drain it for maintenance, flush sediment, or replace the unit without shutting off water to the whole house. Knowing that this valve exists and where it is saves a lot of confusion when you need to service the heater, since it stops both the cold feed in and, with the tank drained, the hot supply out.
Dealing With a Frozen or Stuck Valve
The worst time to discover a seized valve is mid-emergency, so know how to handle one. If a valve will not turn, do not force it with a wrench and full body weight; old valves can snap off at the stem, turning a stuck valve into a gushing open pipe. Instead, apply steady, firm hand pressure and gently rock the handle back and forth to break the mineral bond. A little penetrating oil on the stem threads and a few minutes of patience often frees it.
If a valve is truly frozen or begins to leak the moment you move it, that valve needs replacement, and you may have to shut off the water farther upstream, at the main or even at the street with a curb key, to do the work. This is exactly why exercising your valves regularly matters: a valve that moves smoothly during your semiannual check is one that will not fight you during a real leak. Replace any valve that will not operate reliably before you need it.
Maintenance That Prevents Emergencies
Valves seize because they never move. Twice a year, exercise every shut off valve in the house, close it fully and reopen it, so the internal parts do not corrode into a solid mass. This five-minute chore is the difference between a valve that closes smoothly during a leak and one that snaps off in your hand because it has not turned since the house was built.
While you are at it, look for signs of trouble: green corrosion on brass fittings, mineral crust around the stem, or a slow drip at the packing nut. Catching a weeping valve early lets you replace it on your schedule instead of during a flood. Knowing exactly where every cold water shut off valve is, confirming each one turns, and keeping them exercised is basic home ownership that costs nothing and saves thousands the day a line finally fails.