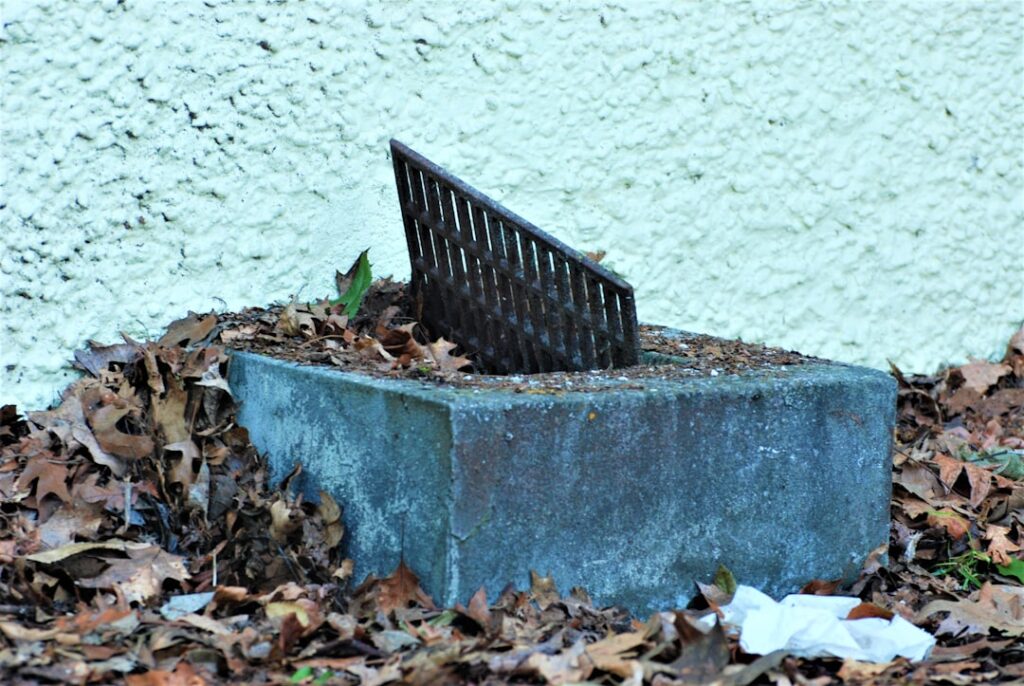
A single downspout on an average roof can discharge hundreds of gallons during one hard storm, and all of it lands in the same 12-inch spot next to your foundation. A concrete downspout splash block is the oldest and simplest defense: a molded concrete trough that catches that discharge, kills its erosive energy, and carries it a couple of feet away from the wall before releasing it onto grade. Splash blocks cost $15 to $40, install in thirty seconds, and — placed correctly — prevent the soil erosion, mulch craters, and foundation-adjacent ponding that quietly become basement leaks. Placed wrong, which is how most of them sit, they do almost nothing. Here is how to size, place, and know the limits of this humble piece of concrete.
Part of our Roofing guide — explore the full guide →
What a Splash Block Actually Does
The physics are simple. Water leaving a downspout elbow has velocity and concentration; bare soil under it erodes into a hole, and the hole directs water downward along your foundation wall — exactly where you do not want it. A splash block interrupts that: the closed (high) end sits under the elbow and absorbs the impact, the channel spreads and slows the flow, and the open (low) end releases it as a wide, gentle sheet a foot or two from the wall. That distance matters because foundation problems are overwhelmingly a soil-moisture problem. Saturated backfill against the wall causes hydrostatic pressure, leaking joints, and — in expansive clay regions like Texas and Colorado — the swell-shrink movement that cracks slabs. Moving discharge even 2 feet out, onto sloped grade, changes where that water ends up.
Concrete vs Plastic: Which to Buy
Both materials do the job when positioned properly; they fail differently. Concrete blocks weigh 20 to 45 pounds, which is their central virtue — they stay where you put them through storms, mower bumps, dogs, and kids. They last decades, look appropriate beside masonry homes, and their weight keeps them seated in the slight depression they create. Downsides: they can crack if heaved by freezing saturated soil, and repositioning them during landscaping is a two-hand job. Plastic and resin blocks ($5 to $20) are light, cheap, and available in longer profiles — and their lightness is their failure mode, because a strong discharge or a string trimmer flips them, after which they channel water in random directions. If you choose plastic, pin it with landscape staples or ground spikes. Pricing for concrete runs $15 to $40 at big-box stores depending on length and style, with decorative molded versions (scalloped, leaf-pattern) at the high end.
Sizing: Longer Than You Think
Standard splash blocks run about 12 inches wide and come in lengths from 12 to 36 inches. Length is the spec that matters, and the common 12-inch block is genuinely too short for most situations — it releases water barely past the backfill zone. Match length to the roof area the downspout serves and to your grading:
- 24 inches: the practical minimum for any downspout serving a full roof plane.
- 30 to 36 inches: for downspouts draining large roof sections, valleys, or upper-story gutters that concentrate two roof planes into one outlet.
- Chained blocks or extensions: where grade is flat, place a second block at the first one’s outlet, or step up to a downspout extension entirely (more on that below).
Width matters only at the inlet — the channel must be wider than the downspout elbow, which standard 12-inch-wide blocks always are for residential 2×3 and 3×4-inch downspouts.
Placement: The Five Rules
- Closed end under the elbow. The raised, closed end goes beneath the downspout, with the elbow discharging an inch or two above it — not resting on it, which splashes water backward against the wall. The open end points away from the house. Backwards installation is the single most common error visible on any street.
- Slope away, always. The block must fall along its length — set it on grade that drops at least 1 inch over the block, and check with a torpedo level. A dead-level block on flat grade just relocates the puddle.
- Bed it, don’t perch it. Scrape the area smooth, set the block in firm contact with soil along its full length, and step it in. A block bridging on high spots rocks, shifts, and undercuts.
- Aim with the grade. Point the outlet toward the yard’s natural drainage path, not toward a walkway (winter ice), the neighbor’s foundation, or a fence line where water will pond.
- Reset seasonally. Frost heave, mulching, and mowing all move blocks. A thirty-second check each spring and fall — still sloped, still seated, still aimed — is the entire maintenance program.
When a Splash Block Is Not Enough
Splash blocks are the right tool for well-graded lots with modest roof areas. Several situations outgrow them. If grade next to the foundation is flat or slopes toward the house, two feet of discharge distance accomplishes nothing — code guidance for new construction calls for ground falling 6 inches in the first 10 feet away from the wall, and where yours does not, you need distance, not dispersion. If you see recurring basement dampness, efflorescence on foundation walls, or mulch washouts beyond the block, the water is still winning. In these cases, step up the hierarchy: rigid or flexible downspout extensions ($10 to $25) carry water 4 to 10 feet out; roll-out extensions stay tidy; and buried solid PVC drain lines to a pop-up emitter or daylight ($150 to $600 per downspout professionally installed) solve the problem permanently. In expansive-clay markets, foundation companies consider buried extensions standard equipment, and a splash block merely decorative. The splash block still earns its place at the pop-up emitter or extension outlet, doing the same energy-dissipation job further from the house.
Winter and Climate Considerations
Climate decides how hard a splash block has to work and how it fails. In freeze-thaw country, the soil under a saturated block heaves each winter, tilting it backward toward the house by spring — which is why the seasonal reset check earns its place, and why bedding the block on a couple of inches of compacted gravel rather than bare clay both improves drainage and reduces heave. Ice creates a second issue: meltwater crossing a block outlet onto a shaded walkway refreezes into a slip hazard, so aim winter discharge across lawn, not pavement. Cold-climate homeowners who disconnect downspout extensions for mowing season should reconnect them before the ground freezes, since frozen soil sheds meltwater like concrete and sends everything toward the basement.
In expansive-clay regions, the stakes invert — the goal is keeping moisture near the foundation consistent, not merely away. Clay that dries deeply in drought and swells when downspouts dump concentrated water produces the differential movement that cracks slabs, which is why Texas and Oklahoma foundation specialists push buried drains with pop-up emitters over surface blocks. Desert climates are the easy case: infrequent but violent storms argue for the longest block you can buy, seated in gravel to survive the scouring flow.
Installation Walkthrough
Total time is under fifteen minutes per downspout. Rake back mulch and clear a footprint slightly larger than the block. Check existing grade with a level; if it slopes toward the house, add and compact soil to build a small away-sloping pad — this regrading is more valuable than the block itself. Set the block closed-end under the elbow, confirm 1-plus inch of fall along its length, and verify the elbow clears the block’s back wall. Run a hose into the gutter above and watch a full-flow test: water should ride the channel and sheet off the outlet end without splashing over the sides or backwashing toward the wall. If it overtops in the test, the real storm will be worse — go longer or add an extension. Finally, dress mulch around, not into, the channel.
The Bottom Line
For $20 and fifteen minutes, a concrete downspout splash block converts a foundation-eroding water cannon into a harmless sheet of runoff — provided it is long enough, sloped away, and pointed somewhere useful. Buy 24 inches or longer, choose concrete over unpinned plastic, and hose-test the result. Then be honest about the limits: flat grades, clay soils, and wet basements are extension-and-drain problems, and no block, however well placed, replaces grading that falls away from the house. Get the cheap details right and the expensive repairs never happen.