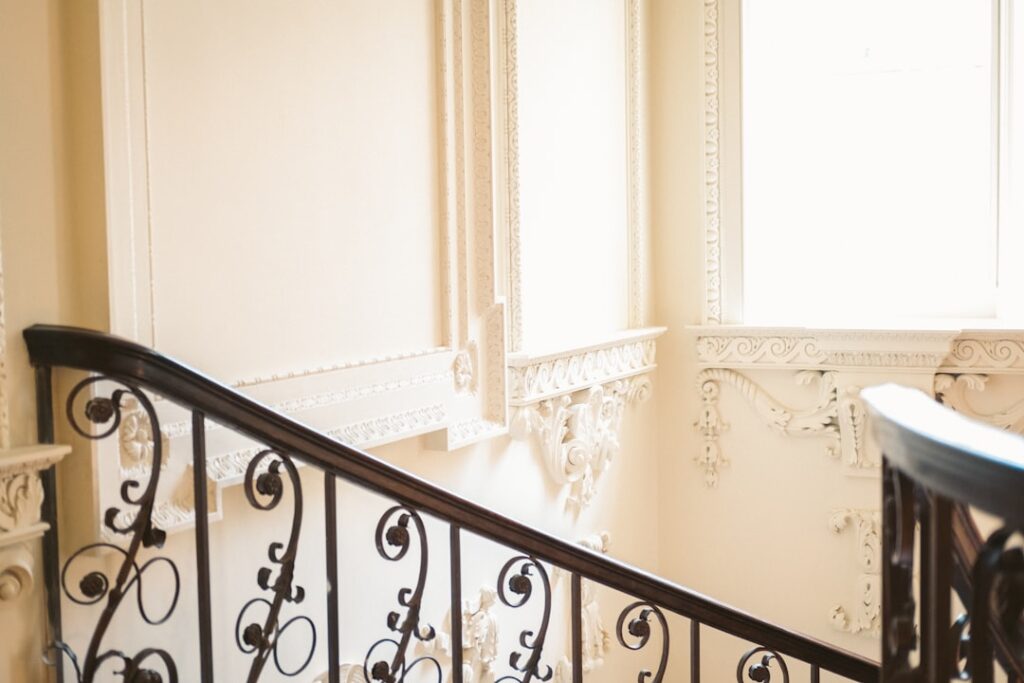
Craftsman crown molding looks nothing like the ornate, curvy crown you see in Victorian or traditional homes, and that is exactly the point. Rooted in the early-1900s Arts and Crafts movement, Craftsman trim celebrates honest materials, straight lines, and simple geometry over decorative flourish. If you own a bungalow, a Prairie-style home, or a modern farmhouse and want trim that feels warm and architectural without being fussy, Craftsman-style crown is the perfect fit. This guide covers the look, the materials, the costs, and how to install it.
- What Defines the Craftsman Style
- How Craftsman Crown Differs From Traditional Crown
- Building a Craftsman Crown Assembly
- Material Options
- Cost of Craftsman Crown Molding
- Tools You Will Need
- Installation Step by Step
- Common Mistakes to Avoid
- Rooms Where Craftsman Crown Shines
- Painted vs Stained Finishes
- Coordinating Trim Throughout the Home
- Bringing It All Together
What Defines the Craftsman Style
The Craftsman aesthetic grew out of a reaction against mass-produced Victorian ornamentation. Its hallmarks are flat, wide, layered boards, square edges, and visible construction. Where traditional crown flows in continuous curves, Craftsman crown is built up from stacked rectangular elements, often a flat frieze board topped with a simple cove or a beveled cap. The result reads as substantial and handcrafted, but calm and geometric. It pairs naturally with wide door and window casings, picture rails, and box beams, which are all part of the same design language.
How Craftsman Crown Differs From Traditional Crown
The differences come down to shape and buildup:
- Profile: Traditional crown is a single sprung molding with ogee and cove curves. Craftsman crown is typically a flat, stepped assembly of square-edged boards.
- Installation angle: Traditional crown springs out from the wall at an angle, requiring compound miter cuts. Much Craftsman crown installs flat against the wall and ceiling, which is far more forgiving to cut.
- Scale: Craftsman trim tends to be wider and bolder, matching the heavy casings of the style.
- Finish: Traditional crown is often painted white; Craftsman crown is frequently stained to show the wood grain, especially quarter-sawn oak.
Building a Craftsman Crown Assembly
Because Craftsman crown is built up rather than bought as one piece, you have design freedom. A common recipe includes:
- A wide, flat frieze board (often a 1×4 or 1×6) mounted flat against the wall at the top.
- A small cap or bed molding where the frieze meets the ceiling, sometimes a simple cove or a beveled strip.
- An optional picture rail below, a horizontal band that ties into the same look.
You can keep it minimal with just a flat board and a cap, or layer several elements for a deeper, more architectural cornice. Because the parts are square-edged, they butt and stack cleanly.
Material Options
Your choice of material depends on whether you plan to paint or stain:
- Poplar is the go-to for painted Craftsman trim: stable, affordable, and takes paint beautifully at around $2 to $4 per linear foot.
- Quarter-sawn white oak is the authentic period choice for stained work, prized for its straight grain and ray fleck, but it is pricey at $6 to $12 per foot.
- MDF is the budget painted option at $1 to $3 per foot, dead flat and smooth, though it cannot be stained and swells if it gets wet.
- Pine is inexpensive and easy to work but dents easily and can show knots under stain.
Cost of Craftsman Crown Molding
Total cost depends on material and whether you DIY. Material alone runs $2 to $12 per linear foot depending on species. A typical 12×14-foot room has about 52 feet of perimeter, so a painted poplar assembly might cost $150 to $300 in material, while stained quarter-sawn oak could run $400 to $700. Professional installation adds $4 to $10 per linear foot in labor, putting a pro-installed room at $300 to $1,000-plus. Because Craftsman crown often uses simple flat boards, it can actually be cheaper than intricate traditional crown.
Tools You Will Need
- A miter saw for clean crosscuts and any bevels
- A brad nailer or finish nailer with 15- or 16-gauge nails
- A stud finder and a level or laser line
- Wood glue, wood filler, and painter’s caulk
- Tape measure, pencil, and a coping saw if you cope inside corners
Installation Step by Step
- Plan the layout. Decide your buildup and mark a level line around the room for the bottom of the frieze board.
- Locate the studs and ceiling joists so you nail into solid framing wherever possible.
- Install the flat frieze board first, nailing it to the wall studs along your level line. Because it sits flat, corners are simple butt or miter joints, not compound cuts.
- Add the cap molding where the frieze meets the ceiling, mitering outside corners and coping or mitering inside corners.
- Fill nail holes and caulk the seams between the trim and the wall and ceiling for a seamless look, if painting.
- Prime and paint, or stain and topcoat. Staining is usually done before or right after install depending on your workflow.
Common Mistakes to Avoid
- Going too small. Craftsman style is bold; skinny trim looks weak in this idiom. Use wide boards.
- Mixing curvy ogee profiles into the assembly, which breaks the flat, geometric character.
- Not scribing to wavy ceilings, leaving gaps that caulk cannot fully hide.
- Using MDF in humid or wet areas, where it swells and fails.
- Nailing only into drywall, so the heavy boards eventually pull loose.
- Ignoring the rest of the room. Craftsman crown looks best when door and window casings share the same wide, square-edged style.
Rooms Where Craftsman Crown Shines
Craftsman crown molding works beautifully in the spaces where the style’s warmth reads best. In a living room or den, a deep layered cornice paired with box beams and a picture rail creates the cozy, enveloping feel that defines Arts and Crafts interiors. In a dining room, a stained frieze board above wainscoting anchors the room with craftsmanship. Home offices and libraries take on a rich, tailored look with quarter-sawn oak trim. Even a bedroom benefits from a simpler flat-board crown that adds architecture without fuss. The one place to be cautious is a bathroom, where humidity rules out MDF and demands a moisture-tolerant material like poplar or PVC. Wherever you install it, keep the scale generous so the trim reads as intentional rather than an afterthought.
Painted vs Stained Finishes
The finish you choose sets the whole tone. Painted trim, usually in white or a soft off-white, gives a crisp, clean, modern-farmhouse interpretation of the Craftsman look and pairs well with colored walls. Poplar and MDF are the go-to substrates for paint because they finish glass-smooth. Stained trim, on the other hand, is the historically authentic route, showing off the grain of oak or fir with a warm amber or medium-brown tone that Arts and Crafts homes were famous for. Staining requires a wood with attractive grain and careful sanding, and it hides seams less forgivingly than paint, so joints must be tight. Decide on your finish before buying material, since it dictates whether you spend on paint-grade poplar or stain-grade oak.
Coordinating Trim Throughout the Home
Craftsman style is a whole-house language, and crown looks best when it speaks with the rest of the trim. The wide frieze board of the crown should echo the wide, flat casings around doors and windows, which in Craftsman homes are typically topped with a projecting header cap. Baseboards run tall and flat to match. A picture rail can circle the room a foot or so below the crown, tying the horizontal lines together. Even the interior doors, ideally simple shaker or five-panel styles, reinforce the geometry. When all these elements share the same flat, square-edged vocabulary, a room feels genuinely designed rather than decorated, and the crown becomes the capstone of a cohesive scheme.
Bringing It All Together
Craftsman crown molding is one of the most rewarding trim projects a homeowner can tackle, precisely because its flat, square-edged construction is forgiving to cut and install compared to sprung traditional crown. It rewards you with a warm, handcrafted, architectural look that suits bungalows, Prairie homes, and modern farmhouses alike. Whether you paint poplar for a crisp white cornice or stain quarter-sawn oak for period authenticity, the layered, geometric character of Craftsman trim adds real character and value to a room.
Keep the profiles flat and bold, coordinate the crown with matching wide casings, and nail into solid framing. Do that, and your Craftsman crown will look like it was part of the house from the day it was built.