Pour a standard tabletop resin too thick and it can overheat, smoke, crack, or even warp, which is exactly the problem deep pour formulas were created to solve. Deep pour epoxy resin is engineered to be poured in thick layers, making it the right choice for river tables, live-edge fills, encapsulations, and deep castings. It cures slowly and manages heat differently than coating resin, but it still demands respect, because thick pours generate real heat through a process called exotherm. This guide covers how it works, pour depth limits, cure times, and the safety steps you must follow.
Part of our Epoxy, Concrete & Garage Floors guide — explore the full guide →
What Makes Deep Pour Resin Different
Standard coating epoxy is designed for thin layers, often around an eighth of an inch, and it cures relatively fast. When poured thick, that fast reaction concentrates heat and can ruin the casting. Deep pour resin uses a slower-curing formula that allows thicker pours by spreading the chemical reaction over a longer time, which lets heat dissipate gradually. This is why deep pour resin can fill castings far thicker than coating resin in a single pour, while staying clear and crack-free when used correctly.
Understanding Exotherm and Heat
This is the most important concept to grasp. When the resin and hardener react, they release heat, and the more resin in one mass, the more heat builds up. A pour that is too deep, or a mix that is too large in volume, can overheat dangerously. Excess heat can cause the resin to crack, yellow, smoke, give off fumes, or in extreme cases become a fire risk.
- Respect the maximum pour depth the manufacturer specifies for a single layer. This limit exists specifically to control exotherm.
- Do not exceed the volume guidance. A large mass cures hotter than the same amount spread thin.
- Pour in multiple layers if your project is deeper than the single-pour limit, letting each layer cool and partially set first.
- Keep your work area at the recommended temperature, since starting too warm adds to the heat buildup.
Treat the manufacturer’s depth and volume limits as hard rules, not suggestions.
Common Uses for Deep Pour Resin
Its thick-pour ability makes it the go-to for several projects.
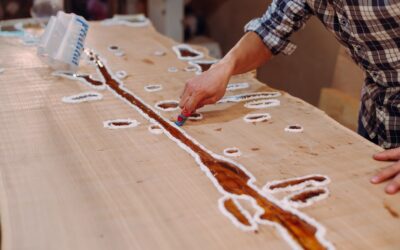
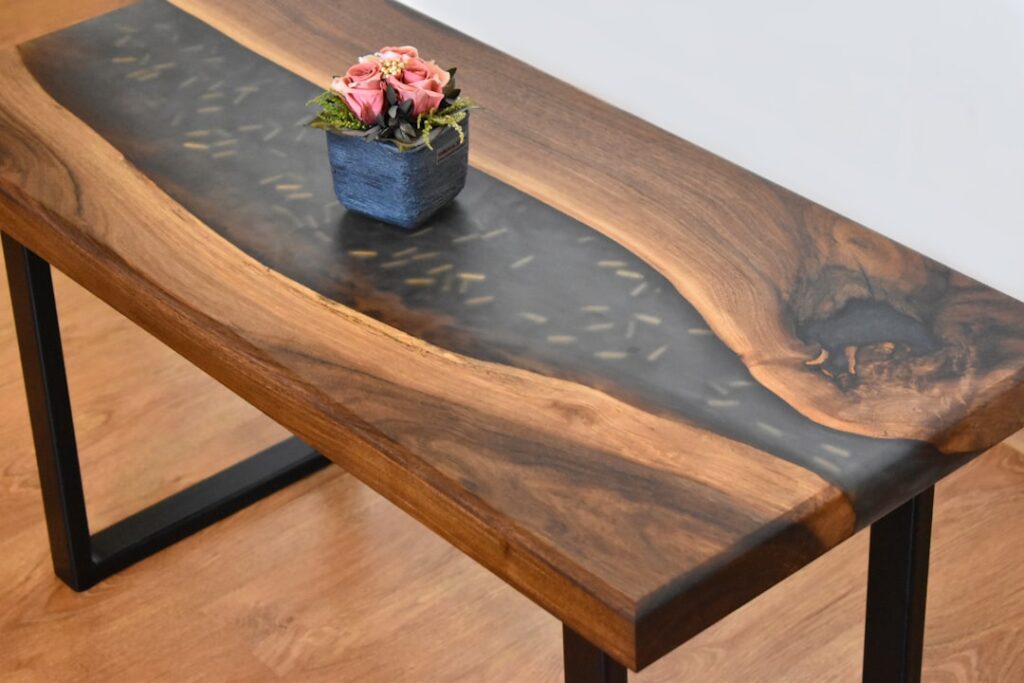
- River tables: Filling the gap between two live-edge slabs with a thick, clear or tinted resin “river.”
- Live-edge and void fills: Filling cracks, knots, and voids in slabs.
- Encapsulations: Casting objects like flowers, photos, or keepsakes in clear resin.
- Deep molds and castings: Pouring decorative or functional pieces in thick molds.
How to Pour Deep Pour Epoxy
Careful preparation prevents most problems.
- Seal porous surfaces. Coat raw wood with a thin seal coat first so air does not bubble up into the deep pour.
- Build a leak-proof mold or form. Deep pours are liquid for a long time, so the form must not leak.
- Measure precisely. Mix the exact ratio the manufacturer specifies. Off-ratio mixing prevents proper curing.
- Mix slowly and thoroughly to avoid whipping in extra air bubbles, scraping the sides and bottom of the container.
- Pour within the depth limit. Stay at or below the maximum single-pour depth, and plan multiple layers for deeper projects.
- Release bubbles as the product directs, then cover the pour to keep out dust while it cures.
Cure Times
Deep pour resin cures slowly by design. A single pour can take many hours just to gel and often several days to fully cure and harden enough to sand, trim, or finish. Always follow the specific cure schedule on your product, since formulas vary by brand and pour depth. Do not rush it; disturbing the pour or working it too early leads to soft spots and a dull or marred finish. The slow cure is a feature that keeps the resin clear and crack-free.
Safety: Ventilation, Gloves, and Instructions
Deep pour resin involves chemicals and heat, so safety is non-negotiable.
- Ventilate well. Work in a well-ventilated space so you are not breathing concentrated fumes, especially during mixing and the heat of curing.
- Wear gloves. Use chemical-resistant gloves to keep uncured resin off your skin.
- Protect eyes and lungs. Safety glasses guard against splashes, and a suitable respirator is wise in enclosed spaces.
- Never exceed pour depth or volume limits. This is both a quality and a safety rule because of exotherm heat.
- Follow all manufacturer instructions for mixing ratio, depth, temperature, ventilation, and first aid. Different products differ significantly.
- Keep children and pets away from the curing pour until it is fully hardened and odor-free.
Sanding and Finishing
Once fully cured, deep pour resin can be sanded, trimmed, and polished. Sand progressively through finer grits to remove imperfections, and finish with a polish or a thin top coat for a glassy surface. Wear a dust mask when sanding cured resin, since the dust is fine and best not inhaled. Take your time, since rushing the sanding leaves swirl marks in an otherwise beautiful piece.
Deep Pour vs Coating Resin
Knowing the difference prevents the most common beginner mistake. Coating resin, also called tabletop or art resin, is built for thin layers and cures fast, so it is perfect for sealing a finished tabletop, coating artwork, or doing a final clear surface. Deep pour resin is built for volume and cures slowly to control heat, making it right for river tables, void fills, and encapsulations. Trying to do a thick casting with coating resin invites overheating, cracking, and yellowing, while using deep pour resin for a thin top coat wastes its slow cure. Match the resin to the thickness of the job, and many makers use both on the same project: deep pour for the casting, then a coating resin for a flawless final surface.
Avoiding Bubbles and Cloudiness
Clarity is what makes a deep pour look professional, and a few habits protect it. Warm the resin slightly per the instructions if recommended, since slightly warmer resin flows better and releases bubbles more easily, but never overheat it. Mix slowly to avoid whipping in air, and let the mixed resin rest briefly before pouring so trapped bubbles can rise. Seal porous wood first so air does not bubble up from the grain during the long cure. Cover the pour to keep dust out, and release any surface bubbles with the gentle heat method the product specifies. Patience and clean technique are the difference between a glassy, crystal-clear pour and a hazy, bubble-filled one.
The Bottom Line
Deep pour epoxy resin makes thick castings like river tables and encapsulations possible by curing slowly and managing heat, but its biggest rule is the same as its biggest risk: never exceed the maximum pour depth and volume, because thick pours generate dangerous exotherm heat. Seal your surfaces, mix precisely, pour in layers when needed, and let it cure fully. Work with good ventilation, gloves, and eye protection, and follow the product instructions every step of the way.