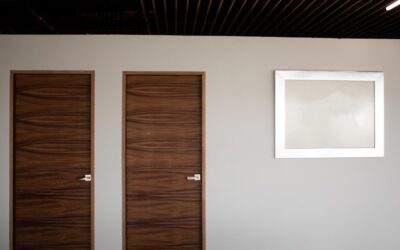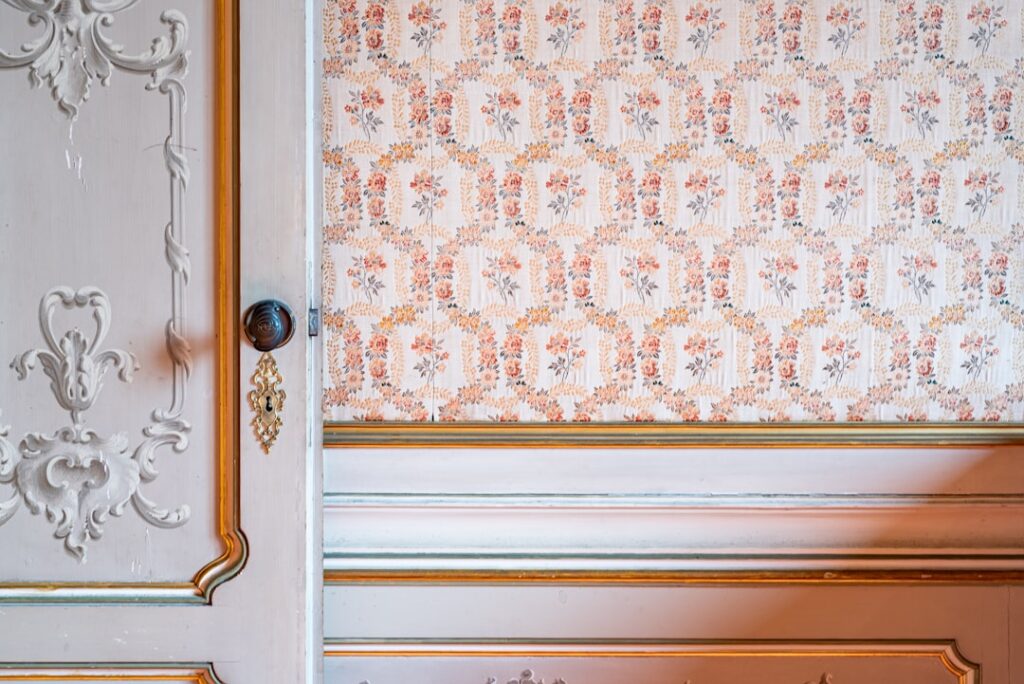
A hollow-core builder-grade door costs the developer about $35. The same opening filled with a solid-core door, a real casing, and proper hardware looks like a $50,000 renovation upgrade for less than $300 in materials. Tackling DIY interior doors is one of the highest return-on-investment projects a homeowner can take on, and it is surprisingly forgiving for a first-time woodworker. The keys are knowing when to buy a slab versus a prehung unit, getting the hinges mortised cleanly, and trimming the casing without visible gaps.
Part of our Windows & Doors guide — explore the full guide →
Slab vs. Prehung: Which to Buy
A slab door is just the door itself. You reuse the existing frame, mortise new hinges, and bore for the existing strike plate. Slabs cost $50 to $400 depending on material and run well below the alternative when the existing jamb is plumb and square.
A prehung unit comes mounted in a new jamb with hinges already installed. You remove the old casing, pull the old jamb, and install the entire assembly as one piece. Prehung units run $120 to $600 and make sense when the existing jamb is racked, rotted, or off-square — which is most homes built before 1990.
Check the existing opening with a 6-foot level before you decide. If both jambs are plumb within 1/8 inch over their full height, save the money and buy a slab. If they are not, the prehung route avoids weeks of frustration.
Choosing Door Material
- Hollow-core ($35-$80) — light, cheap, sounds tinny when shut, fine for closets
- Solid-core MDF ($90-$200) — heavy, blocks sound, the sweet spot for bedrooms and offices
- Solid wood ($200-$800) — best look and feel, expands and contracts seasonally
- 5-panel shaker ($120-$350 in solid core) — the most-requested style for modern remodels
- Glass-panel French style ($200-$600) — great for office and dining room conversions
For most rooms, solid-core MDF in a 2-panel or 5-panel shaker style delivers 90 percent of the look of solid wood at half the price. Brands like JELD-WEN and Masonite stock these at Lowe’s and Home Depot.
Tools You Need
- Cordless drill and impact driver
- 3/4-inch sharp wood chisel for hinge mortises
- Pencil and combination square
- Door bottom planer or hand planer (Bosch PL1632 around $130 if buying)
- Lockset boring kit ($30-$50) for new doors that have no holes pre-bored
- 6-foot level and 4-foot level
- Composite shims (Nelson Shims, $5 for a 40-pack)
- 15-gauge finish nailer and air compressor — rent for $60 a day if you do not own one
Installing a Slab Door Step by Step
Remove the old door and lay the new slab on sawhorses. Take measurements off the old door for height, width, and the location of hinges and the lockset bore. Most replacement slabs come slightly oversized and need to be trimmed about 1/8 to 1/4 inch.
Mark the hinge locations on the new door by laying the old door flat next to it and transferring lines with a square. Use a sharp chisel to cut the mortises — depth equal to the thickness of the hinge leaf, usually about 1/8 inch. Test-fit the hinges before drilling pilot holes.
If the lockset hole position differs from the old door, use a boring jig to drill the 2-1/8 inch face bore and the 1-inch edge bore. Templates from Irwin and Milescraft cost about $20 and prevent the most expensive mistake — drilling through and ruining the door.
Installing a Prehung Door
Remove the old casing on both sides of the wall, pull the existing jamb, and check the rough opening dimensions. Standard rough openings are 2 inches taller and 2 inches wider than the actual door size — a 30-inch door needs a 32 x 82-inch rough opening.
Set the new prehung unit into the opening. Shim behind each hinge and behind the strike plate. Check plumb on the hinge jamb first; if it leans even 1/8 inch, the door will swing open or closed on its own. Drive 8d finish nails or 2-1/2 inch trim screws through the jamb and shims into the framing. Replace the casing or upgrade to a wider modern profile while you have access.
Hardware That Looks Custom
Builder-grade lever sets from the 1990s give away a remodel faster than the doors themselves. Swap them for solid hardware in a finish that matches the rest of the house. Emtek and Schlage both make sets in the $50 to $200 range that feel like quality. Skip anything under $25 unless it is going on a closet — the springs in cheap sets fail within 2 years.
For privacy doors (bedrooms, bathrooms), buy a “privacy” function lockset. Passage sets (closets, hallways) do not lock and cost less. Get the function right before checking out — returning hardware after install is a hassle.
Upgrading Casing for Maximum Impact
The trim around the door is what people actually notice. Old colonial profiles (the rounded ones with a small bead) look tired. Switch to a flat 1×4 with a small backband, or a 4-inch shaker profile, and the room looks completely different. Casing upgrade material runs about $25 per door opening in primed MDF.
Cut the casing with 45-degree miters at the corners. Use a sliding compound miter saw for clean cuts. Nail with a 15-gauge finish nailer, fill the holes with vinyl spackle, and caulk the seams with paintable acrylic before priming.
Common Mistakes I See
Forgetting to plane the door bottom after a flooring change is the most common mistake. New carpet, thicker LVP, or added underlayment all raise the floor and prevent the door from closing. A door bottom planer makes quick work of taking 1/4 inch off the bottom.
Skipping shims behind the hinges is a close second. Without proper support, the door sags within 6 months and rubs the jamb. Take the extra 10 minutes to shim correctly the first time.
Finally, painting the door before hanging it gives a much cleaner finish than painting in place. Two coats of Benjamin Moore Advance ($55 per gallon) sprayed or rolled on a flat surface produces a near-factory finish that brushed-on paint cannot match.