Most attics look big from the hatch and turn out tiny once you measure where an adult can actually stand. A dormer attic conversion fixes that by pushing part of the roof outward, turning a narrow strip of usable height down the middle into a real room with walls, a window and a ceiling you do not have to duck under.
The short answer: a dormer is a framed box that projects from the roof slope, and the right type depends on how much floor area you need. A shed dormer adds the most headroom per dollar; a gable or hip dormer adds less room but blends with traditional rooflines. Every option requires cutting rafters, so it is a structural project that needs an engineer or architect, a building permit, and licensed roofing and framing crews. The conversion also brings code requirements for ceiling height, egress, stairs, insulation and floor strength.
- How a Dormer Attic Conversion Adds Usable Space
- Shed, Gable and Hip Dormers Compared
- Structural Framing: What Changes
- Egress, Stairs and Fire Safety
- Insulation and Ventilation Changes
- Step-by-Step Planning Sequence
- Roof Work and Fall Protection
- Common Problems to Avoid
- General Costs and When to Call a Licensed Professional
- Frequently Asked Questions
Plan the dormer as part of the whole attic room, not as an add-on. The best results come from deciding where the bed, desk or bathroom goes first, then sizing the dormer to give headroom exactly there.
How a Dormer Attic Conversion Adds Usable Space
Under a sloped roof, floor area only counts as livable where the ceiling is high enough. Many jurisdictions follow model residential code rules that require a ceiling of at least 7 feet over at least half of a room’s required floor area, and portions under 5 feet tall do not count toward the minimum room size at all. A typical habitable room must also be at least 70 square feet and at least 7 feet wide in any direction. Your local code governs, so confirm the numbers with your building department.
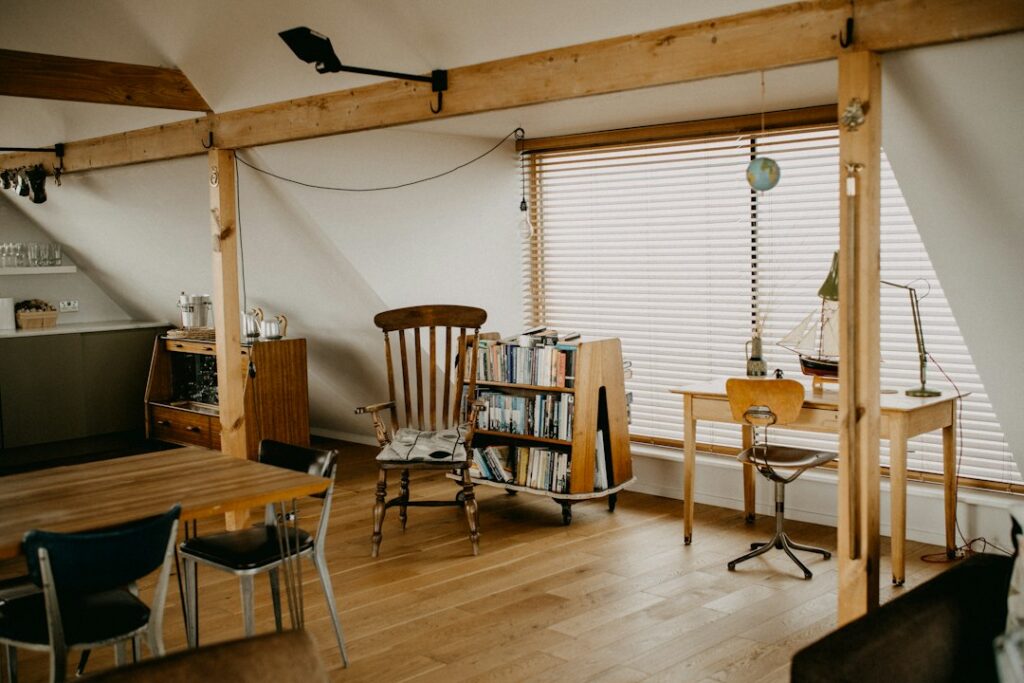
Here is the headroom math in plain terms. On a 12 by 24 foot attic with a steep roof, perhaps only a 4 foot wide strip down the center clears 7 feet. That strip covers 96 square feet, well under half the floor. A shed dormer running most of one side can push the 7 foot line out to the exterior wall on that side, which can more than double the qualifying area. That is why attic dormer inside photos often show one tall, flat wall and one sloped wall: the dormer side becomes the usable room.
Shed, Gable and Hip Dormers Compared
Shed Dormer
A shed dormer has a single roof plane that slopes less steeply than the main roof. It can run most of the length of the house, and it gives the biggest gain in floor area and headroom. It is the usual choice for a dormer loft conversion where you want a bedroom and a bathroom upstairs. The tradeoff is looks: a long shed dormer on a street side can make a house look boxy, so many owners put it on the rear.
Gable Dormer
A gable dormer has its own small pitched roof with a triangular front, the classic look on older homes. It adds a pocket of headroom around a window, enough for a desk or a reading nook, but adds far less floor area than a shed dormer. Several gable dormers can be used together for symmetry.
Hip Dormer
A hip dormer has three sloped roof faces, matching hip-roofed homes. It provides similar space to a gable dormer, with more complex framing and roofing details. Choose it mainly when appearance matters most.
Structural Framing: What Changes
Cutting a dormer into a roof removes sections of rafters that carry roof, snow and wind loads. Those loads must be rerouted. Typical framing includes doubled or tripled trimmer rafters on each side of the opening, a header at the top where cut rafters land, and properly sized dormer walls, rafters and ceiling joists. On a shed dormer, the ridge or the header at the top often needs to become a structural beam, which can change how loads travel down through the house.
Roof trusses complicate everything. Trusses are engineered units and generally cannot be cut without a full engineered redesign, which sometimes means reframing that part of the roof. Older stick-framed roofs with rafters are much easier to adapt.
The attic floor is the other big structural issue. Many attic ceiling joists were sized only to hold up drywall and light storage. A bedroom floor is typically designed for 30 pounds per square foot of live load and other living areas for 40, so old 2×6 ceiling joists often need to be sistered, replaced or supplemented with new deeper floor joists. An engineer should size the roof framing, the floor framing and any beams and posts, and confirm the foundation can carry new point loads.
Egress, Stairs and Fire Safety
A bedroom in a converted attic needs an emergency escape opening. Typical model code values call for a net clear opening of at least 5.7 square feet, at least 24 inches high and 20 inches wide, with the sill no more than 44 inches off the floor. A dormer is often the easiest place to put a code-compliant egress window, which is one reason dormers are sometimes required to make an attic legal as a bedroom.
A habitable attic also needs a permanent stair; a pull-down ladder does not qualify. Plan stair headroom too, since the stair often lands where the roof is lowest. Install interconnected smoke alarms in the bedroom and outside it, and carbon monoxide alarms on that level if the home has fuel-burning appliances or an attached garage.
Insulation and Ventilation Changes
An attic that becomes living space moves the thermal boundary from the attic floor to the roof slope and dormer walls. Common approaches include insulating between rafters with vent baffles that keep an air channel from soffit to ridge, or building an unvented roof assembly with closed-cell spray foam or rigid foam on top of the deck. Target insulation levels depend on climate, roughly R-38 to R-60 for roofs in many areas, and the dormer walls need wall-grade insulation and an air barrier.
Ventilation details matter because poorly insulated slopes produce ice dams and condensation. Knee wall spaces behind short walls need either full insulation and air sealing on the knee wall and the floor behind it, or inclusion inside the conditioned envelope. Heating and cooling also need a plan: extending existing ducts often underperforms, so many conversions use a ductless mini-split sized by an HVAC contractor.
Step-by-Step Planning Sequence
- Measure the attic: floor dimensions, ridge height, roof pitch and existing headroom.
- Check zoning and HOA limits on height, setbacks and dormer appearance.
- Hire an architect or designer and a structural engineer to draw the dormer, framing and floor upgrades.
- Apply for building permits; expect separate electrical, plumbing and mechanical permits if those trades are involved.
- Schedule framing and roofing with licensed contractors, plan weather protection for the open roof, and set inspections.
- Rough in electrical, plumbing and HVAC, then pass inspection before insulation.
- Insulate, air seal, drywall and finish floors, trim and paint.
Roof Work and Fall Protection
Opening a roof is dangerous work. Crews work at height on steep slopes and near open holes in the roof deck. Professional roofers use fall protection such as anchored harness systems, guardrails or scaffolding, and they plan how to cover the opening quickly if rain arrives. This is not a weekend project for a homeowner on a ladder. Even a one-story home presents real fall risks, and on two stories or more the work belongs to licensed crews with proper equipment.
Common Problems to Avoid
Too little headroom after all: drawing the room without the floor build-up, insulation depth and finished ceiling can cost several inches. Design to finished dimensions. Leaks at the dormer cheeks: step flashing, counterflashing and the joint where the dormer roof meets the main roof need careful detailing. Bouncy floors: skipping the joist upgrade leaves a floor that flexes and cracks finishes. Stair that does not fit: plan the stair location early, since it may take a closet or bedroom space below.
General Costs and When to Call a Licensed Professional
Costs vary widely by region, size and finish. A single small gable dormer may run in the low tens of thousands of dollars, while a full shed dormer with a finished bedroom and bathroom can climb well past that. Engineering, permits, new stairs, HVAC and floor upgrades often cost as much as the dormer itself.
A dormer is a structural, roofing and code-driven project, so call licensed professionals from the start. Use a structural engineer or architect for framing and load paths, a licensed roofer and general contractor for the roof opening, a licensed electrician for new circuits and lighting, a licensed plumber for any bathroom, and an HVAC contractor for heating and cooling. Permits and inspections protect you and are usually needed for resale.
Frequently Asked Questions
Do I need a permit for a dormer attic conversion?
Almost always. Cutting rafters, adding a habitable room, new windows, stairs and electrical work all typically require permits and inspections. Check with your local building department before design work starts.
Which dormer adds the most space?
A shed dormer adds the most floor area and headroom because its roof plane can run most of the length of the house. Gable and hip dormers add smaller pockets of headroom around windows.
Can you add a dormer to a truss roof?
Only with an engineered redesign, because trusses cannot simply be cut. In many cases that section of roof is reframed with rafters and beams. Stick-framed roofs are much easier to modify.
Does an attic bedroom need an egress window?
Yes. A sleeping room needs an emergency escape opening that meets local code for size and sill height. A dormer is often the best place to fit a compliant egress window.
Will my attic floor hold a bedroom?
Often not as built. Many attic joists were sized for ceilings and light storage only. An engineer should check them and specify sistering or new joists for living-space loads.