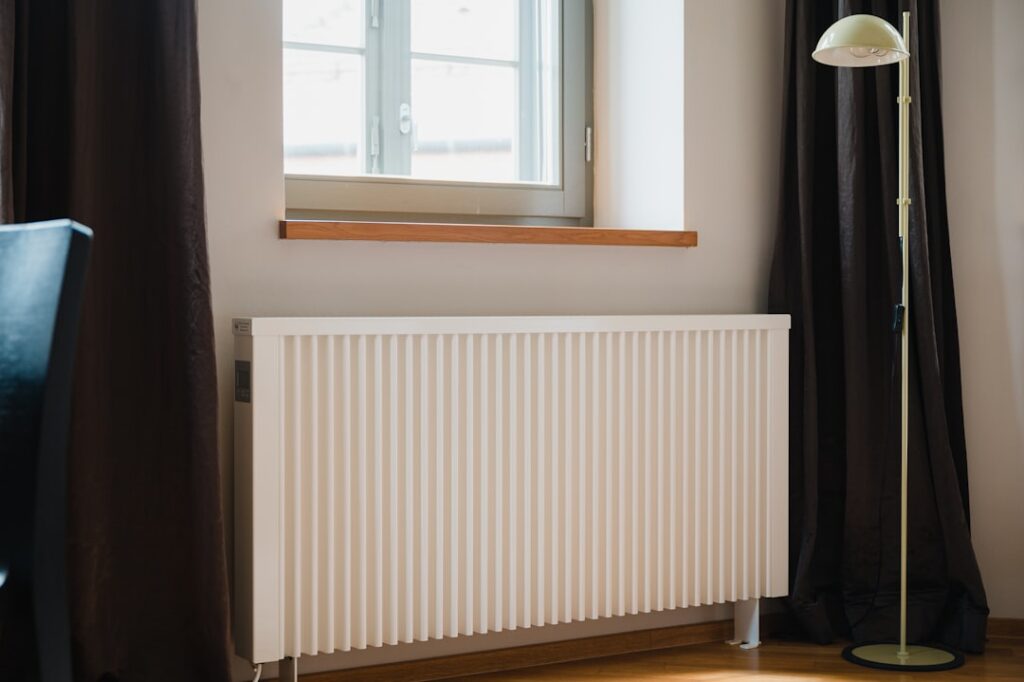
Old baseboard heaters have a way of looking rough long before they stop working. Years of scuffs, dents, rust streaks, and yellowed paint turn what should be an unobtrusive fixture into an eyesore running along the bottom of the wall. Replacing the electric baseboard heater covers is one of the most satisfying, budget-friendly refreshes you can make to a room, restoring a clean look without the cost and disruption of swapping out the whole heater. The heating element stays; only the sheet-metal housing changes.
This guide walks through measuring for the right cover, choosing a replacement, and installing it safely. Because these units are wired into your home’s electrical system, I will be emphatic about one thing up front: any work near the wiring means the power is off and, for anything beyond swapping the visible cover, a licensed electrician handles the connections.
Safety First: Power Off, Always
Electric baseboard heaters typically run on 240-volt circuits, which are more than capable of causing a serious or fatal shock. Before you touch anything, go to the panel and switch off the breaker that feeds the heater, then confirm the heater is truly dead by checking that it does not warm up and, ideally, by testing with a non-contact voltage tester at the unit. Do not rely on the wall thermostat being off; only the breaker guarantees the circuit is de-energized.
Replacing just the decorative cover, the front housing that clips or screws over the element, generally does not require disturbing any wiring, and that is the project most homeowners can safely tackle with the breaker off. But the moment a job involves disconnecting or reconnecting wires, moving the electrical junction, or replacing the heating element itself, that is licensed-electrician territory. There is no shame in calling a pro for the wiring; it is the smart, code-compliant, and safe way to handle 240-volt connections.
Understanding What You Are Replacing
A standard electric baseboard heater has a few parts: the back plate mounted to the wall, the heating element with its fins running along the length, the wiring compartment usually at one end, and the removable front cover with a damper flap along the top that directs warm air into the room. When people talk about replacing covers, they usually mean that front housing and its end caps, the visible parts that take all the abuse and show all the wear.
Knowing your options helps you choose. You can buy full replacement covers that match a standard heater profile, universal or adjustable covers designed to fit a range of common sizes, and end caps sold separately when only the ends are damaged. There are also premium upgrade covers with a more finished, furniture-grade appearance for rooms where the heater is prominent. Sorting out whether you need the whole cover, just end caps, or a full-length replacement narrows your shopping quickly.
Measuring for the Right Cover
Accurate measurement is what keeps this from becoming a frustrating return trip. Measure the overall length of the existing heater from end to end; baseboard heaters come in standard lengths, so your reading should land near a common size. Measure the height of the unit from the floor to the top of the cover, and note the depth, how far it projects from the wall, since profiles vary between brands and generations of heaters.
Pay attention to how the existing cover attaches, because that determines whether a replacement will mount the same way. Some covers snap onto tabs on the back plate, others screw on, and some slide down over hooks. Take a photo of the ends and the mounting detail to reference while shopping. If you are choosing a universal cover, confirm its adjustment range spans your measurements, and verify the damper along the top will align so warm air still vents into the room properly.
Removing the Old Cover
With the breaker confirmed off, start at one end and remove the end caps, which usually lift or unclip once any retaining screws are out. The main front cover then releases from the back plate, either by unclipping from its tabs, backing out screws, or lifting it off its hooks, depending on the design. Work gently along the length; old covers can be stuck with paint or slightly bent, and you want to avoid bending the fins on the heating element behind them.
Once the cover is off, take the opportunity to clean. Vacuum the dust and pet hair that inevitably pack the fins, since a clogged element runs less efficiently and can smell when it heats up. Straighten any bent aluminum fins carefully with a fin comb or gentle finger pressure, because crushed fins reduce heat output. Inspect the element and the wiring compartment for any signs of scorching or damage, and if anything looks compromised in the wiring area, stop and bring in an electrician before going further.
Installing the New Cover
Installing the replacement is essentially the reverse of removal, and it goes quickly once the old one is off. Position the new front cover over the back plate and element, aligning it so the damper flap sits at the top and opens freely. Secure it using whatever method the cover uses, snapping onto the tabs, driving the provided screws, or hooking it in place, then fit the end caps and fasten them. The cover should sit flush to the wall and floor without gaps that would let warm air escape behind it.
If you bought a universal or adjustable cover, set its length or height adjustment to match your unit before final fastening, and dry-fit it to confirm the damper and end caps line up. Make sure nothing is bent into contact with the heating fins, since the cover must not touch the element. Once everything is seated and the end caps are on, double-check that no wiring was disturbed, and only then return to the panel to restore power.
Painting Versus Replacing
Sometimes the existing cover is structurally fine and only the finish has gone yellow or scuffed, and in that case painting can be a cheaper alternative to a full replacement. If you go this route, the cover should be removed or the heater completely powered down and cool, cleaned and degreased thoroughly, lightly scuffed so paint will grip, and coated with a primer and paint rated for high-temperature metal surfaces. Ordinary wall paint will blister and give off odor when the element heats up, so the heat-rated appliance-type coatings are essential.
That said, replacement often wins on both effort and result. A new cover arrives straight and rust-free, mounts in minutes once the old one is off, and skips the masking, drying, and fumes that painting involves. If the old cover is dented, rusted through, or bent, replacement is clearly the better path since paint cannot fix physical damage. Reserve painting for covers that are merely discolored and otherwise sound, and choose replacement whenever the metal itself has taken a beating. Either way, the same power-off safety rule governs the work.
Testing and Final Notes
With the new cover installed and the breaker switched back on, turn the thermostat up and let the heater cycle. It is normal for a fresh cover, or a freshly cleaned element, to give off a faint burning-dust smell for the first few minutes as accumulated dust burns off; that fades quickly. Feel for even warmth along the length and confirm the damper is directing air out into the room rather than back toward the wall. Listen for any unusual buzzing or ticking beyond the normal expansion sounds.
A cover swap done this way gives a room an instant facelift for a fraction of the cost of a new heater, and there is real satisfaction in seeing a battered, rusty baseboard turn crisp and clean again. Keep the fins vacuumed each season for efficiency, and remember the guiding rule that made the whole job safe: for the visible cover, breaker off and go; for anything touching the wiring, the breaker is off and a licensed electrician makes the connections. Respect that line and replacing electric baseboard heater covers is a genuinely easy, rewarding upgrade.