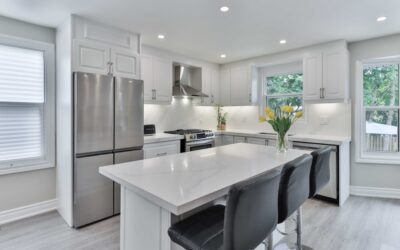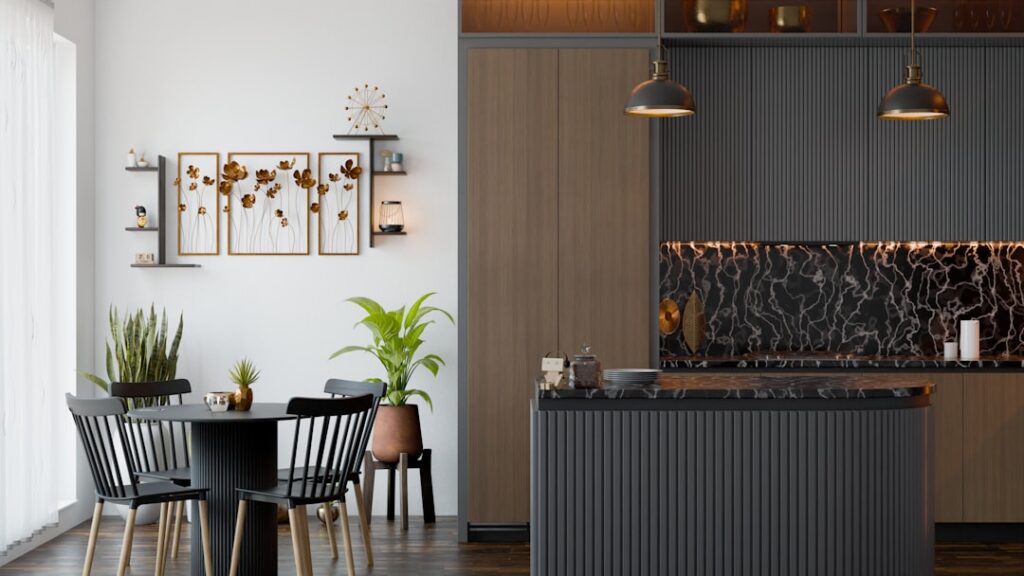
Walk into a high-end modern kitchen lately and there is a good chance the lower cabinets appear to hover a few inches off the floor. Floating kitchen cabinets are base and upper boxes bolted directly to the wall with no toe kick touching the ground, so a shadow line of open floor runs underneath. Done right, the effect is clean, minimalist, and unmistakably contemporary. Done wrong, it is a repair call waiting to happen.
Part of our Kitchen Remodeling guide — explore the full guide →
I have hung plenty of these, and the honest truth is they are less forgiving than standard cabinets. The wall carries all the weight, so the mounting has to be right the first time. Here is what actually matters.
- What Makes a Cabinet “Floating”
- Mounting Methods That Actually Hold
- Weight Limits and Stud Requirements
- LED Under-Lighting: The Payoff Feature
- What Floating Cabinets Cost
- Pros and Cons Before You Commit
- Floating Vanities and Other Rooms
- Step by Step: Setting the Ledger and Hanging the Run
- Install Considerations and a Final Word
What Makes a Cabinet “Floating”
Any cabinet can float, uppers, bases, a run of drawers, a media wall. The defining feature is that the load transfers into the wall framing instead of resting on the floor. Base cabinets usually sit 6 to 10 inches above the finished floor, roughly where a traditional toe kick would be, but open. Some designers push that gap to 12 inches for a more dramatic reveal, especially when LED lighting washes the floor below.
Because nothing sits on the ground, floating layouts make small kitchens feel larger. The continuous run of visible flooring tricks the eye into reading more square footage, and cleaning underneath is as easy as running a mop through the gap.
Mounting Methods That Actually Hold
The mounting hardware is where success or failure is decided. Three approaches dominate:
- French cleat: A beveled 45-degree wood or aluminum rail screwed into the studs, with a matching cleat on the cabinet back. The cabinet drops on and the angle locks it tight against the wall. This is my go-to for uppers and lighter bases because the load spreads across the whole rail.
- Heavy-duty hidden brackets: Steel L-brackets or floating-shelf-style rods rated per pair. For a run of base cabinets carrying stone counters, these tie into a continuous steel channel or ledger.
- Steel ledger / backer plate: A length of steel or 3/4-inch plywood lag-bolted across multiple studs, giving you a continuous anchor point so cabinet fasteners are not relying on drywall anchors anywhere.
Whatever method you choose, the fasteners must land in solid structure, framing, blocking, or a steel plate, never drywall anchors alone. I strongly prefer adding solid 2x blocking between the studs during rough-in when the walls are open. It turns a nervous install into a bulletproof one.
Weight Limits and Stud Requirements
This is the part people underestimate. A base cabinet is not just the box. Load it with a quartz or granite countertop, a sink, and a cabinet full of pots and dishes, and a single 30-inch base can carry 200 to 400 pounds. That force wants to pull the top of the cabinet off the wall and lever the bottom out.
- Standard wood studs are spaced 16 inches on center; find and hit every one behind the run.
- Use lag screws or structural screws (like GRK or SPAX) at least 3 to 4 inches long, not drywall screws.
- For stone countertops on floating bases, plan for a steel support system, not wood cleats alone.
- On a masonry or concrete wall, switch to sleeve or wedge anchors rated for the load.
If your kitchen has metal studs or an old plaster-and-lath wall, get a contractor to evaluate before committing. Those situations often need a full plywood or steel backer to be safe.
LED Under-Lighting: The Payoff Feature
The open gap under a floating base is the perfect home for an LED strip. Recessed into the cabinet bottom and aimed down, it creates a soft glow that makes the cabinet appear to hover and doubles as a nightlight. A few tips from experience:
- Choose warm white strips around 2700K to 3000K for a kitchen; cooler temps look clinical.
- Run the low-voltage transformer to a nearby outlet or hardwire it; plan the wiring path before the cabinets go up.
- Aluminum channel with a frosted diffuser hides the individual diodes so you see a clean line of light, not dots.
Budget $40 to $150 for quality LED strip, channel, and a dimmable driver per run. It is a small add for a big visual return.
What Floating Cabinets Cost
Expect to pay more than a standard install. The cabinets themselves cost about the same, but the mounting labor and reinforcement add up:
- Extra structural work (blocking, steel ledger, backer): $300 to $1,200 depending on wall access and run length.
- Added labor: floating installs typically run 20 to 40 percent more labor than standard cabinets because leveling and anchoring take longer.
- LED lighting package: $150 to $500 installed for a typical kitchen.
For a mid-size kitchen, floating base cabinets often add $1,000 to $3,000 over a conventional setup once you account for reinforcement and lighting. Semi-custom and European frameless lines like IKEA’s wall-mounted systems, or brands built for the look, keep costs down; full custom pushes them up.
Pros and Cons Before You Commit
Pros:
- Sleek, modern, minimalist look with a premium feel.
- Makes small kitchens feel more open and airy.
- Easy to clean underneath; no dark toe-kick dead zone.
- Great platform for accent lighting.
Cons:
- Higher cost and more demanding installation.
- Wall strength is critical; not every wall qualifies without reinforcement.
- Lost lower storage volume compared with a full toe-kick base.
- Mistakes are unforgiving, a sagging or pulled-away cabinet is a serious repair.
Floating Vanities and Other Rooms
The same wall-hung approach that makes kitchens feel airy is even more popular in bathrooms, where a floating vanity shows off more floor and simplifies cleaning around the toilet. The engineering is friendlier, too: a vanity carries far less weight than a stone-topped kitchen base, so a solid 3/4-inch plywood cleat or a steel bracket kit lag-screwed into blocking usually handles it. Set the cabinet 8 to 12 inches off the floor, and remember that wall-mount plumbing, or at least a rough-in that clears the open space below, is part of the plan.
Floating media walls, laundry-room bases, and mudroom benches follow the same rules. Anywhere you want that open shadow line, the load still has to reach solid framing, and blocking added during construction is always the cleanest solution.
Step by Step: Setting the Ledger and Hanging the Run
For a base run, the sequence that keeps everything solid looks like this:
- Locate and mark every stud, then confirm your finished cabinet-bottom height and snap a level laser line across the whole wall.
- Install continuous 2x blocking or a steel or plywood ledger, lag-bolting into each stud with 3 to 4 inch structural screws.
- Attach the French cleat or bracket system to the ledger, checking level a second time before any box goes up.
- Hang the cabinets onto the cleat, join adjacent boxes together, and drive the cabinet’s own fasteners into the ledger.
- Shim and fine-tune, then load-test each cabinet before setting the countertop.
The countertop goes on last and adds real weight, so never call the anchoring finished until the loaded run has been checked. If you feel any flex or hear a fastener creak, stop and add structure. On a floating install there is no floor to catch a mistake, so the ledger and its connections carry everything.
Install Considerations and a Final Word
If you are set on floating cabinets, plan the structure early. The ideal moment is during a renovation when walls are open and you can add continuous blocking exactly where fasteners will land. Level matters twice as much here because there is no floor to reference against; I run a laser line across the whole wall and set every cabinet to it. Verify the ledger is dead level before a single box goes up, because the entire run inherits that first line.
Floating kitchen cabinets reward careful planning with a look that genuinely elevates a space. Get the mounting, stud connections, and weight math right, and they will hang solidly for decades. Cut corners on the structure, and no finish in the world will save the install. When in doubt, have a pro spec the anchoring, it is cheap insurance against a very expensive failure.