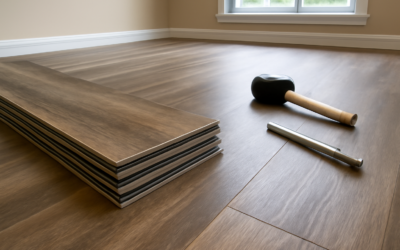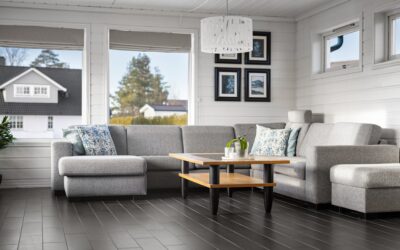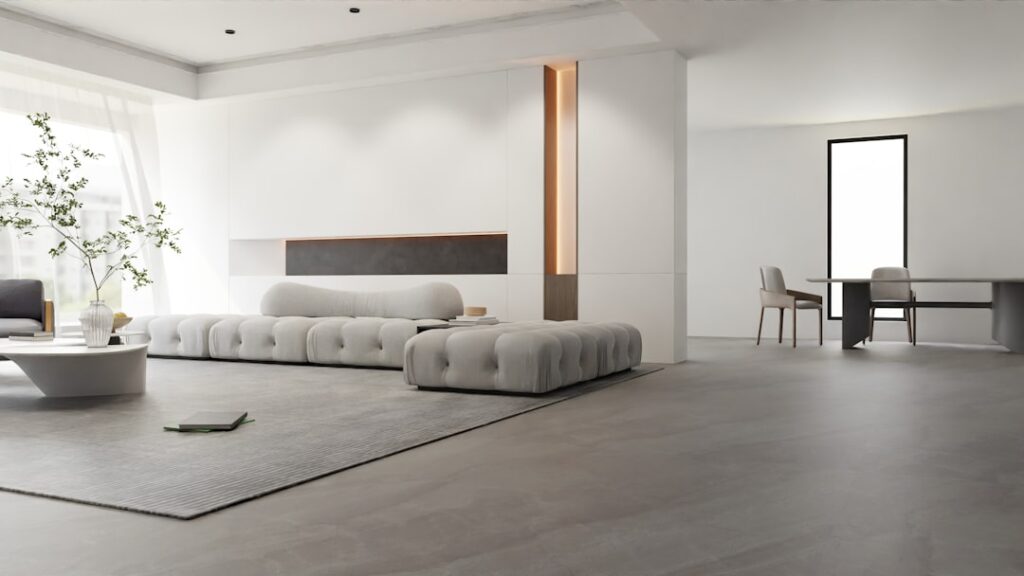
If you want a waterproof, wood-look floor you can install in a weekend without troweling adhesive, floating LVT flooring deserves a spot at the top of your list. Floating LVT flooring refers to luxury vinyl tile and plank that locks together edge-to-edge with a mechanical click joint and simply rests over the subfloor, held in place by its own weight and the perimeter walls rather than by glue. That single design choice changes everything about how the floor installs, repairs, and performs.
Below you will find what the rigid-core and flexible categories actually mean, how to read a wear-layer spec sheet, realistic price ranges, and where a glue-down product still makes more sense.
What “Floating” Actually Means
A floating floor is not fastened to the subfloor at all. The planks interlock with one another to form a single continuous surface that “floats” on top of the structure, free to expand and contract with temperature and humidity swings. Most modern floating LVT uses a 5G-style or angle-tap drop-lock joint that snaps together by hand. No nails, no staples, no adhesive bead.
Compare that to glue-down LVT, where every plank is bonded to the slab with pressure-sensitive or hard-set adhesive. Glue-down is rock solid underfoot and handles rolling loads better, but it demands a flatter, cleaner subfloor and turns a future repair into a chiseling project. Floating planks pop apart and back together, which is why renters and DIYers gravitate toward them.
Rigid Core vs. Flexible: SPC and WPC Explained
Almost all floating LVT sold today is rigid core, meaning the plank will not flex if you pick it up by one end. The two dominant rigid formulations are SPC and WPC.
- SPC (Stone Plastic Composite): A dense core of limestone powder and PVC. It is thinner (typically 4–6 mm), extremely dimensionally stable, dent-resistant, and the best choice over uneven subfloors or in rooms with big temperature swings like sunrooms.
- WPC (Wood Plastic Composite): A foamed, slightly softer core that runs 5–8 mm. It feels warmer and quieter underfoot and is more forgiving on the feet during long standing, but it dents a touch more easily than SPC.
Older flexible LVT (the kind that rolls up) does exist in a loose-lay floating format, but it is far less common in click-lock form and is more sensitive to subfloor imperfections telegraphing through. For most homes, the SPC-versus-WPC decision is the real one.
Reading the Wear Layer
The wear layer is the clear urethane-coated top film that takes all the abuse, and it is measured in mils (thousandths of an inch), not millimeters. Do not confuse the two.
- 6–12 mil: Light residential. Fine for bedrooms, guest rooms, and condos with no pets.
- 12–20 mil: Standard to heavy residential. The sweet spot for kitchens, hallways, and homes with dogs.
- 20–28 mil: Light commercial and high-traffic. Overkill for most houses but worth it in entryways or rental units.
A thicker wear layer resists scratching and scuffing; the overall plank thickness (the 4–8 mm number) affects stability and sound, not scratch resistance. Buy for the wear layer first.
Underlayment and Sound
Many floating LVT planks ship with an attached pad, usually a thin IXPE or cork backing on the underside. This pad cushions the floor, dampens hollow click-clack, and bridges minor subfloor texture. If your product has an attached pad, do not add a second separate underlayment on top of it; stacking pads creates too much give and can stress the click joints.
If your planks have no attached pad, add a thin (1–1.5 mm) vinyl-rated underlayment. Over concrete, also confirm whether a moisture barrier is required; many rigid-core products are waterproof on the surface but still benefit from a 6-mil poly film below to block slab vapor.
Installation: Why It Is So DIY-Friendly
Floating LVT is one of the most forgiving floors a first-timer can tackle. The keys to a clean job:
- Flatten the subfloor. Most manufacturers require flatness within 3/16″ over 10 feet. Grind high spots and fill low spots with patch compound.
- Acclimate the planks 48 hours in the room, especially SPC in spaces that see wide temperature changes.
- Leave a 1/4″ expansion gap around every wall and fixed object. The floor must be able to move; trim and baseboard hide the gap.
- Stagger end joints at least 6–8 inches so seams do not line up and weaken.
- Use a tapping block, never a hammer directly on the plank edge, to seat the locks.
For long runs over about 40 feet in either direction, you will need a T-molding transition to break up the span and respect the material’s movement.
Costs: What You Will Spend
Material pricing for floating LVT generally lands between $2 and $7 per square foot. Entry-level SPC with a 6–12 mil wear layer sits near the $2–$3 mark; premium WPC and SPC with thick wear layers, realistic embossed-in-register textures, and longer planks push toward $5–$7. Add roughly 7–10 percent for cutting waste.
Because there is no adhesive and the labor is straightforward, professional installation runs lower than glue-down, often $1.50–$4 per square foot. Many homeowners skip the installer entirely, which is a big part of floating LVT’s appeal.
Pros and Cons vs. Glue-Down
Pros
- No adhesive, faster and cleaner DIY install
- Waterproof rigid cores handle kitchens, baths, and basements
- Individual planks can be replaced without destroying neighbors
- More forgiving of minor subfloor imperfections, especially WPC
Cons
- Can feel slightly hollow or have minor flex over poor subfloors
- Needs expansion gaps and transition strips on large spans
- Less stable than glue-down under heavy rolling loads or in extreme sun
- SPC can be loud underfoot without a quality attached pad
Who Should Choose Floating LVT
Pick floating LVT if you value fast installation, future repairability, and a waterproof surface for wet rooms or basements, and if your subfloor is reasonably flat. Choose glue-down instead for very large open commercial spaces, sun-flooded rooms with extreme heat gain, or anywhere heavy carts roll daily. For the typical kitchen, living room, or basement remodel, a good SPC or WPC floating product at $3–$5 per square foot with a 20-mil wear layer hits the best balance of cost, durability, and weekend-friendly installation.
Prefer to explore on your own?
See how new flooring looks in your actual room in seconds — free, no signup.
Try the free Floor Studio →