
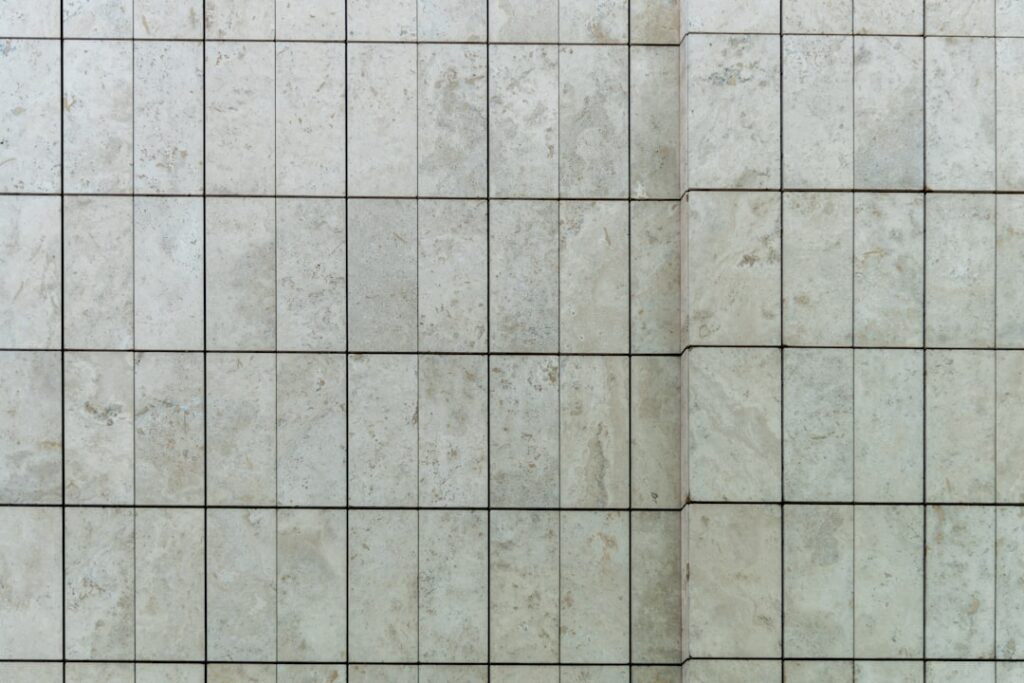
Lay two boxes of identical tile side by side from different production runs and you may be surprised to see they don’t quite match. Floor tile matching trips up homeowners constantly, whether they’re trying to extend a floor into a new room, repair a cracked tile, or carry one look across several spaces. The good news is that color, size, and transitions are all manageable once you understand how tile is made and sold. This guide covers matching tile across rooms, dealing with dye lots and shade variation, and planning clean transitions where floors meet.
Part of our Tile & Grout guide — explore the full guide →
- Why Tile From the Same Box Can Look Different
- Understanding Dye Lots and Shade Variation
- Matching Tile Across Different Rooms
- Sourcing Replacement Tiles for Repairs
- Planning Floor-to-Floor Transitions
- Layout Tricks That Improve the Match
- Matching Grout and Finishing Details
- Final Tips for Confident Tile Matching
Why Tile From the Same Box Can Look Different
Ceramic and porcelain tiles are fired in large batches, and the exact color depends on the clay body, the glaze chemistry, and kiln temperature on that particular day. Manufacturers control this tightly, but small shifts are unavoidable. Each production run carries a shade code and a caliber (size) code printed on the box. Two boxes with matching shade and caliber will blend seamlessly; two boxes with different codes may differ by a fraction of a shade or a millimeter in size, enough to notice on a finished floor.
This is why the cardinal rule of any tile project is to buy all you need, plus extra, from a single lot at once. Reordering later, even from the same retailer and the same SKU, often pulls from a newer run.
Understanding Dye Lots and Shade Variation
The shade code, sometimes called the dye lot or batch number, is your most important matching tool. Always confirm every box in your order shares the same lot before installation. Beyond the lot, tiles also carry a variation rating, usually labeled V1 through V4:
- V1 (uniform): tiles are nearly identical, so any mismatch stands out.
- V2 (slight variation): minor differences that read as natural.
- V3 (moderate variation): noticeable differences from tile to tile.
- V4 (substantial variation): dramatic, random differences by design.
Higher-variation tiles are actually more forgiving for matching, because the eye already expects differences. A repair or a transition is far easier to hide in a V3 or V4 wood-look or stone-look tile than in a flat V1 white. Whichever you buy, dry-lay tiles from several boxes mixed together before setting them. Blending boxes distributes any subtle differences evenly so no single area looks off.
Matching Tile Across Different Rooms
When you want one continuous look from a kitchen into a hallway or across an open floor plan, the simplest path is using the same tile throughout, ordered in one lot. If the spaces were tiled at different times, exact matching may be impossible, so design around the difference instead. A clean break at a doorway, a contrasting threshold strip, or a deliberate border can turn an unavoidable seam into an intentional detail.
You can also coordinate rather than match. Pairing a wood-look plank tile in living areas with a complementary stone-look tile in the entry, tied together by a shared color temperature, often looks more designed than forcing one tile everywhere. Keep undertones consistent (all warm or all cool) and the rooms will feel related even with different tiles.
Sourcing Replacement Tiles for Repairs
For a cracked or stained tile, your first stop is your own attic, garage, or basement. The single leftover box from the original install is the perfect match, which is exactly why installers urge you to keep 5 to 10 percent extra. If you have none stored, note the manufacturer name and model from the original box if you kept it, or photograph the tile and bring a sample piece to a tile dealer.
When an exact match no longer exists, two strategies help. First, harvest a tile from an inconspicuous spot, such as inside a closet or under an appliance, and use it for the visible repair, then patch the hidden spot with the closest available match. Second, choose a deliberately contrasting accent tile for the repair so it reads as a decorative inset rather than a failed match.
Planning Floor-to-Floor Transitions
Transitions handle the meeting point between tile and another flooring, or between two tiled rooms at different heights. The right transition piece keeps edges protected, manages height differences, and gives the floor a finished look. Common options include:
- T-molding: joins two floors of equal height, like tile to tile or tile to laminate.
- Reducer strip: bridges a higher floor down to a lower one, such as thick tile to vinyl.
- Schluter-style metal profiles: protect tile edges and create a crisp, modern line, especially at doorways.
- Threshold or saddle: a stone or marble strip set in a doorway, common between bathrooms and hallways.
Plan transitions before you tile, not after. Knowing where a doorway falls relative to your tile layout lets you avoid a sliver cut right at the threshold and lets you order the correct profile for the actual height difference.
Layout Tricks That Improve the Match
Smart layout reduces how much matching even matters. Start your tile lines from the center of a room or from the most visible sightline so cut tiles land at the edges and under cabinets. Stagger or offset patterns, like a one-third brick bond on plank tile, break up repetition and hide minor size or shade differences. Use spacers consistently so grout lines stay uniform, since uneven joints draw the eye far more than a slight shade shift.
Matching Grout and Finishing Details
Tile is only part of the match; grout color and width carry just as much visual weight. When you’re extending a floor or repairing a tile, the grout has to match too, and grout fades and stains over years, so a fresh batch of the “same” color rarely looks identical next to aged joints. For repairs, clean the surrounding grout thoroughly first, then test a small grout sample against it once cured, since grout dries lighter than it looks when wet. Keeping a labeled bag of your original grout, like your spare tiles, makes future repairs far easier.
Joint width matters as well. If your existing floor uses 1/8-inch grout lines, new work with 1/4-inch lines will look mismatched even with identical tile. Match the spacer size and the grout color, and the eye reads the whole floor as continuous.
Final Tips for Confident Tile Matching
Successful floor tile matching comes down to a few habits: buy everything in one lot, keep your overage boxes, record the shade and caliber codes, and mix boxes during installation. When a perfect match truly isn’t possible, lean into transitions and accents rather than chasing an exact color you can’t get. Treat the seams between rooms as design opportunities, and your floors will look cohesive and intentional from one space to the next.
Prefer to explore on your own?
See how new flooring looks in your actual room in seconds — free, no signup.
Try the free Floor Studio →

