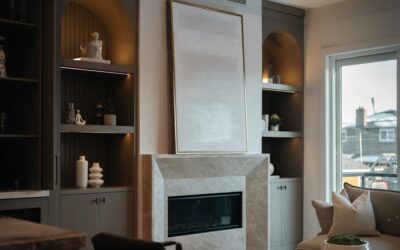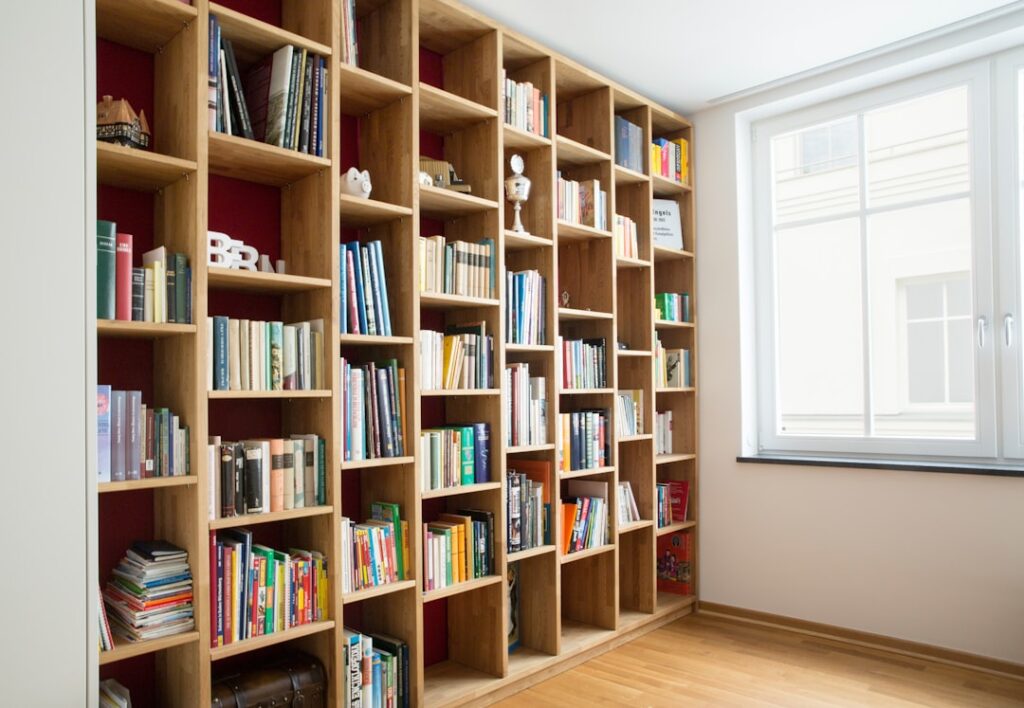
Few projects change a room’s character as completely as a wall of shelving that runs baseboard to crown. Floor to ceiling built in bookshelves turn dead wall space into a library, a display wall, and, done properly, a feature that appraisers and buyers read as architecture rather than furniture. The project sits at an interesting skill level: harder than a weekend shelf bracket job, far easier than kitchen cabinetry, and priced anywhere from $600 in DIY plywood to $15,000 from a custom cabinetmaker. This guide covers the construction approaches, the anchoring and trim details that make “built-in” look truly built in, and honest numbers for every route.
Three Ways to Build the Same Wall
- Full custom carpentry: a cabinetmaker or finish carpenter builds face-framed cases to your wall’s exact dimensions, scribed to every wave in the plaster. Highest cost, flawless result, zero labor from you.
- Built-from-scratch DIY: you construct plywood boxes (3/4 inch cabinet-grade, $60 to $110 per sheet) in modules, install them as a run, and trim them out. Most control, most tools required: a table saw or track saw, pocket-hole jig or dado setup, brad nailer, and level.
- The cabinet-hack hybrid: stock or IKEA cases (BILLY bookcases, kitchen uppers, or unfinished builder cabinets) anchored to the wall, unified with filler strips, a plinth base, and continuous trim. This is the famous “IKEA hack” and it produces 85 percent of the custom look for 25 percent of the cost, which is why the internet is full of it.
All three end at the same finish line: cases fixed to the structure, gaps closed with scribe and filler, and trim that ties the assembly into the room’s existing lines.
Anchoring: The Non-Negotiable Safety Step
A floor-to-ceiling case loaded with books weighs a shocking amount, a single 32-inch-wide unit can carry 300+ pounds of hardcovers, and a tall, shallow, loaded case is a tip-over hazard until it is fastened to the building. Anchor into studs, always.
- Find and mark every stud across the wall (16 inches on center in most US framing) with a stud finder, confirming with a finish nail probe where trim will hide the holes.
- Screw through the case’s back rail or a hanging cleat into studs with #10 x 3 inch cabinet screws or GRK-style structural screws, two per stud minimum, top and mid-height.
- Where the layout misses studs, use a horizontal ledger or French cleat lagged to studs, then fasten cases to the cleat. Drywall anchors alone are not acceptable for tall cases, period.
- Shim cases plumb and level before final fastening; screwing a case tight to a wavy wall racks the box and the doors and shelves never sit right afterward.
- On masonry walls, use Tapcon-style concrete screws or sleeve anchors into the brick or block, not the mortar joints.
If small children will live with these shelves, this section is doubly non-negotiable; anti-tip is not a strap kit on a built-in, it is the anchoring itself.
Baseboard and Trim Integration: What Makes It Look Built In
The difference between “bookcase pushed against a wall” and “built-in” is almost entirely trim strategy. Three details do the work.
The base: either remove the room’s baseboard where the cases sit and run the cases to the floor on a recessed toe-kick plinth, then return the room’s baseboard into the case sides, or, simpler, set the cases on a site-built plinth and wrap matching baseboard across the face of the built-in itself so the base molding runs continuously around the room. Continuous baseboard is the single strongest visual cue of a true built-in.
The ceiling: close the gap between the case tops and ceiling with a filler panel, then run crown molding across the top, matching the room’s crown if it exists. An 8-foot ceiling with 84-inch cases leaves about a foot to fill; a framed 1x filler plus 3 to 4 inch crown swallows it gracefully.
The sides and seams: scribe filler strips to the walls at each end (walls are never straight), skin exposed ends with a finished panel, and caulk every joint before painting. Caulk and a sprayed or brushed enamel finish in one continuous color, often the room’s trim color, fuse separate boxes into one piece of architecture.
Design Numbers That Save Rework
- Shelf depth: 10 to 12 inches handles most books; 15 to 16 inches for art books, media equipment, and baskets on lower sections.
- Shelf spacing: 10 to 12 inches for standard books, one or two 14 to 16 inch openings for oversized volumes. Adjustable shelf pins beat fixed shelves for future flexibility.
- Span: keep 3/4 inch shelves at 32 inches wide or less, or they sag under books within a year; add a 1×2 hardwood front edge to stiffen longer spans.
- Ceiling clearance: build cases 1 to 2 inches short of the ceiling and cover the gap with trim; you cannot tilt a truly full-height case upright in the room. Diagonal geometry catches many first-timers on install day.
- Outlets and vents: plan cutouts and extension rings before the cases go in, and never bury a floor register or return grille.
What It Costs: DIY vs Cabinetmaker
For a typical 10 to 12 foot wall, floor to ceiling:
- DIY from plywood: $600 to $1,800 in sheet goods, trim, hardware, and paint, plus two to four weekends. Add $300 to $600 if you are buying a pocket-hole jig, brad nailer, and track saw for the first time, tools you keep.
- Cabinet-hack hybrid: $800 to $2,500 using stock cases plus trim lumber and paint, one to two weekends, and the most forgiving skill curve.
- Finish carpenter, paint-grade: $2,500 to $7,000 built on site from MDF and poplar, typically $250 to $600 per linear foot.
- Custom cabinetmaker, furniture-grade: $6,000 to $15,000+ for hardwood, integrated lighting, rolling ladders, and cabinet bases, at $500 to $1,200 per linear foot.
Wiring for picture lights or LED strips adds $200 to $800 with an electrician and is far cheaper to rough in before the cases are fixed than after.
Finishing: Where DIY Built-Ins Are Won or Lost
Paint quality is the tell. Brush marks, orange peel, and grain telegraphing through the finish read as amateur from across the room, so budget real time here. Fill every nail hole and seam with paintable caulk or wood filler, sand at 220 grit, prime with a stain-blocking primer (knots in pine and poplar bleed through latex otherwise), and topcoat with a leveling enamel, waterborne alkyds like Benjamin Moore Advance or Sherwin-Williams Emerald Urethane lay down almost sprayer-smooth from a brush and cure hard enough for books to slide without scuffing. Two topcoats, light sanding between. If you own or rent an HVLP sprayer, spray the shelves and doors flat before installation and brush only the field. Interior back panels in a contrasting color or wallpaper are the one flourish that costs $40 and looks like a designer touched the project.
Bottom Line
Floor to ceiling built in bookshelves reward exactly two things: honest anchoring into studs and patient trim work at the base, ceiling, and scribes. Get those right and a stack of stock cabinets reads as original architecture; get them wrong and even expensive casework reads as furniture. Budget $1,000 to $2,500 for a convincing DIY or hybrid wall, $250 to $600 per linear foot for professional paint-grade work, and in every version, let continuous baseboard and crown do the talking.
Prefer to explore on your own?
See how new flooring looks in your actual room in seconds — free, no signup.
Try the free Floor Studio →