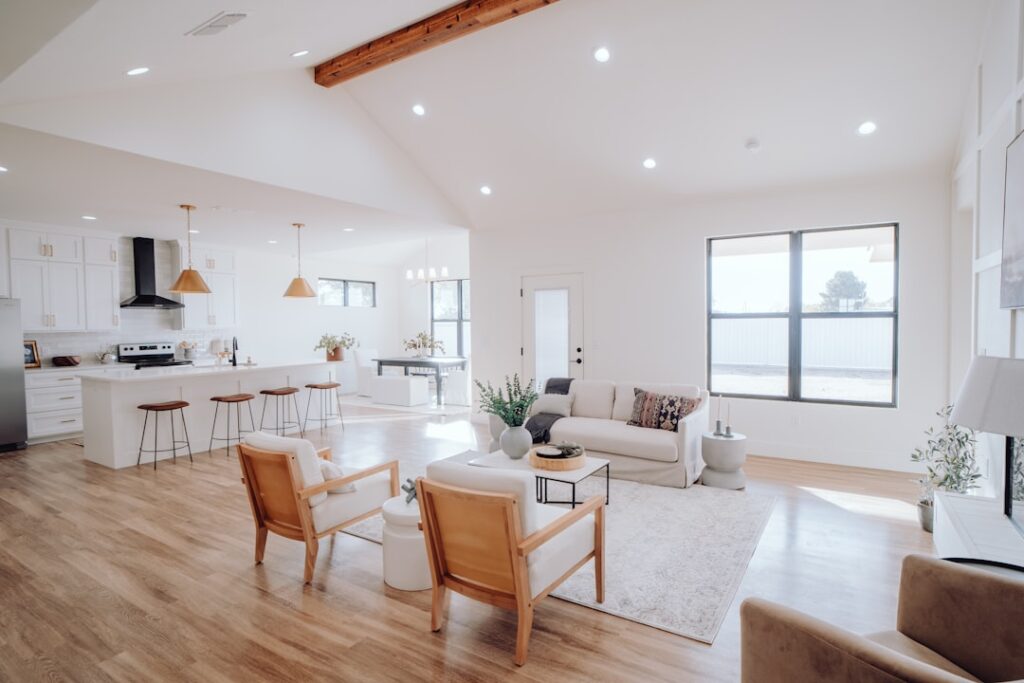
Every beautiful finished floor sits on something most homeowners never think about until something goes wrong. Foundation flooring refers to the layers between your home’s structural foundation and the finished surface you walk on, including the subfloor, moisture barriers, and underlayment that determine whether your hardwood, tile, or vinyl lasts five years or fifty. Get this layer right and almost any floor performs. Get it wrong and even premium materials cup, crack, or grow mold.
- What “Foundation Flooring” Actually Means
- Concrete Slab Foundations
- Crawl Space and Wood Subfloors
- The Critical Role of Moisture Barriers
- Best Finished Floors by Foundation Type
- Pros and Cons of Getting It Right
- Buying and Prep Checklist
- Underlayment: The Layer That Ties It Together
- Common Foundation Flooring Mistakes
- The Bottom Line
What “Foundation Flooring” Actually Means
The term covers the foundation-to-floor system as a whole. In most U.S. homes that means one of three setups: a concrete slab poured directly on grade, a crawl space with a wood subfloor above it, or a basement floor over a concrete slab. Each carries different moisture risks and calls for a different preparation strategy before any finished flooring goes down.
Understanding which type you have is the first step, because the wrong assumption here leads to the most expensive flooring failures.
Concrete Slab Foundations
Slab-on-grade is common in warm climates and modern construction. Concrete is durable but porous, and it wicks ground moisture upward through a process called vapor drive. Before installing wood or laminate, you need a moisture test. A simple calcium chloride test should read under 3 to 5 pounds per 1,000 square feet over 24 hours for most floors, while relative humidity probes should read below 75 to 80 percent.
Slabs also must be flat. The industry standard is no more than 3/16 inch of variation over a 10-foot span. High spots get ground down and low spots get filled with self-leveling compound, which runs roughly $1 to $2 per square foot in materials.
Crawl Space and Wood Subfloors
Homes with crawl spaces use a wood subfloor, typically 3/4-inch plywood or OSB over floor joists. The big risk here is moisture from below. A properly sealed crawl space with a 6-mil to 20-mil vapor barrier on the ground keeps humidity in check and protects the subfloor from rot and the finished floor from cupping.
Before installing, check the subfloor for squeaks, soft spots, and level. Refasten loose panels with screws and replace any water-damaged sections. A solid, dry, flat subfloor is the foundation for hardwood, the one material that genuinely needs that stable base.
The Critical Role of Moisture Barriers
Moisture is the number one killer of finished floors, and the barrier you choose depends on the subfloor and the finish.
- Over concrete: a 6-mil poly sheet or a roll-on epoxy moisture-control coating ($1 to $3 per sq ft).
- Under floating floors: an underlayment with an attached vapor film, taped at the seams.
- In crawl spaces: ground-cover vapor barrier plus adequate ventilation or full encapsulation.
Skipping the barrier to save $200 on a project is the false economy that causes thousands in damage later.
Best Finished Floors by Foundation Type
Your foundation should steer your finish choice. On a below-grade basement slab, rigid core vinyl (SPC) and tile shrug off moisture, while solid hardwood is a poor fit. Over a dry, well-built crawl space subfloor, engineered or solid hardwood performs beautifully. On a ground-level slab, engineered wood, luxury vinyl plank, and porcelain tile all work well once the slab is tested and leveled.
As a rule, the more moisture risk your foundation carries, the more waterproof your finished floor should be.
Pros and Cons of Getting It Right
Pros: proper foundation flooring prep dramatically extends the life of your finished floor, prevents mold and structural rot, eliminates squeaks and movement, and protects your warranty, since most manufacturers void coverage when moisture or flatness specs are ignored.
Cons: the prep work adds cost and time up front, often $1 to $4 per square foot for leveling and barriers, and moisture testing can delay a project by several days while readings stabilize. These costs feel optional until a failure proves they were not.
Buying and Prep Checklist
- Identify your foundation type: slab, crawl space, or basement.
- Run a moisture test on concrete and let readings stabilize.
- Check flatness; level to within 3/16 inch over 10 feet.
- Install the correct vapor barrier or moisture-control coating.
- Repair, secure, and dry any wood subfloor before installation.
- Match the finished floor’s water resistance to the foundation’s moisture risk.
Underlayment: The Layer That Ties It Together
Sitting between your subfloor and finished floor, underlayment does quiet, important work. It cushions footsteps, dampens sound, smooths minor imperfections, and often carries the vapor barrier that protects against moisture. The right type depends on your finish: foam underlayment suits floating laminate and vinyl, cork adds sound insulation in upstairs rooms and condos, and cement board provides the rigid, crack-resistant base that tile demands.
A common mistake is doubling up underlayments under an already-padded plank, which creates too much give and stresses the locking joints. Match one appropriate underlayment to your floor and subfloor, and resist the urge to stack layers for “extra” cushion.
Common Foundation Flooring Mistakes
Most flooring failures trace back to a handful of avoidable errors at the foundation level. Skipping the moisture test on a concrete slab tops the list, followed by ignoring flatness tolerances and laying planks over high and low spots that telegraph through the finished floor. Other frequent missteps include installing solid hardwood over a basement slab, failing to acclimate wood products to the home’s humidity, and omitting the vapor barrier to save a couple hundred dollars. Each of these shortcuts looks fine on installation day and reveals itself months later as cupping, gapping, hollow spots, or mold. Treating the prep work as seriously as the finished product is what separates a floor that lasts decades from one that fails in a few seasons.
The Bottom Line
Finished flooring gets all the attention, but foundation flooring is what determines whether that investment survives. Test for moisture, level the surface, install the right barrier, and match your finish to your foundation type. Spend the extra few dollars per square foot now on prep, and you will not be tearing up cupped planks or cracked tile a few winters from now.
Prefer to explore on your own?
See how new flooring looks in your actual room in seconds — free, no signup.
Try the free Floor Studio →