The wall behind the range is the natural focal point of any kitchen, and one of the most popular ways to elevate it is a framed backsplash behind stove. Instead of running the same tile edge to edge, this design sets a special material, a patterned tile, a stone slab, or a mosaic, inside a defined border or frame, creating a picture-frame effect that draws the eye and gives the cooking zone a custom, designed look. It is a chance to add drama in one contained area without tiling the entire kitchen in something bold. This guide covers the design ideas, materials, framing options, cost, and planning details to get it right.
Part of our Kitchen Remodeling guide — explore the full guide →
What a Framed Backsplash Is
A framed backsplash treats the area behind the range like a work of art hung on the wall. The main field, often a striking or decorative material, is bordered by a contrasting frame made of pencil trim, metal edging, mosaic strips, or a different tile, which visually contains and highlights it. The frame typically aligns with the width of the range or the hood above it, so the composition feels intentional and centered. The effect is a defined focal point that stands apart from the surrounding backsplash, whether that surrounding area is a simpler tile or a plain wall. It is design and function together, since the backsplash still protects the wall from cooking splatter.
Popular Design Approaches
There are several ways to build the framed look, and the right one depends on your kitchen’s style:
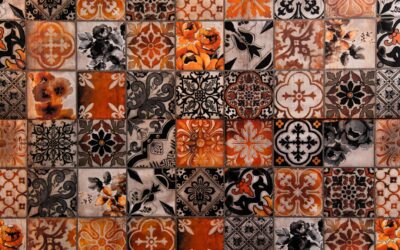
- Patterned tile inset: a bold encaustic, Moroccan, or geometric tile framed by simple subway or plain field tile around it.
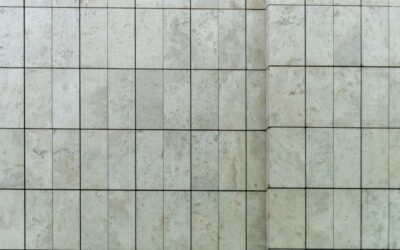
- Stone or marble slab: a single slab of marble or quartz behind the range, framed by a metal or tile border for a seamless, luxe centerpiece.
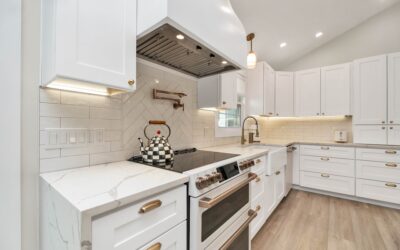
- Mosaic focal panel: a mosaic or herringbone inset that contrasts with a straight-laid surrounding tile.
- Niche and shelf frame: a recessed or shelved area behind the range, framed and often paired with a pot rail.
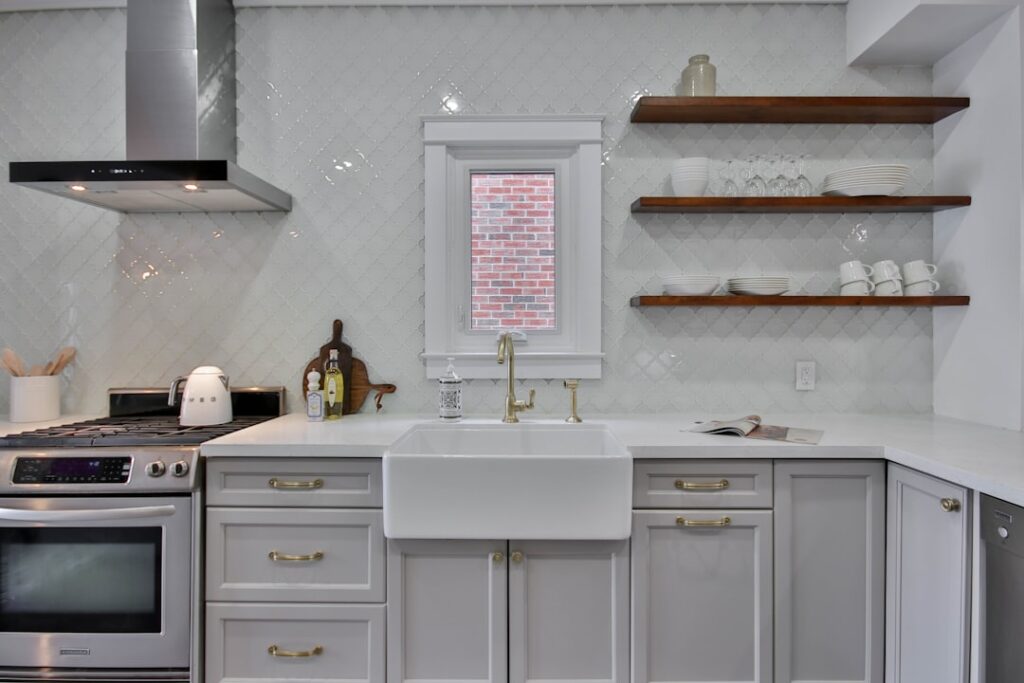
- Trim-only frame: the same tile throughout, with a decorative pencil or picture-frame border defining the stove zone.
The contrast between the inset and the frame is what makes the design read; too little contrast and the effect disappears.
Framing Materials and Borders
The frame itself is what turns a plain inset into a picture. Common border materials include slim pencil-liner tiles, decorative rope or rail moldings, metal edge trim in brass, chrome, or matte black, and contrasting strips of the surrounding tile turned on end. Metal trim gives a clean, modern edge and is practical for finishing the raw tile edges, while ceramic pencil liners suit traditional and transitional kitchens. Some designs use a double border, a thin metal or dark line just inside a wider tile frame, for extra definition. Choose a frame material and color that coordinate with your cabinet hardware, faucet, and range finish so the whole kitchen feels tied together.
Sizing and Placement
Getting the proportions right is what separates a designed focal point from an off-center afterthought. As a rule, align the framed area with the width of the range or the hood, and center it on the stove so it reads as deliberate. The frame usually runs from the counter or a few inches above it up to the underside of the hood or to a consistent height that matches the surrounding backsplash. If you have a hood, the frame often mirrors its width for a balanced composition. Measure carefully and lay out the frame and inset before setting any tile, since a framed design lives or dies on symmetry and centering.
What It Costs
A framed backsplash concentrates cost in a small area, which is part of its appeal: you can splurge on a beautiful material without buying enough to tile the whole kitchen. Rough pricing:
- Decorative or patterned inset tile: $15 to $50-plus per square foot for the focal material, but you need only a small amount.
- Stone or quartz slab inset: $40 to $100-plus per square foot, again for a limited area.
- Frame trim and metal edging: a few dollars to $20 per linear foot depending on material.
- Installation: roughly $10 to $25 per square foot, sometimes more for intricate framed layouts and slab work.
Because the special material is confined to the focal zone, a dramatic framed backsplash can cost far less than tiling an entire kitchen in the same premium tile.
Installation Considerations
A framed design demands more precision than a plain running backsplash, so plan carefully. Dry-lay the entire composition first, marking the frame and inset positions with a level and pencil so everything is centered and square before any thinset goes on. The transitions between the inset, the frame, and the surrounding field must be clean, which is where metal trim earns its keep by hiding cut edges. If you are using a heavy slab inset, make sure the wall can support it and that it is properly adhered. Take extra care with grout lines aligning between the frame and the field. Many homeowners hire a tile setter for a framed design specifically because the precision and edge details are demanding.
Care and Maintenance
Because it sits behind the stove, a framed backsplash takes the brunt of grease and cooking splatter, so cleanability matters. Wipe it down regularly with a cleaner appropriate to the material, mild all-purpose for glazed tile and glass, a stone-safe pH-neutral cleaner for marble and natural stone. Avoid acidic or abrasive cleaners on natural stone and metal trim, which can etch or dull them. Seal any natural stone inset and the grout to resist grease staining, and reseal periodically. Keeping up with cleaning is easy when the material is nonporous, and even a marble focal point stays beautiful with the right care and sealing routine.
The Bottom Line
A framed backsplash behind stove is one of the smartest ways to give a kitchen a custom, high-end focal point, concentrating a striking tile, mosaic, or stone slab in a defined, bordered area that draws the eye. Because the premium material is limited to the stove zone, you can go bold without a whole-kitchen budget. Center and size the frame to your range or hood, choose a frame material that ties into your fixtures, and lay it out precisely, ideally with a skilled installer, and you will end up with a designed centerpiece that makes the whole kitchen feel intentional.