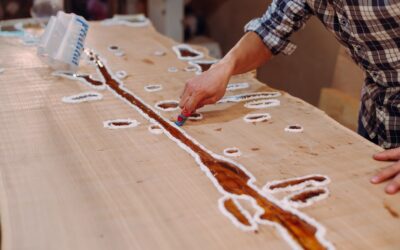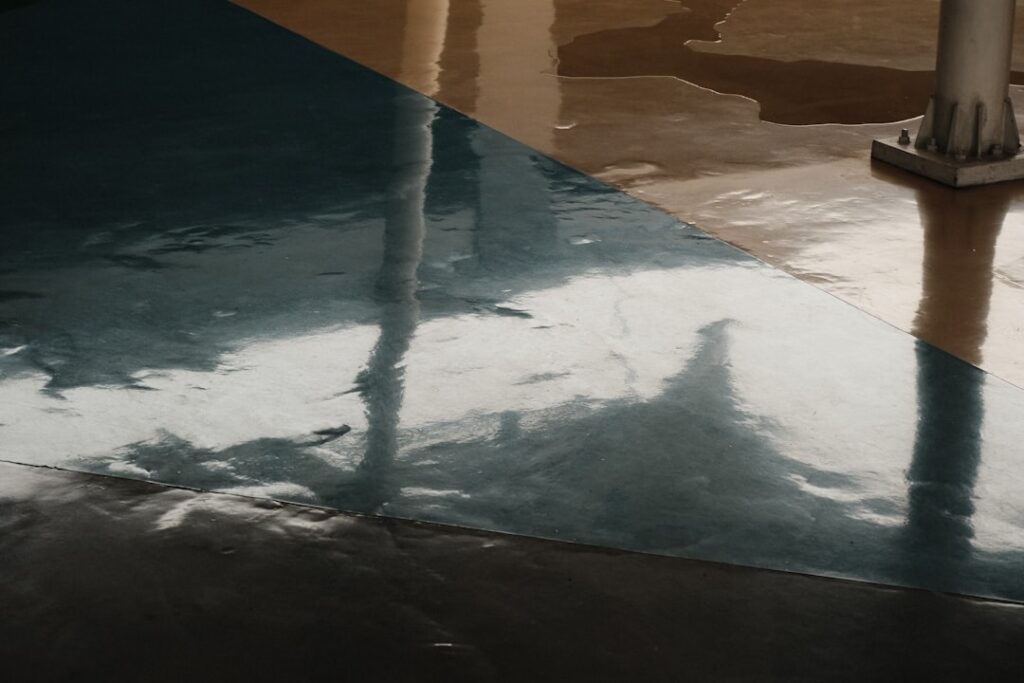
The mirror-smooth, half-inch-deep gloss you see on restaurant bar tops and live-edge tables comes from a pourable epoxy, and one of the most widely available options for homeowners is Famowood Glaze Coat. Glaze Coat epoxy is a two-part pour-on finish that self-levels into a thick, glass-like surface roughly 50 times thicker than a single coat of varnish. It is forgiving enough for a first-timer and dramatic enough to transform a plain plywood bar into a showpiece. The whole job lives or dies on measuring, mixing, and timing, so this guide walks through exactly how to get a flawless pour.
Part of our Epoxy, Concrete & Garage Floors guide — explore the full guide →
What Glaze Coat Is and Where to Use It
Glaze Coat is a clear, two-component epoxy resin designed as a decorative topcoat, not a structural or high-heat product. You mix equal parts resin and hardener, pour it over a surface, and it self-levels and cures into a durable, high-gloss coating. A single pour builds a coat about 1/16 inch thick.
It shines on bar tops, tabletops, countertops, plaques, artwork, and decoupage projects where you want a deep, protective gloss. It is not meant for floors, exterior surfaces exposed to direct sun (which can yellow it), or anywhere it will contact very hot cookware, since it softens under high heat.
Gather Your Materials First
Epoxy waits for no one once it is mixed, so stage everything before you crack the cans. You will need:
- Glaze Coat resin and hardener kit, sized to your surface (a 1-quart kit covers about 6 square feet at coating thickness).
- Two clean mixing containers and a flat stir stick or paddle.
- A foam brush or roller for edges, and a plastic spreader.
- A propane torch or a heat gun to pop bubbles.
- Blue painter’s tape, plastic sheeting, and disposable gloves.
- A level work surface and something to catch drips underneath.
Work in a warm, dust-free, well-ventilated room at 70 to 75°F. Cold slows the cure and causes cloudiness; dust and drafts leave debris and ripples in the finish.
Prep the Surface
Preparation determines whether the epoxy bonds and looks clean, and it is the step people rush. Sand the surface smooth, wipe it completely free of dust, and make sure it is bone-dry. Any oil, wax, or moisture causes fish-eyes and adhesion failure.
Seal porous woods first with a thin skim coat of epoxy or a sanding sealer, because raw wood off-gasses air as the epoxy cures and pushes bubbles up through your finish. Tape off and dam the edges if you want the epoxy to stop cleanly, and level your work surface with shims and a bubble level; even a slight tilt sends the self-leveling resin pooling to one side.
Mixing: The Step That Makes or Breaks It
Glaze Coat mixes at a 1:1 ratio by volume, and precision matters. Pour equal amounts of resin and hardener into your first container and stir slowly and thoroughly for a full 2 minutes, scraping the sides and bottom so no unmixed resin hides in the corners.
- Measure exactly equal parts resin and hardener. Guessing the ratio guarantees soft or sticky spots.
- Stir the two together deliberately for about 2 minutes; stir too fast and you whip in excess bubbles.
- Pour the mixture into a second clean container and stir another minute. This double-cup method catches any residue clinging to the first cup’s walls.
You have roughly 20 to 30 minutes of working time before the epoxy begins to set, so pour promptly once mixing is done.
Pouring and Popping Bubbles
Pour the mixed epoxy in an even ribbon across the surface, then spread it toward the edges with your spreader and coat the edges with a foam brush. The resin will continue self-leveling on its own, so do not overwork it.
Within a few minutes, bubbles will rise to the surface. Pass a propane torch or heat gun quickly across the top, holding it several inches away and keeping it moving; the heat breaks the surface tension and the bubbles vanish. Do not linger in one spot or you will scorch the finish. Repeat the bubble pass once or twice over the first 20 minutes, then cover the piece loosely with a box or tent to keep dust off while it cures.
Cure Time and Multiple Coats
Glaze Coat is dry to the touch in about 12 hours and reaches a full hard cure in roughly 72 hours. Avoid using or placing anything on the surface until it is fully cured; it stays soft and dents easily in the first day or two.
For a deeper build, you can pour multiple coats. If the previous coat has cured hard, scuff-sand it lightly with fine paper and wipe clean for mechanical adhesion before the next pour. If you recoat within the tacky window (before full cure), the coats chemically bond and you can skip sanding. Two to three coats give that deep, poured-glass look on a bar top.
Common Mistakes and Pro Tips
The most frequent failures are an off ratio, which leaves sticky spots, cold temperatures, which cause cloudiness and slow curing, and an unlevel surface, which pools the resin. Working over unsealed porous wood is the usual cause of persistent bubbles.
A few field-tested tips: warm the unmixed cans slightly in a warm room so the resin flows and releases bubbles more easily, keep pets and foot traffic out to avoid airborne dust and hair, and always mix a little more than you think you need since a thin spot is far harder to fix than a slight excess. Follow the ratio, control your temperature and dust, and Glaze Coat epoxy delivers a professional, glass-smooth finish that holds up for years.
Estimating Quantity and Fixing Problems
Running short mid-pour is a genuine problem, because a fresh batch mixed late will not blend seamlessly with epoxy that has already started to set. Glaze Coat covers roughly 6 square feet per quart at a standard coating thickness, or about 24 square feet per gallon per coat. Measure your surface area, then buy enough for every planned coat plus a small margin.
Remember that edges and drips consume more than the flat area suggests, especially on a bar top with a substantial overhang. If you plan a flood coat thicker than the standard self-leveling depth, you will need proportionally more product and possibly a deep-pour formula, since Glaze Coat is designed for thin decorative coats rather than deep casting. When in doubt, buy the next size up; leftover resin stores fine, but a starved pour that cures thin and uneven is a redo.
Even careful pours occasionally develop issues, and most are fixable. Small surface bubbles or dust nibs can be sanded out with progressively finer wet sandpaper, from 400 up to 1000 grit, then a fresh thin coat poured to restore the gloss. Sticky or soft spots almost always mean an off mix ratio or incomplete stirring; the only reliable fix is to scrape out the uncured material, clean the area, and re-pour that section.
A cloudy or hazy finish usually traces to pouring in cold or humid conditions, and light spots can sometimes be buffed back with polishing compound, though a recoat in warm, dry conditions is the surest cure. Fisheyes and craters point to contamination on the surface, so sand, clean thoroughly, and recoat. The reassuring part of working with a pourable epoxy is that a fresh coat over a properly prepped surface hides most first-attempt flaws, so a mistake rarely means starting the whole project over.