A horizontal tile pattern is one of the simplest ways to make a room feel wider, calmer, and more contemporary without spending extra on the tile itself. By running rectangular tiles the long way across a wall or floor, you draw the eye sideways and stretch the visual footprint of the space. This guide explains how the layout works, where it shines, and how to plan and install it well.
- What This Layout Actually Is
- Why Homeowners Choose Horizontal Layouts
- Where a Horizontal Pattern Works Best
- Choosing the Right Tile and Grout
- Cost Expectations
- Installing the Pattern Step by Step
- Design Tips to Elevate the Look
- Horizontal Versus Other Popular Layouts
- Common Mistakes to Avoid
- Frequently Asked Questions
I have specified horizontal layouts in everything from cramped galley kitchens to sprawling shower walls, and the pattern earns its popularity. It is easy to lay out, forgiving for beginners, and endlessly adaptable across subway tile, large-format porcelain, and wood-look planks.
What This Layout Actually Is
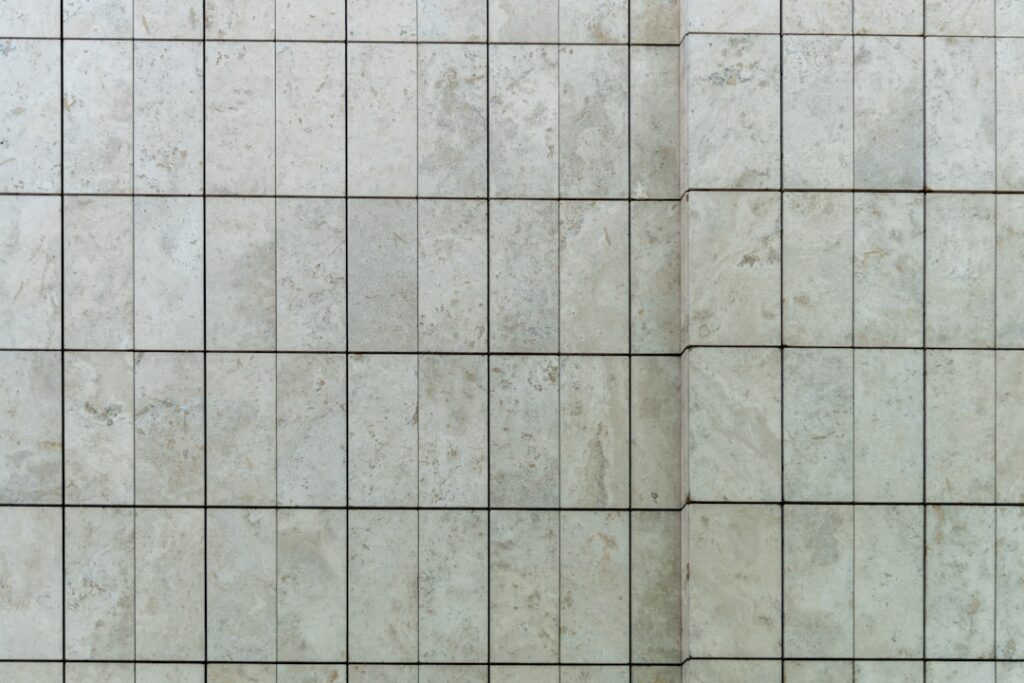
The idea is straightforward. Take a rectangular tile, most commonly a 3×6, 4×12, or 12×24 inch format, and orient the long edge parallel to the floor. Rows stack across the wall left to right, creating strong horizontal lines. That is the whole concept, but the visual payoff is significant: horizontal lines read as stable, grounded, and wide, exactly the effect most homeowners want in a bathroom or backsplash.
You can lay it in a few sub-styles. A stacked horizontal layout aligns every joint into a clean grid. A running-bond, or offset, layout shifts each row by half a tile for a classic brick look. A one-third offset stagger splits the difference and hides subtle lippage on longer tiles.
Why Homeowners Choose Horizontal Layouts
The benefits go beyond looks, though the looks are the main draw.
- Widens the room: Horizontal lines pull the eye across, making narrow bathrooms and small kitchens feel more expansive.
- Lowers the perceived ceiling gracefully: In rooms with very tall walls, horizontal runs balance the proportions.
- Timeless appeal: Horizontal subway tile has been in American homes for over a century and never looks dated.
- Beginner friendly: Straight horizontal courses are easier to keep level than diagonal or herringbone patterns.
- No cost premium: Unlike intricate patterns, a horizontal layout wastes little tile and adds no material cost.
Where a Horizontal Pattern Works Best
This layout is versatile, but a few applications stand out. Kitchen backsplashes love horizontal subway tile because it echoes the countertop line. Shower and tub surrounds feel wider and more resort-like with horizontal runs. Accent walls in living rooms and entryways gain a modern, architectural edge. Even floors benefit: 12×24 inch porcelain run horizontally across a hallway makes the corridor feel less like a tunnel.
The one place to think twice is a room you want to feel taller. If a powder room has a low ceiling, a vertical orientation may serve you better. Horizontal emphasizes width at the expense of height.
Choosing the Right Tile and Grout
The tile you pick shapes the final effect as much as the orientation. Glossy ceramic subway tile bounces light and suits traditional and transitional kitchens. Matte large-format porcelain reads modern and hides water spots. Wood-look planks laid horizontally deliver a plank-floor feel on a wall.
Grout is your secret design lever. A contrasting grout, such as charcoal against white tile, emphasizes every horizontal line and creates a bold graphic statement. A matching grout softens the joints and lets the tile color dominate for a seamless, quiet look. For wet areas, use a stain-resistant grout and keep joints between 1/16 and 1/8 inch on rectified tile.
Cost Expectations
Because a horizontal pattern uses standard rectangular tile with minimal waste, budgeting is predictable. Plan for the following ranges:
- Ceramic subway tile: $1.50 to $5 per sq ft
- Porcelain large-format: $3 to $10 per sq ft
- Wood-look plank: $3 to $8 per sq ft
- Professional installation: $7 to $15 per sq ft for a straight horizontal set
An offset or running-bond layout usually costs the same to install as a stacked grid, though very long planks with heavy warp may add a little labor for lippage control. Order 10 percent extra to cover cuts at outlets, corners, and edges.
Installing the Pattern Step by Step
The straight geometry makes this a friendly project for a careful DIYer. Follow the sequence and take your time on layout.
- Find your center and level line. Measure the wall, mark a true horizontal reference with a level or laser, and never trust the countertop or floor to be perfectly level.
- Dry-lay a course. Confirm your cuts at both ends are balanced rather than a full tile on one side and a sliver on the other.
- Spread thinset. Comb an even bed with the correct notched trowel, working a small area so it does not skin over.
- Set the first course. Press tiles along the level line, insert spacers, and check level constantly. The first row governs every row above it.
- Build upward. For a running bond, start alternate rows with a half tile. Wipe excess thinset from joints as you go.
- Grout and seal. After 24 hours, grout diagonally, tool the joints, wipe the haze, and seal cement grout once cured.
Design Tips to Elevate the Look
Small choices separate a good horizontal wall from a great one. Keep your tiles genuinely level; a horizontal pattern exaggerates any slope. Consider a bullnose or metal edge trim to finish exposed tile edges cleanly. In a shower, run the horizontal lines to align with the niche shelf for a custom, intentional feel. And resist mixing too many patterns; horizontal tile is at its best when it is the calm backdrop to bolder fixtures.
Horizontal Versus Other Popular Layouts
It helps to understand how a horizontal pattern stacks up against the alternatives you will see in showrooms, so you can choose with confidence rather than default.
- Horizontal versus vertical: Horizontal widens a space and reads traditional; vertical heightens a space and feels crisp and modern. Pick based on the proportion you want to fix.
- Horizontal versus herringbone: Herringbone is striking but labor-intensive, wastes more tile on angled cuts, and adds $2 to $5 per sq ft in labor. A straight horizontal run is calmer and cheaper.
- Horizontal versus diagonal: A 45-degree diagonal set hides an out-of-square room but generates many cut tiles and more waste. Horizontal is far more forgiving for a first project.
- Stacked versus offset: A stacked horizontal grid looks contemporary and architectural but demands dead-flat tiles; a running-bond offset hides minor warp and reads classic.
For most first-time and budget-conscious homeowners, a horizontal running bond delivers the best balance of visual impact, low waste, and forgiving installation.
Common Mistakes to Avoid
The most frequent error is trusting an out-of-level floor or ceiling as your guide, which makes the whole wall drift. Snap a real level line instead. Another is choosing very long, warped tiles for a stacked grid, where any bow shows as visible lippage; a one-third offset hides it. Finally, do not skip spacers thinking straight lines are easy to eyeball. Even joints are what make the pattern look professional.
Frequently Asked Questions
Is horizontal or vertical subway tile more modern? Both are current. Horizontal reads classic and widening; vertical feels fresh and heightening. Choose based on the room proportions you want to correct.
Can I run a horizontal pattern on the floor? Absolutely. Large-format rectangles run horizontally across a hall or kitchen make the space feel broader and more open.
Does a horizontal tile pattern cost more? No. It is one of the most economical layouts because it wastes little material and installs quickly.
A horizontal tile pattern is proof that great design does not have to be complicated. With the right tile, a smart grout choice, and a genuinely level first course, you get a room that feels wider, calmer, and thoroughly timeless, all from the simplest layout in the tile-setter’s playbook.
Prefer to explore on your own?
See how new flooring looks in your actual room in seconds — free, no signup.
Try the free Floor Studio →