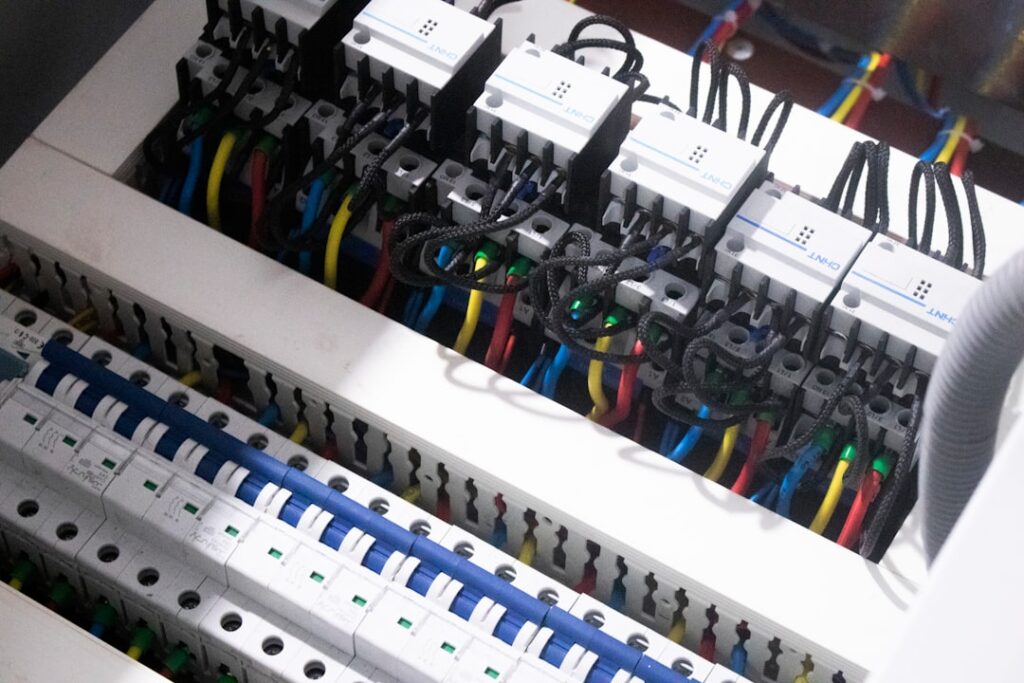
Adding a receptacle by tapping into a circuit you already own is one of the cheapest electrical upgrades you can make, but it is also one of the easiest to botch if you skip a step. Knowing how to add an electrical outlet to an existing line the right way means understanding load calculations, box fill rules, and a handful of NEC code requirements before you ever pick up a screwdriver. The good news is that an experienced homeowner can usually finish the job in two to three hours with about $25 in parts. Done correctly, the new outlet will pass inspection and outlast the rest of the wiring in your house.
Confirm the Existing Circuit Can Handle the Load
Before cutting a single hole, find the breaker that feeds the donor outlet and look at its amperage. Most general-purpose receptacle circuits in homes built after 1985 are 15-amp or 20-amp. A 15-amp circuit safely carries about 1,440 watts of continuous load (80% of 1,800), and a 20-amp circuit handles about 1,920 watts. Add up the wattage of everything already plugged into the run. If you are within 300 watts of the limit, do not add another outlet on the same line — pull a new home run instead.
Kitchen small-appliance circuits, laundry circuits, and bathroom circuits are dedicated by code and cannot legally be extended into other rooms. Bedrooms and most living spaces require AFCI protection, and any outlet within 6 feet of a sink, tub, or exterior door needs GFCI protection as well.
Gather Tools and Materials
You do not need a contractor’s truck to get this done. A short shopping list will cover almost every scenario:
- Non-contact voltage tester (Klein NCVT-2 runs about $22)
- 14/2 NM-B cable for 15-amp circuits, 12/2 for 20-amp circuits
- New old-work plastic box, single-gang, 18 cubic inches minimum
- Tamper-resistant duplex receptacle, 15A or 20A to match the breaker
- Wire strippers, lineman’s pliers, drywall saw, fish tape, drill with 3/4 inch auger bit
- Wire nuts (red and yellow), staples, and a plate cover
Buy roughly 25% more cable than the straight-line distance between boxes. Walls are never as tidy as you hope, and a spare 5 feet of Romex saves a second trip to the hardware store.
Plan the Cable Path
The fastest route is rarely a straight horizontal line through the studs. Drilling sideways through five 2x4s with no attic access is brutal. Instead, look up. If you have an unfinished attic or basement above or below the room, drop or fish the cable vertically and run horizontally in the joist bay. A 3/4 inch hole through the top plate keeps the cable centered and avoids the 1.25-inch nail-protection rule that requires steel plates on shallower bores.
Cut the New Box Opening
Hold the old-work box flush against the drywall at switch height — typically 12 to 16 inches above finished floor for general outlets, or 42 inches for countertop convenience. Trace the box, then score the line with a utility knife before cutting with a drywall saw. A clean cut gives the box wings something to bite against. Confirm there is no stud, pipe, or duct directly behind the opening by sweeping a stud finder set to deep-scan mode.
Run and Connect the Cable
Shut off the breaker feeding the donor outlet and verify with your tester at every wire before touching anything. Pull the existing receptacle out, leaving wires connected for now. Feed your new cable from the new box to the donor box using fish tape; staple it within 8 inches of each box and every 4.5 feet along the run.
At the donor box, you have two ways to land the new cable. The cleanest method uses pigtails: cut three 6-inch pigtails of matching wire, twist black incoming + black outgoing + black pigtail under a red wire nut, repeat for whites under a different nut, and bond all grounds together with a green nut and a pigtail to the device. The pigtail goes onto the brass and silver screws of the receptacle. Avoid back-stab holes — they fail at roughly 4 to 5 times the rate of screw terminals.
Wire and Mount the New Receptacle
At the new box, strip 6 inches of sheath and 3/4 inch of insulation off each conductor. Black goes to the brass screw, white to silver, and bare copper to the green ground screw. Loop the wire clockwise around each screw so tightening pulls the loop closed. Torque to 12 inch-pounds if you have a screwdriver with a torque setting; otherwise, snug plus a quarter turn.
Test, Restore Power, and Inspect
Push wires gently into the box, mount the receptacle with the ground pin down (or up — code allows either, but consistency looks professional), and install the cover plate. Restore the breaker and test with a $15 plug-in receptacle tester. You should see two yellow lights for “correct.” If you swapped hot and neutral, the tester will show it instantly.
Pull a permit if your jurisdiction requires one. The fee is usually $40 to $80, and an inspector will verify staple spacing, box fill, and AFCI protection. Skipping the permit can void homeowners insurance claims tied to electrical fires later. That single step is the difference between a confident upgrade and a hidden liability.
Common Mistakes to Avoid
Three errors account for most failed inspections on DIY outlet additions. First, exceeding box fill capacity — every wire counts, and a standard 18 cubic inch box holds about six 14-gauge conductors plus the device. Add a clamp, ground, and pigtails and you can run out of legal volume fast. Second, mixing 14-gauge and 12-gauge wire on the same circuit. Always match the existing wire size to keep the breaker rating consistent. Third, leaving wirenuts loose or back-stabbing the receptacle. A loose connection generates heat, and heat behind drywall is exactly how electrical fires start.
If you are uncomfortable at any point during the job, stop and call an electrician. A licensed pro charges $150 to $300 to add a single outlet, depending on accessibility. That is a small premium for peace of mind compared to repairing a botched job behind finished walls.