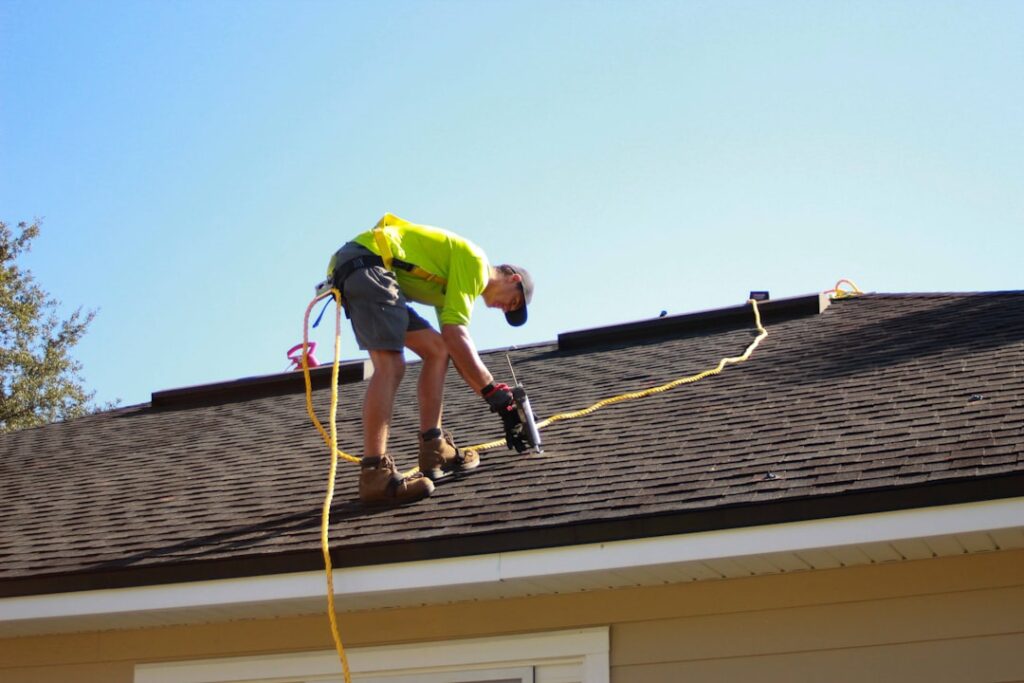
Most shingle failures are installation failures. Blow-offs trace to nails driven an inch too high; leaks trace to skipped starter strips and improvised valleys. Learning how to shingle a roof correctly is really about mastering five mechanical details — the starter course, the exposure and offset pattern, the nailing zone, valley treatment, and ridge caps — because everything else is repetition. This guide covers the laying technique itself, assuming your deck is sound and underlayment is down. (Whole-project questions — tear-off decisions, materials, whether to be on the roof at all — belong to a bigger planning conversation; if the roof is failing rather than just old, start with our roof repair guide to see whether you need this article yet.)
Part of our Roofing guide — explore the full guide →
The Vocabulary That Runs the Job
- Exposure: the part of each shingle left visible below the course above — 5-5/8 in. on most modern architectural shingles (5 in. on classic 3-tabs). This number drives every layout line on the roof.
- Offset (stagger): how far each course’s joints shift horizontally from the course below — typically 6 in. minimum, so water never finds a stacked seam.
- Nailing zone: the manufacturer-marked band where nails must land, usually just below the adhesive strip. High-nailing above it is the number-one cause of blow-offs.
- Bond line/sealant strip: the factory adhesive that heat-activates and glues each shingle to the one below — your real wind defense.
Step 1: Starter Strips — Non-Negotiable
The bottom edge of your first full course has joints and cutouts that would otherwise sit over bare underlayment. Starter strip closes that gap and, critically, puts a sealant bead right at the eave edge where wind attacks first.
- Use factory starter rolls/strips (about $25-$40 per 100 linear feet), or cut the tabs off 3-tab shingles and install the top portions with the sealant strip along the eave.
- Overhang the drip edge by 1/4 to 3/8 in. at eaves and rakes — enough to drip clear, not enough to curl.
- Run starter up the rake edges too on windy sites; it locks the field course ends down.
- Nail 2-3 in. from the bottom edge so first-course nails do not land in the same wood.
Step 2: Snap Your Lines
Straight courses are chalk lines, not eyesight. Measure up from the eave and snap a horizontal line for every course (or every second course once you trust your rhythm) at your exposure spacing — 5-5/8 in. intervals for most architectural shingles. Check the roof for square first by measuring the eave-to-ridge distance at both ends; if the roof is out of square, bury the error at the less-visible rake by letting courses run slightly off-parallel to it, keeping lines parallel to the eave.
Vertical control matters too: snap one vertical line near the center or the dominant rake and start each course a set offset from it. For architectural shingles the standard is a repeating stair-step: each course starts 6 in. shorter than the one below, cycling through 4-6 positions before repeating (follow your shingle’s wrapper diagram — patterns vary by brand and misapplied offsets void wind warranties).
Step 3: Nailing — Where Roofs Are Won and Lost
- Count: 4 nails per shingle standard; 6 nails in high-wind regions or per warranty requirements (6-nailing is cheap insurance everywhere).
- Placement: in the marked nail zone, roughly 1 in. from each end and evenly between — never above the zone, never in or above the sealant strip, never in the joints of the course below.
- Depth: flush with the surface. Overdriven nails cut the mat; underdriven heads tent the shingle above. If using a nail gun, set pressure carefully and check often as the compressor and temperature drift; hand-seat any proud nails.
- Spec: 1-1/4 in. galvanized roofing nails minimum (longer over ridge caps and thick laminated areas — the nail must penetrate 3/4 in. into the deck or through it).
Why high-nailing kills roofs: a nail above the zone misses the top edge of the shingle below, so each shingle is held by half its intended fasteners, and the wind figures that out in the first big storm.
Step 4: Working the Field
Lay bottom-left to top-right (or bottom-right to top-left — pick the direction that keeps your nail hand free) in a pyramid or stair-step pattern, keeping several staggered courses going at once so you move across the roof diagonally instead of shuffling along one course. Rhythm details that pros sweat:
- Align each shingle’s top edge to the chalk line, butt it loosely (about 1/16 in. gap) to its neighbor — never force-tight, shingles expand.
- Trim rake-edge shingles with a hook blade from the back side, against a straightedge.
- Mix shingles from 3-4 bundles as you go; slight color-lot variation blended across the roof is invisible, but laid bundle-by-bundle it stripes.
- In cold weather (below ~40°F) the sealant strips will not activate — hand-seal with quarter-size dabs of asphalt roof cement under each tab, or expect the wind to test you before spring. Our roofing cement guide covers the right product.
Step 5: Valleys
Valleys carry more water than any other line on the roof. Three legitimate methods:
- Open metal valley: W-profile steel or aluminum (24 in. wide) over ice-and-water membrane; shingles cut back 2-3 in. from the center line each side, corners clipped, edges set in cement. Longest-lived, best in snow and debris country, and the easiest to do well.
- Closed-cut: shingles from one plane run across the valley; the other plane’s shingles overlap and are cut in a clean line 2 in. off center. The standard modern look; always over ice-and-water membrane, and never nail within 6 in. of the valley center.
- Woven: alternating courses weave across the valley. Only for 3-tab shingles — thick laminated shingles will not lie flat woven, and most manufacturers prohibit it for them.
Step 6: Hips and Ridge Caps
Field shingles stop at hips and ridges; dedicated cap shingles (or cut caps from 3-tabs) finish them. Run ridge caps away from the prevailing wind, each cap overlapping the last at the same exposure as the field, two nails per cap placed so the next cap covers them — with longer nails (1-3/4 in.) to reach the deck through the built-up layers. Over a ridge vent, use the vent maker’s specified nails and cap pattern. Hips run bottom-up; the ridge goes on last, and the final cap is trimmed and face-nailed with the nail heads dabbed in cement — the only exposed nails on a properly shingled roof.
Flashing Touchpoints
The laying pattern interlocks with metal at every penetration: pipe boots lap over the course below and under the course above; step flashing at walls goes one piece per course, woven in as you shingle, never a continuous strip; chimneys get step plus counter-flashing. If you remember one principle, make it this: water runs downhill, so every upper piece laps over every lower piece — shingle, metal, or membrane, no exceptions.
Mistakes That Show Up in the First Storm
- Nails above the nailing zone (blow-offs)
- No starter course, or starter installed upside down with sealant at the top
- Offsets under 4 in. or repeating joint stacks (leak lines)
- Straight-line valleys nailed through the center
- Shingling below 40°F without hand-sealing
- Exposed nails anywhere except the dabbed final cap
FAQ
How many bundles of shingles do I need per square?
Three bundles per square (100 sq ft) for standard architectural shingles; add 10-15% waste for hips, valleys, and starter cuts.
Do you shingle a roof from the bottom up or top down?
Always bottom-up, eave to ridge, so every course overlaps the one below. Ridge caps go on last.
What is the proper shingle overhang?
1/4 to 3/8 in. past the drip edge at eaves and rakes — up to 3/4 in. if there is no drip edge, though drip edge is code in most jurisdictions now.
Chalk every line, hit the nailing zone every time, respect the offsets, and treat valleys like the rivers they are. Do those four things with patience and a $99 nail gun rents you the same result the pros deliver — one correct shingle at a time.