
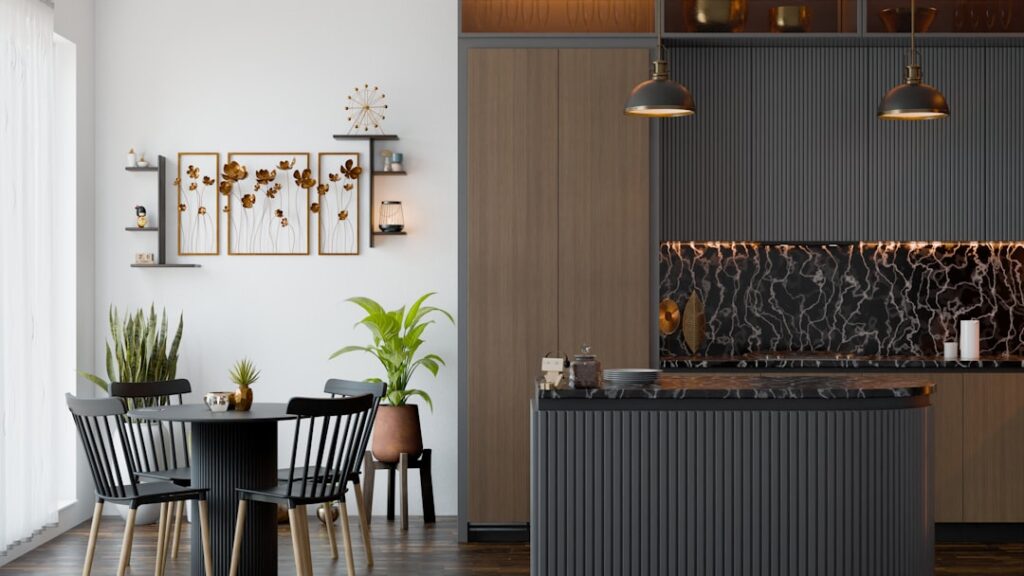
Granite has outlasted a dozen countertop trends because it does something laminate and even quartz can’t quite match: every slab is one of a kind, cut from stone millions of years old. A kitchen island with granite top becomes the natural anchor of the room, the surface people gather around, roll dough on, and lean against while dinner comes together. But islands carry unique demands that wall counters don’t, and overlooking them leads to cracked slabs and wobbly overhangs. Here is what to plan for.
Part of our Countertops guide — explore the full guide →
Why Granite Works So Well on an Island
An island sees action from all four sides — no backsplash, no wall to hide seams, full visibility. Granite handles that scrutiny. It resists heat, so a hot pot straight off the burner won’t scorch it. It resists scratches from knives and dropped pans. And because the whole slab is on display, granite’s dramatic veining and mineral flecks turn a functional surface into the room’s centerpiece. Popular island colors include Black Galaxy, White Ice, Santa Cecilia, and Blue Pearl.
What It Costs
Granite is priced per square foot installed, and the range is wide because it depends on the stone’s rarity, thickness, and edge work.
- Entry-level (Tier 1) granite: $40 to $60 per sq ft installed
- Mid-grade (Tier 2-3): $60 to $100 per sq ft installed
- Exotic / rare slabs: $100 to $200+ per sq ft installed
A typical island top runs 25 to 45 square feet, so budget roughly $1,500 to $4,500 for the stone and installation on most projects. Standard thickness is 3 cm (about 1.25 inches), which is strong enough for islands without a plywood substrate. The cheaper 2 cm slabs usually need a backing layer and are better left to wall runs.
Sizing the Island
Function drives size. Leave at least 36 to 42 inches of clearance on every side of the island so cabinet doors open and two people can pass. For an island with seating, plan 24 inches of width per stool and account for the overhang. Standard counter height is 36 inches; if you want bar-height seating, the top jumps to 42 inches. Most homeowners keep islands at counter height for a seamless look and easier prep.
The Overhang: Where Islands Get Tricky
If you want stools tucked under the island, the granite has to cantilever past the cabinets. Granite is heavy — 3 cm stone weighs about 18 to 20 pounds per square foot — so an unsupported overhang will eventually crack or tip.
- Up to 6 inches: no extra support needed for 3 cm granite
- 6 to 12 inches: add steel L-brackets or flat steel bars embedded in the cabinet
- Over 12 inches: use corbels, steel plates, or support legs
Never rely on decorative wood corbels alone for a wide overhang. Hidden steel supports carry the real load while the wood just dresses them up. Talk this through with your fabricator before templating, because support has to be built into the cabinet.
Edge Profiles
The edge is a detail people underestimate. Since an island’s edge is fully exposed and often where you sit, it sets the tone.
- Eased or straight: clean, modern, most affordable (often included)
- Bullnose / half-bullnose: rounded and soft, kid-friendly
- Beveled: a crisp angled cut, subtly upscale
- Ogee: an S-curve, formal and traditional, adds $10 to $20 per linear foot
Seams and Slab Layout
If your island exceeds the slab size (most slabs run about 9 by 5 feet), you’ll have a seam. A good fabricator places seams where they’re least visible and matches the veining across the joint so it nearly disappears. Ask to see the actual slab and mark the layout before cutting — this is your one shot to control where the pattern falls. Reputable shops let you approve the template.
Sealing and Daily Care
Granite is porous, so it needs sealing to resist stains from oil, wine, and citrus. Most new tops are sealed at installation. Test yours with the water-drop method: splash a little water on the surface and watch. If it beads, the seal is good; if it darkens and soaks in within a few minutes, it’s time to reseal. Most islands need resealing every 1 to 3 years, though heavily used ones may want it annually.
For everyday cleaning, use warm water with a drop of dish soap or a pH-neutral stone cleaner. Skip vinegar, bleach, ammonia, and generic all-purpose sprays — acids etch and degrade the sealer over time. Wipe up spills promptly and use a cutting board; granite can dull knives, and while it resists scratches, you’re protecting your blades more than the stone.
Granite vs. Quartz for an Island
The most common cross-shopping question is granite versus quartz. Both are excellent island surfaces, but they behave differently. Granite is natural stone — every slab unique, more heat-resistant, and able to take a hot pan without a trivet — but it’s porous and needs periodic sealing. Quartz is engineered from ground stone and resin, so it’s non-porous and never needs sealing, resists stains better, and offers consistent, predictable patterns. The trade-off is that quartz can scorch under very high heat and its uniformity lacks granite’s one-of-a-kind veining. For a kitchen island with granite top appeal — dramatic natural character and true heat resistance — granite wins. If you want zero maintenance and a controlled look, quartz is the answer. Many homeowners choose based on whether they value natural uniqueness or hands-off upkeep.
Is It Worth It?
A granite island top is a durable, high-value upgrade that routinely returns a chunk of its cost at resale and lasts decades with minimal fuss. The main cautions are weight and support — get the overhang engineered correctly and confirm your base cabinets can carry the load. Do that, pick a slab you genuinely love in person rather than from a sample chip, and you’ll have a kitchen centerpiece that still looks great long after this year’s trends have come and gone.


