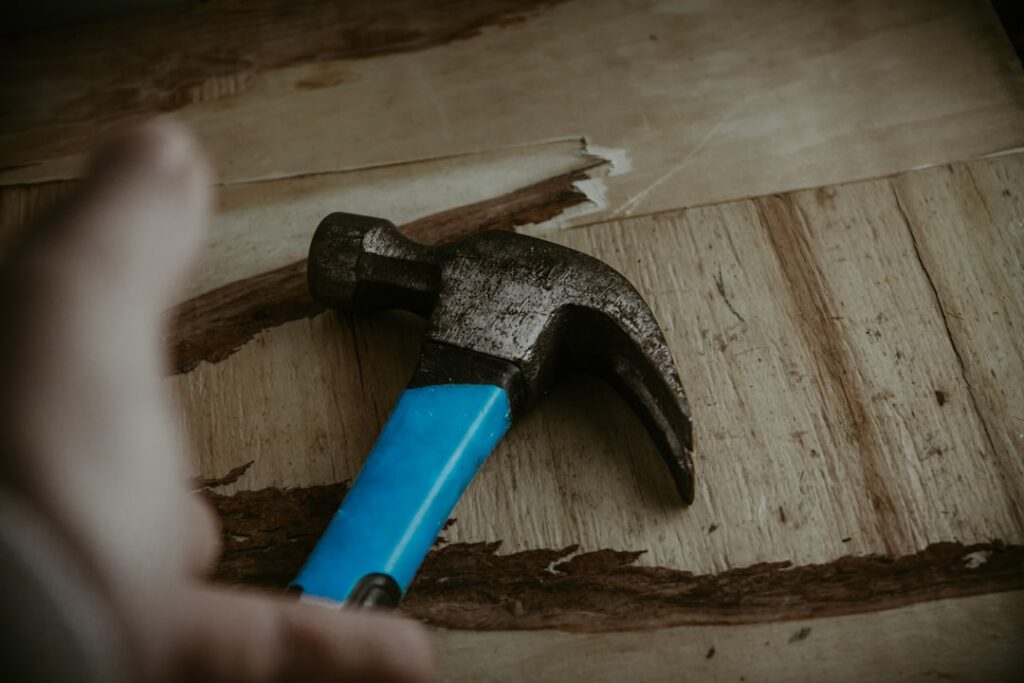
One of the biggest advantages of laminate flooring is that it is designed for DIY installation. With the right laminate flooring tools and a bit of patience, most homeowners can achieve professional-quality results in a single weekend. This guide covers every tool you need, from the must-haves to the nice-to-haves, along with tips on how to use each one effectively.
- Must-Have Laminate Flooring Tools
- 1. Tapping Block
- 2. Pull Bar
- 3. Spacers
- 4. Tape Measure
- 5. Pencil and Straight Edge
- 6. Miter Saw (Chop Saw)
- 7. Jigsaw
- 8. Rubber Mallet
- 9. Utility Knife
- 10. Underlayment (Material, Not Tool)
- Highly Recommended Tools
- 11. Oscillating Multi-Tool
- 12. Circular Saw
- 13. Table Saw
- 14. Knee Pads
- 15. Level (4-Foot or 6-Foot)
- 16. Pry Bar
- 17. Speed Square
- Optional But Useful Tools
- Safety Equipment
- Laminate Installation Kit vs. Individual Tools
- Tool Rental Options
- Get Started with Confidence
Must-Have Laminate Flooring Tools
These are the essential tools that every laminate flooring installation requires. Without them, achieving tight seams, clean cuts, and a professional finish will be extremely difficult.
1. Tapping Block
A tapping block is a small, specially designed block that distributes force evenly along the edge of a laminate plank. You place it against the side of the plank you are installing and tap it with a hammer or mallet to close the seam between adjacent planks. Never tap directly on the laminate plank, as this will damage the locking profile and create gaps in the finished floor.
Tapping blocks are inexpensive — usually between $5 and $15 — and are available at any home improvement store. Some laminate installation kits include one along with a pull bar and spacers.
2. Pull Bar
A pull bar (also called a draw bar) is essential for tightening the seams on the last row of planks or anywhere a tapping block cannot reach, such as against walls or in tight corners. The pull bar hooks over the end of the plank, and you tap the other end with a hammer to pull the plank tightly into place.
Without a pull bar, the last row of laminate will almost certainly have visible gaps. This is one of the most important laminate flooring tools in your kit.
3. Spacers
Laminate flooring expands and contracts with changes in temperature and humidity. Spacers maintain a consistent expansion gap (typically 1/4 inch to 3/8 inch) between the flooring and all walls, cabinets, and fixed objects. Without proper expansion gaps, the floor can buckle, warp, or develop peaks at the seams.
You can buy purpose-made plastic spacers or simply use small pieces of scrap laminate. Place spacers every 12 to 18 inches along each wall.
4. Tape Measure
Accurate measurements are critical for a clean installation. You will need a tape measure for measuring room dimensions, marking cut lines, ensuring consistent expansion gaps, and verifying that your rows are straight. A 25-foot tape measure with both imperial and metric markings is ideal.
5. Pencil and Straight Edge
A sharp pencil and a straight edge (such as a framing square or T-square) are used to mark cut lines on planks before cutting. Mark on the back side of the plank to avoid visible pencil marks on the finished floor. A framing square is particularly useful for marking perfectly straight crosscuts.
6. Miter Saw (Chop Saw)
A power miter saw is the preferred tool for making crosscuts on laminate planks. It produces clean, straight cuts quickly and accurately. A 10-inch miter saw with a fine-tooth blade (80 teeth or more) will cut through laminate like butter. If you do not own a miter saw, you can rent one from most home improvement stores for about $40 to $60 per day.
For best results, cut the laminate with the decorative side facing up when using a miter saw. This prevents chipping on the visible surface.
7. Jigsaw
While a miter saw handles straight crosscuts, a jigsaw is essential for curved cuts, notches, and cuts around door frames, pipes, and vents. Use a fine-tooth blade designed for laminate (sometimes labeled as a “reverse tooth” or “down-cutting” blade) to minimize chipping.
When using a jigsaw, cut from the back side of the plank. Because a jigsaw cuts on the upstroke, this prevents chipping on the visible surface.
8. Rubber Mallet
A rubber mallet provides controlled force for tapping planks together without damaging them. Use it in combination with the tapping block and pull bar. A dead-blow mallet is even better, as it eliminates bounce and delivers all its force into the plank.
9. Utility Knife
A sharp utility knife is surprisingly versatile during laminate installation. Use it to score and snap thin strips of laminate for the last row, trim underlayment, cut spacers to size, open boxes, and make small adjustments. Keep extra blades on hand, as laminate dulls them quickly.
10. Underlayment (Material, Not Tool)
While technically a material rather than a tool, underlayment is so critical that it deserves mention here. Underlayment is a thin foam or felt pad installed between the subfloor and the laminate. It provides cushioning, sound absorption, and minor subfloor imperfection correction. Some laminate products come with underlayment pre-attached; if yours does not, purchase a quality underlayment separately.
Highly Recommended Tools
These tools are not strictly essential but will make your installation significantly easier, faster, and more professional-looking.
11. Oscillating Multi-Tool
An oscillating multi-tool with a flush-cutting blade is invaluable for undercutting door jambs and casings. Rather than trying to cut laminate to fit around door frames (which looks messy), you undercut the bottom of the frame so the laminate slides cleanly underneath. This creates a seamless, professional appearance.
12. Circular Saw
If you do not have access to a miter saw, a circular saw with a fine-tooth blade is a solid alternative for crosscuts and rip cuts. Clamp a straight edge to the plank as a guide to ensure straight cuts. Cut with the decorative side facing down when using a circular saw.
13. Table Saw
A table saw excels at rip cuts — long cuts along the length of a plank. The last row of laminate almost always needs to be ripped to a narrower width to fit against the wall. While you can manage rip cuts with a circular saw and guide, a table saw makes the job faster and more precise.
14. Knee Pads
You will spend the entire installation on your hands and knees. Quality knee pads are not optional if you value your comfort and joint health. Gel-filled knee pads offer the best cushioning for extended work sessions.
15. Level (4-Foot or 6-Foot)
A long level helps you check the subfloor for high and low spots before installation. Place it in multiple directions across the floor and look for gaps underneath. The subfloor should be flat to within 3/16 inch over a 10-foot span. High spots can be sanded down, and low spots can be filled with floor-leveling compound.
16. Pry Bar
A small flat pry bar is useful for removing existing baseboards without damaging them, prying up old flooring, and making fine adjustments to plank positioning.
17. Speed Square
A speed square (triangle square) helps you quickly mark perfectly square crosscut lines on planks. It is faster than a framing square for repetitive cuts and fits easily in a tool belt.
Optional But Useful Tools
18. Laminate Flooring Cutter
A manual laminate flooring cutter resembles a large paper cutter. It slices through laminate planks cleanly without power tools, noise, or sawdust. These are particularly useful in apartments or condos where power-saw noise would disturb neighbors. They cost $50 to $150 and are also available for rent.
19. Hole Saw Kit
For cutting precise round holes for pipes, drain lines, or floor-mounted vents, a hole saw kit is the right tool. Choose a kit that includes sizes from 1/2 inch to 2 inches to cover most pipe diameters.
20. Floor Gap Fixer
A floor gap fixer is a suction-cup tool that attaches to a plank and allows you to slide it into position to close gaps. It is particularly useful for fixing gaps that develop after the initial installation.
Safety Equipment
Do not forget personal protective equipment when cutting and installing laminate.
- Safety glasses: Essential when using any power saw. Laminate chips can fly unpredictably.
- Ear protection: Power saws are loud. Use earplugs or over-ear protection.
- Dust mask or respirator: Cutting laminate produces fine dust that you should not inhale.
- Work gloves: Protect your hands from sharp edges on cut planks.
Laminate Installation Kit vs. Individual Tools
Many retailers sell laminate flooring installation kits that include a tapping block, pull bar, and spacers for about $15 to $30. These kits are a good starting point for first-time installers and cover the most laminate-specific tools. However, you will still need cutting tools (saws), measuring tools, and safety equipment separately.
Tool Rental Options
If you do not own power tools and prefer not to buy them for a single project, renting is a cost-effective alternative.
- Miter saw rental: $40 to $60 per day
- Table saw rental: $50 to $70 per day
- Oscillating multi-tool rental: $25 to $40 per day
- Laminate flooring cutter rental: $25 to $40 per day
Most home improvement stores offer tool rental programs. Plan your installation so you can pick up and return tools within a single rental period to minimize costs.
Get Started with Confidence
Having the right laminate flooring tools makes the difference between a frustrating DIY experience and a smooth, professional-quality installation. Invest in the essentials — a tapping block, pull bar, spacers, and quality cutting tools — and you will have everything you need to lay beautiful laminate floors throughout your home. Pair these tools with proper subfloor preparation and patience, and your new floors will look as good as any professional installation.
Prefer to explore on your own?
See how new flooring looks in your actual room in seconds — free, no signup.
Try the free Floor Studio →