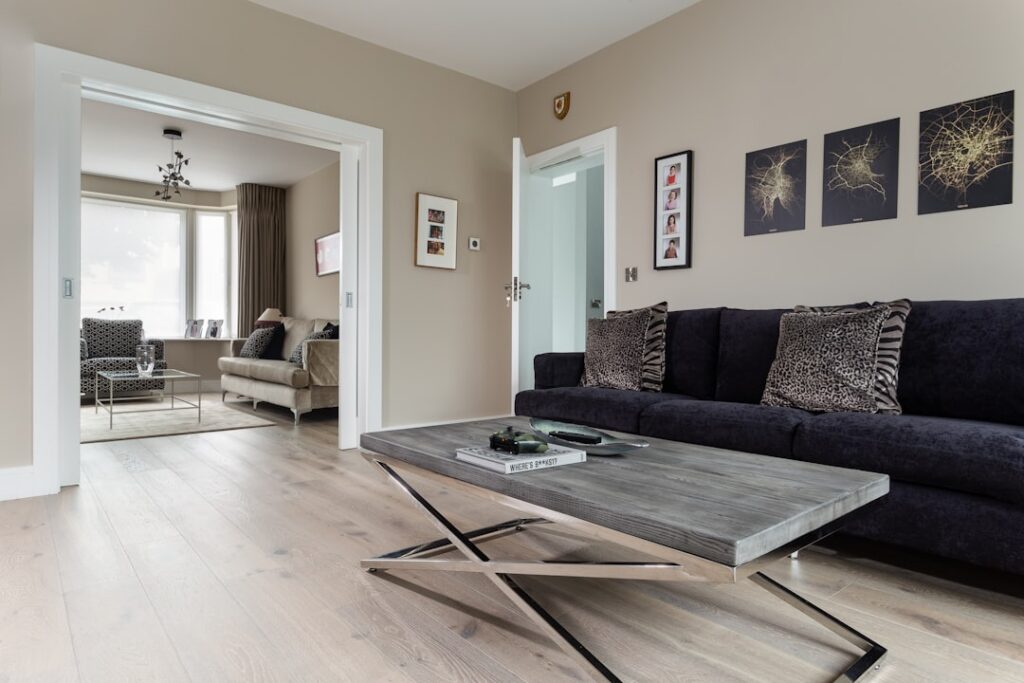
Carrying a hard-surface floor up a staircase used to mean expensive hardwood or carpet that wore out fast, but laminate stairs have changed the math. Laminate brings the look of wood, durable scratch resistance, and a price that undercuts solid hardwood, all while creating a seamless flow from your laminate floors right up the steps. It is one of the more demanding DIY jobs in flooring, but the payoff is a staircase that handles heavy traffic and looks sharp for years.
This guide covers what you need to know about materials, the critical role of stair nosing, installation, and the safety details that make laminate stairs work.
Why Choose Laminate for Stairs
Stairs take more abuse than almost any floor in the house. Laminate answers that with a tough wear layer that resists the scuffs, scratches, and dents from daily up-and-down traffic, pets, and dropped items. It is significantly cheaper than hardwood — often $1 to $4 per square foot for the material — and the realistic wood-look textures available today are convincing. Matching your stairs to existing laminate floors gives a continuous, designed look that adds value and visual flow.
Understanding Stair Nosing
Stair nosing is the single most important component, and the part beginners overlook. It is the rounded or angled molding that caps the front edge of each step, covering the seam between the tread and riser while creating a safe, defined edge underfoot. Nosing protects the laminate’s vulnerable front edge from chipping and gives your foot a clear, grippable lip. You can buy matching nosing made for your laminate line in two main styles:
- Overlap nosing — sits on top of the tread, used with floating laminate installations.
- Flush nosing — fits level with glued-down treads for a cleaner profile but a more involved install.
What You’ll Need
Gather your materials before starting: laminate planks, matching stair nosing, a strong construction adhesive rated for flooring, a quality miter or circular saw, a jigsaw for notches, measuring tools, a pencil, and a pull bar. Unlike floating laminate floors, stair treads must be glued down solidly — you cannot float laminate on stairs safely, because unsecured planks become a serious fall hazard.
Installation Overview
The process rewards careful measurement and patience:
- Remove old carpet or treads and pull every staple and tack so the substrate is clean and flat.
- Measure each step individually — stairs are rarely identical, so cut treads and risers to fit each one.
- Install risers first, gluing the vertical pieces in place.
- Glue down the treads, pressing firmly into a full bed of adhesive for solid, gap-free contact.
- Attach the stair nosing last, securing it with adhesive and, where appropriate, finishing nails for a rock-solid edge.
Cutting for a Clean Fit
Precision cuts separate a professional result from a sloppy one. Measure each tread depth and width separately and account for the nosing overhang. Use a miter saw for straight cuts and a jigsaw for any notches around railings or wall returns. Test-fit every piece before applying adhesive, since once the glue grabs you have little room to adjust. Take your time on the first few steps to dial in your method.
Safety Considerations
Laminate is a smoother surface than carpet, so traction deserves real attention. Choose laminate with a textured or matte finish rather than high gloss, which is slicker underfoot. For added grip, you can apply clear anti-slip stair treads or strips near the front of each step, especially in homes with kids, older adults, or pets. Make sure the nosing is firmly attached and flush with no lifting edges, because a loose nosing is a tripping hazard. A sturdy handrail is a must on any staircase.
Open vs. Closed Staircases
Your staircase type affects how much trim and cutting the job requires. A closed staircase, with walls on both sides, is the most straightforward — the treads and risers tuck between two walls and only the front edges show. An open staircase, with one or both sides exposed, needs finished end caps or returns so the laminate edge looks intentional rather than raw where it meets open air. Staircases with a curved bottom step or pie-shaped winder treads are the most demanding, requiring careful templating of each odd-shaped piece. Assess your staircase honestly before buying material, since open and curved stairs use more trim and time.
Matching Stairs to Your Floors
The biggest visual payoff comes from coordinating the stairs with the laminate floors they connect. Buy your stair treads, risers, and nosing from the same product line or color family as your floor so the wood tone, sheen, and texture flow continuously. Many flooring brands sell matching stair nosing and trim specifically for this reason. If an exact match is not available, choose a complementary tone a shade darker for the treads, which hides scuffs and reads as an intentional design choice rather than a mismatch. Bring a sample plank when shopping for nosing to compare in person.
Maintaining Laminate Stairs
Once installed, laminate stairs are easy to keep looking sharp. Sweep or vacuum regularly so grit does not get ground into the wear layer underfoot, paying extra attention to the front edge of each tread where shoes land. Wipe up spills promptly with a damp cloth rather than a soaking-wet mop, since standing water can seep into seams. Avoid wax and polish, which laminate does not need and which can make the surface slippery. Periodically check that the stair nosing remains firmly attached with no lifting edges, and re-secure any loose piece immediately, since a lifted nosing is both a wear point and a trip hazard.
Cost and DIY Considerations
Materials for a standard staircase of 13 to 15 steps often run $200 to $600 depending on the laminate and nosing you choose. Professional installation can add $40 to $100 per stair in labor, since stair work is detailed and time-consuming. If you are handy with a saw and patient with measurements, DIY saves a substantial sum, but be honest about your comfort level — uneven cuts and weak adhesion on stairs are both unsightly and unsafe.
Final Thoughts
Laminate stairs deliver durable, attractive, budget-friendly results that tie your staircase into the rest of your flooring. Success comes down to using proper stair nosing, gluing treads solidly rather than floating them, measuring each step on its own, and choosing a textured finish for safe footing. Get those details right and you will have a staircase that looks great and stands up to years of daily use.
Prefer to explore on your own?
See how new flooring looks in your actual room in seconds — free, no signup.
Try the free Floor Studio →