
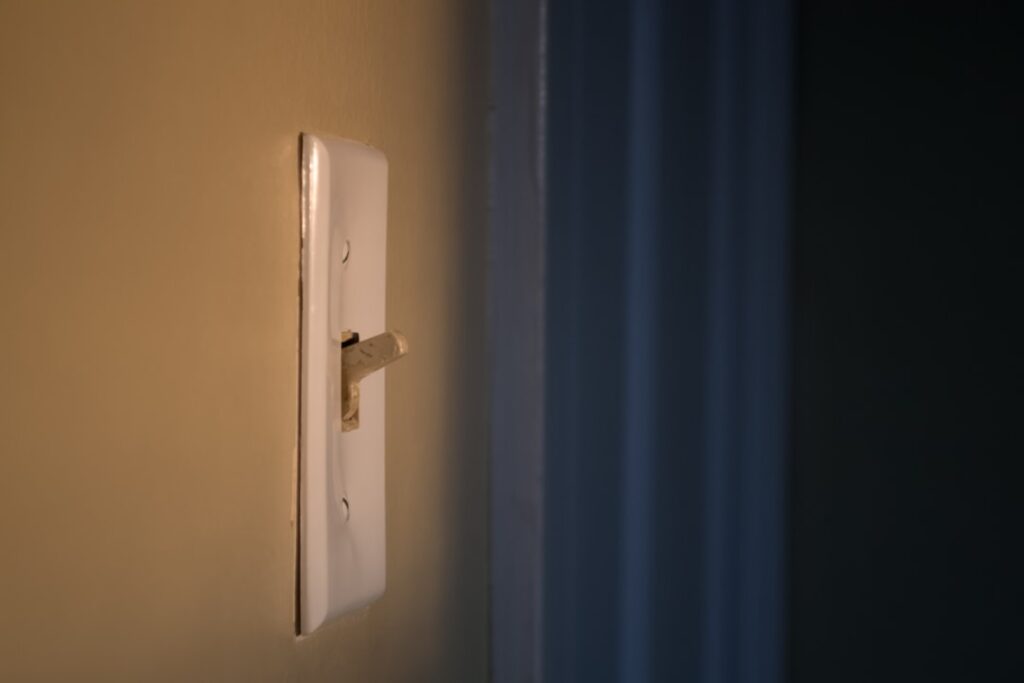
Light switch plates are the smallest detail in a room and one of the most overlooked. Swap a yellowed builder-grade plastic cover for a crisp screwless metal one and the whole wall reads more expensive — for the price of a coffee and ten minutes of work. Because they’re cheap and easy to change, switch plates are one of the highest-return upgrades in a home.
- Cut the Power Before You Touch a Plate
- Standard Sizes: Standard, Mid, and Jumbo
- Understanding Gangs and Switch Styles
- Materials and Finishes That Fit Your Room
- How to Replace a Switch Plate Step by Step
- Screwless Plates and How They Mount
- Smart Switches and Dimmer Plate Fit
- How Many Plates and What They Cost
- Fixing Common Problems
- When to Call an Electrician
This guide covers the sizes, materials, gang counts, and finishes worth knowing, plus how to replace one safely without ever touching a live wire.
Cut the Power Before You Touch a Plate
A switch plate is the only thing standing between your fingers and the terminals inside the box, and those terminals can carry 120 volts even when the switch is off. Before removing any plate for replacement, go to your panel and switch off the breaker feeding that circuit.
Then verify. Hold a non-contact voltage tester against the switch and screws — no beep means no power. If you’re only swapping the decorative plate and not touching wires, the risk is low, but pulling that cover exposes live parts, so the breaker-off habit is cheap insurance. And if you open the box and find scorched insulation, loose or backstabbed connections, aluminum wiring, or a box packed so tight you can’t work, stop and call a licensed electrician rather than forcing it.
Standard Sizes: Standard, Mid, and Jumbo
Switch plates come in three common widths, and matching the size to your situation makes a visible difference:
- Standard — about 2.75 in wide by 4.5 in tall for a single toggle. The default in most homes.
- Mid-size (Midway) — roughly 3.13 in by 4.88 in. The extra quarter inch of overhang hides gaps, uneven paint edges, or oversized wall openings.
- Jumbo (Oversize) — about 3.5 in by 5.25 in. Great for covering damaged drywall around the box or a hole cut too large.
Measure your existing plate before buying. If your old cover leaves paint scars or an oversized hole showing, jump up a size rather than fighting to patch the wall.
Understanding Gangs and Switch Styles
“Gang” is the number of devices a plate covers. A single-gang plate has one opening; a three-gang covers three switches side by side. Count your openings and match exactly — a two-gang plate won’t seat on a three-gang box.
Just as important is the device style, because the opening shape differs:
- Toggle — the classic flip switch with a narrow slot.
- Decora / rocker — the wide flat paddle with a large rectangular opening. Now the most common in new work.
- Duplex — the figure-eight opening for a standard outlet.
- Combination — mixed plates for a toggle beside a rocker, or a switch beside an outlet.
Bring a photo of your setup to the store, or better, unscrew the old plate (power off) and take it with you to match the openings.
Materials and Finishes That Fit Your Room
The material sets the tone. Here’s how the common options stack up:
- Plastic (thermoset/nylon) — cheapest at $0.50–$2, comes in white, ivory, almond, black. Fine and durable, if a little basic.
- Stainless steel — $4–$10, clean and modern, fingerprint-resistant in brushed finish.
- Brass and bronze — $8–$25, warm and traditional; available polished, brushed, or oil-rubbed to match cabinet hardware.
- Screwless (snap-on) — a two-piece design that hides the screws for a seamless look; the sub-plate mounts first, then the cover clips over it.
- Wood, glass, and ceramic — specialty looks for a particular design language; heavier and pricier.
The trick most designers use: match your light switch plates to your door hardware and cabinet pulls. Brushed nickel plates with brushed nickel knobs pull a room together in a way people feel without noticing why.
How to Replace a Switch Plate Step by Step
- Turn off the breaker for the circuit and verify the switch is dead with a non-contact voltage tester.
- Remove the two screws holding the old plate; keep them in case the new plate doesn’t include its own.
- Lift the plate straight off. If old paint has glued it down, run a utility knife around the edge first so you don’t tear the drywall paper.
- Set the new plate over the switch, aligning the openings.
- Drive the screws until the plate sits flush — snug, not cranked. Overtightening cracks plastic plates and dimples thin metal ones.
- Restore power and confirm the switch works.
The whole job takes under ten minutes per plate once you have the rhythm.
Screwless Plates and How They Mount
Screwless plates are the detail that quietly signals a renovated home. Instead of two visible screw heads, they use a two-piece design: a mounting sub-plate screws to the switch, then a clean cover snaps over it and hides the hardware entirely. The result is a flush, seamless rectangle with nothing to catch the eye.
They cost a bit more — figure $3–$8 for plastic screwless and $10–$20 for metal — and they demand a switch that’s mounted reasonably flush and square, since the snap cover has little tolerance for a device that sits crooked in the box. If your switch is recessed too deep, a plastic box extender brings it forward so the sub-plate seats properly. For a modern kitchen or a feature wall, screwless plates are worth the small premium.
Smart Switches and Dimmer Plate Fit
Upgrading to a smart switch or a dimmer changes the plate you need. Many smart switches use a Decora-style rocker opening, so a standard Decora plate fits — but some larger dimmers and motion sensors need extra depth or a specific cutout, and a few ship with their own proprietary cover. Check the device before you buy a plate.
Rotary dimmers with a round knob usually take a plate with a hole for the shaft, and slide dimmers need the taller Decora-style opening. When you combine, say, a smart dimmer beside a regular toggle in one box, reach for a combination plate that mixes the two opening shapes. As always, confirm the opening style matches the device face before you check out.
How Many Plates and What They Cost
Redoing the switch plates in a whole house is one of the cheapest cosmetic refreshes going. A typical three-bedroom home has somewhere around 40 to 60 devices — switches and outlets combined — so even at $5 to $10 apiece for nice brushed-metal or screwless plates, you’re looking at a few hundred dollars and a weekend to transform every room’s finish detail.
Buy a couple of spares in each style; manufacturers discontinue finishes, and having a matching plate on hand beats hunting for one later. Keep the leftover screws too — they’re the small parts that always vanish right when you need them.
Fixing Common Problems
Cracked plate from overtightening? Back the screws off a turn — the plate should hold with the switch’s ears doing the anchoring, not screw pressure. A plate that won’t sit flush usually means the switch is protruding too far or the box is set too deep; a mid-size or jumbo plate, or a plastic box extender, often solves it. Screw holes that don’t line up mean you grabbed the wrong device style — recheck toggle versus Decora before blaming the plate. And a plate that rocks means the switch mounting screws need adjusting so the device sits square in the box.
When to Call an Electrician
Changing the cover is pure DIY. But the moment the plate comes off and you see trouble — melted or brittle insulation, a burning smell, a box overflowing with wires, ungrounded metal, or aluminum branch wiring — put the plate back, leave the breaker off, and bring in a licensed electrician. Decorative light switch plates should never become a lid you screw over a hidden hazard. Handle the finish work yourself, and let a pro handle anything behind the plate that looks wrong.


