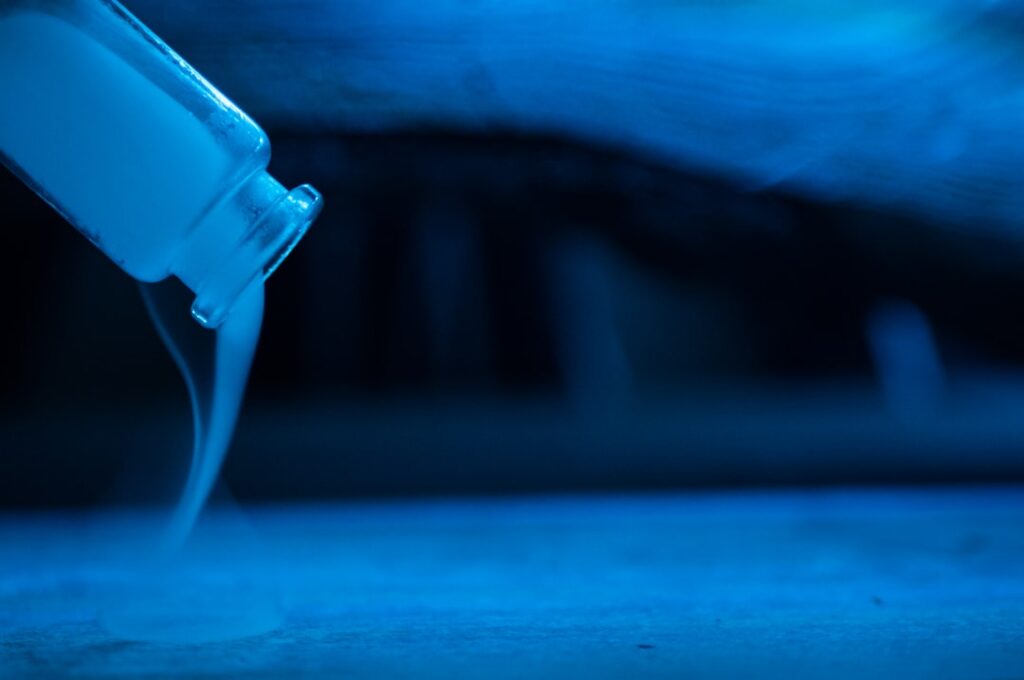
That deep, glassy, crystal-clear finish you see on river tables, bar tops, and live-edge counters comes from a two-part casting resin known as liquid glass epoxy. Poured as a liquid and cured into a hard, glossy solid, it transforms ordinary wood and surfaces into showpieces. It is rewarding to work with, but it demands patience and respect for the chemistry.
Part of our Epoxy, Concrete & Garage Floors guide — explore the full guide →
This guide explains what liquid glass epoxy is, where it works, how to apply it, and the safety precautions every homeowner should follow.
What Liquid Glass Epoxy Is
Liquid glass epoxy is a two-component system: a resin and a hardener that you mix in a precise ratio, often 1-to-1 or 2-to-1 by volume depending on the product. Once combined, a chemical reaction begins that cures the mixture from a flowing liquid into a rigid, transparent, glass-like solid.
The result is a thick, durable coating that is water-resistant, scratch-resistant, and beautifully clear. Some formulas are “deep pour” types designed for thick castings up to two inches in a single pour, while “coating” or “tabletop” epoxies are meant for thin layers around an eighth of an inch. Choosing the right type for your project is the first key decision.
Common Uses
Liquid glass epoxy is prized anywhere you want a flawless, protective, high-gloss surface. Popular projects include:
- River tables and live-edge furniture, where deep-pour resin fills the gap between slabs.
- Bar tops, countertops, and tabletops that need a tough, wipeable finish.
- Encasing objects like bottle caps, coins, or photos for decorative tables.
- Artwork, resin “ocean” pours, and coasters.
- Sealing and protecting porous surfaces with a glossy clear coat.
For food-contact surfaces, only use a product specifically rated as food-safe once fully cured, and confirm that rating on the label rather than assuming it.
Safety First
Uncured epoxy is a reactive chemical, and the curing process can give off fumes and heat. Take safety seriously from the start.
- Work in a well-ventilated space, and use a respirator rated for organic vapors for large pours.
- Wear nitrile gloves and protect your skin and eyes. Cured-on epoxy is very hard to remove from skin.
- Avoid skin contact with the liquid, which can cause irritation and, with repeated exposure, sensitization.
- Mind the exotherm: large masses of mixed epoxy generate heat and can crack, smoke, or even burn if mixed in too large a batch. Follow the maximum pour depth and volume on the label.
- Keep children and pets away until the surface is fully cured.
Always follow the manufacturer’s instructions exactly, since mix ratios and cure conditions vary by brand and getting them wrong ruins the pour.
How to Apply Liquid Glass Epoxy
Success comes from preparation and precision. Rushing any stage shows in the final finish.
- Prepare the surface. Sand it smooth, clean off all dust, and seal porous wood with a thin “flood coat” to prevent air bubbles from rising later.
- Build a form or dam for deep pours, sealed with tape so resin cannot leak out.
- Measure the resin and hardener exactly by the specified ratio. Inaccurate measuring is the top cause of soft, sticky finishes.
- Mix slowly and thoroughly for several minutes, scraping the sides and bottom of the container so it cures evenly.
- Pour onto the surface and spread if needed. Work the recommended depth, doing multiple layers for thick projects.
- Pop air bubbles by passing a heat gun or torch briefly over the surface, keeping it moving.
- Cover to keep dust off and let it cure undisturbed.
Temperature matters: most epoxies want a room around 70 to 75°F. Too cold and it will not cure properly; too warm and it cures too fast.
Cure Times and What to Expect
Liquid glass epoxy cures in stages. It typically becomes tack-free in 12 to 24 hours, can be handled lightly after about 24 to 48 hours, and reaches full hardness and chemical resistance in 7 days. Deep pours can take even longer.
Do not put the piece into service early. A surface that feels hard may still be soft underneath, and an early cleaning or heavy object can leave a permanent mark. Plan your project timeline around that full week of curing so the finish reaches its maximum durability and clarity.
Maintenance and Repair
Cured epoxy is low-maintenance. Clean it with a soft cloth and mild soap and water, and avoid abrasive scrubbers and harsh solvents that can dull the gloss. Use coasters and trivets, because while epoxy is durable, prolonged heat above roughly 120 to 150°F can soften or mar it, and a hot pan can leave a cloudy spot.
Minor scratches in a coating layer can often be buffed out or refreshed with a new thin top coat after light sanding. Deep damage usually means recoating the surface. Because epoxy can yellow slightly over years of UV exposure, choose a UV-resistant formula for pieces near sunny windows.
Common Mistakes to Avoid
Most failed epoxy projects trace back to a handful of avoidable errors. Knowing them in advance saves a ruined pour and wasted material.
- Inaccurate measuring. Eyeballing the resin-to-hardener ratio leaves sticky or soft spots that never fully cure. Measure precisely every time.
- Under-mixing. If you do not scrape the sides and bottom thoroughly, unmixed product cures improperly. Mix longer than feels necessary.
- Pouring too deep. Exceeding the product’s maximum pour depth causes excess heat, cracking, and cloudiness. Build up in layers instead.
- Working too cold or in high humidity, which causes a cloudy, dimpled finish sometimes called amine blush.
- Skipping the seal coat on porous wood, which lets trapped air bubble up through the surface.
Take your time, prepare the surface properly, and respect the product’s limits. Patience at each step is what produces that flawless, glass-clear result.
Is It Worth It?
For a homeowner who enjoys a hands-on project, liquid glass epoxy delivers a professional, jaw-dropping finish at a fraction of what custom fabrication costs. The material is forgiving of design but unforgiving of sloppy measuring and poor ventilation. Read the label, match the epoxy type to your pour depth, take the safety steps seriously, and give it the full cure time. Do that, and you will end up with a glossy, glass-like surface that turns heads and holds up for years.