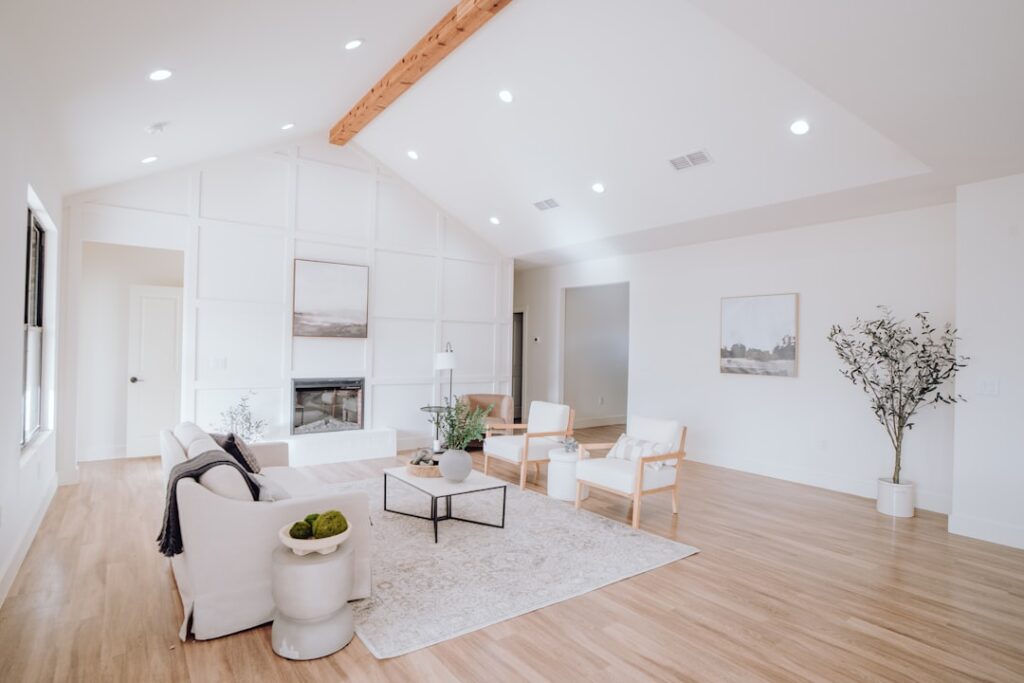
A television hung on a bare wall with a tangle of cords dangling below it is one of the most common eyesores in an otherwise finished living room. The fix that designers reach for again and again is a built-in, and a well-planned living room built in tv wall turns that awkward black rectangle into an intentional focal point with storage, display space, and hidden wiring. Whether you frame the TV in cabinetry, float it above a fireplace, or set it into a full wall of shelving, the goal is the same: make the screen feel like part of the architecture rather than an afterthought.
Here are the layouts that work, the dimensions to plan around, and how to approach the build on a range of budgets.
Popular Built-In Layouts
Start by choosing the overall composition, because it drives everything else.
- Symmetrical cabinet surround: The TV sits centered with matching cabinets and open shelves flanking it. Classic, balanced, and great for storage.
- Floating shelves with a media console: A low console beneath the TV plus a few floating shelves above or beside it. Lighter and more affordable than full cabinetry.
- Fireplace and TV stack: The TV mounts above a fireplace, with built-ins wrapping both sides. Handsome, but watch the mounting height and heat.
- Full wall of built-ins: Floor-to-ceiling cabinetry with the TV recessed into a niche. The most dramatic and the most expensive.
- Slat or panel accent wall: Vertical wood slats or fluted panels behind a floating TV, often with a slim console. Modern and budget-friendly.
Getting the TV Height Right
The single most common mistake is mounting the screen too high. For comfortable viewing from a seated position, the center of the TV should land roughly at eye level, about 42 inches from the floor to the center of the screen for a typical sofa. For a 65-inch TV, that puts the bottom edge around 25 inches up. When a TV goes above a fireplace, the mantel often forces it higher than ideal, so tilt the mount downward 10 to 15 degrees and keep the bottom of the screen no more than about 60 inches off the floor to reduce neck strain.
Above a fireplace, confirm the surface temperature. Wood-burning fireplaces can push heat that damages electronics; a mantel that deflects heat or a low-heat gas or electric unit is far safer for a mounted TV.
Planning for the TV Size and Niche
If you are recessing the TV into a niche, size the opening carefully. Leave at least 2 to 3 inches of clearance on all sides of the screen for the mount, cables, and ventilation, and more if you use a swing-arm mount. Measure the actual TV dimensions, not the diagonal screen size, since bezels and depth vary. Plan the niche depth for at least 4 to 6 inches to accommodate a low-profile mount pulled tight to the wall, and add a recessed outlet box inside the niche so the plug does not stick out.
Hiding Cords and Components
Clean cable management is what separates a built-in that looks custom from one that looks improvised. The right way is an in-wall rated power kit and low-voltage pass-through plates that route HDMI and other cables down inside the wall cavity to the components below. Running standard power cord through the wall is not code-compliant, so use a proper recessed receptacle behind the TV wired by a licensed electrician, connected by a UL-listed in-wall power relocation kit.
For components like a streaming box, soundbar, or game console, plan a ventilated cabinet or open shelf with the same wall pass-through, and consider an IR repeater if remotes need line of sight to a closed cabinet.
Materials and Finishes
The built-in’s material sets the tone of the whole room.
- Painted MDF or plywood cabinetry gives a clean, custom look and is the most common choice; expect a smooth, furniture-grade finish.
- Stained hardwood or veneer adds warmth and reads more upscale.
- Wood slat panels deliver texture and a modern feel at a lower cost.
- Stone, tile, or plaster on the surround creates a high-end feature, especially around a fireplace.
A dark or moody paint behind and around the TV, such as a charcoal or deep green, helps the black screen blend in when it is off, which is a simple designer trick.
Budget and Build Approach
Costs vary widely with scope. A DIY floating-shelf-and-console setup with a slat accent wall can come together for $300 to $800 in materials. Semi-custom built-ins using stock cabinets as a base, then adding trim and shelving, typically run $1,500 to $4,000. Fully custom, cabinetmaker-built floor-to-ceiling units with integrated lighting and stone can reach $6,000 to $12,000 or more. If you are handy, combining pre-made cabinet boxes with custom shelving and trim is the best value, giving a built-in look without full custom pricing. Leave electrical work and any structural changes to licensed pros.
Lighting and Styling the Built-In
Integrated lighting is what makes a built-in look truly custom. LED strip lighting tucked under shelves or along the back of open cubbies adds a soft glow that reduces eye strain during evening viewing by lowering the contrast between the bright screen and the dark surround. Puck lights or small picture lights highlight displayed objects on the shelves. Wire lighting to a dimmer so you can drop it low for movies and bring it up for reading.
When styling the shelves, follow the designer rule of mixing heights, textures, and negative space rather than cramming every inch. Group books horizontally and vertically, add a few sculptural objects, and leave breathing room so the TV stays the anchor. Baskets or closed cabinet doors below hide clutter like remotes, cables, and game controllers, keeping the composition clean.
Measuring and Planning Before You Build
Careful planning prevents expensive mistakes. Start by measuring the full wall width and height, then sketch the layout to scale, blocking out the TV size, the console height, and the shelf spacing. Standard adjustable shelf spacing runs 10 to 14 inches, but plan taller openings for larger decorative pieces. Account for the depth your components need, typically 15 to 18 inches for a media cabinet so a soundbar or console fits with airflow behind it. Confirm the wall has studs where you need to anchor heavy cabinetry, and locate existing outlets and the panel circuit before finalizing where the TV and components land. If your plan requires moving an outlet, adding a circuit, or altering framing, bring in a licensed electrician and, for structural changes, a qualified contractor before construction begins.
Frequently Asked Questions
How high should I mount a TV on a built-in wall?
Aim for the center of the screen at seated eye level, roughly 42 inches from the floor. For a 65-inch TV that places the bottom edge around 25 inches up. Above a fireplace, keep it as low as the mantel allows and tilt it down slightly.
Can I put a TV above a fireplace in a built-in?
Yes, but check the heat. Electric and low-heat gas fireplaces are safe for mounted electronics, while wood-burning units can overheat a TV. Use a heat-deflecting mantel and a tilting mount to improve the viewing angle.
How do I hide the TV cords in a built-in wall?
Route low-voltage cables like HDMI through the wall with pass-through plates, and use a UL-listed in-wall power relocation kit with a recessed outlet wired by an electrician. Never run a standard power cord loose inside the wall.
How much does a built-in TV wall cost?
A DIY floating-shelf and accent-wall setup runs $300 to $800 in materials. Semi-custom built-ins cost $1,500 to $4,000, while fully custom floor-to-ceiling units can reach $6,000 to $12,000 or more.
How deep should a TV niche be?
Plan for at least 4 to 6 inches of depth for a low-profile mount, plus 2 to 3 inches of clearance around the screen for cables and ventilation. Add a recessed outlet inside the niche so the plug sits flush.