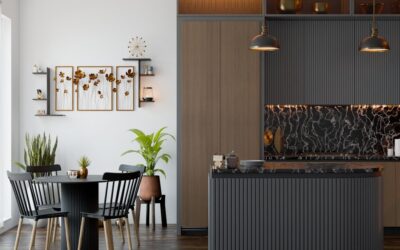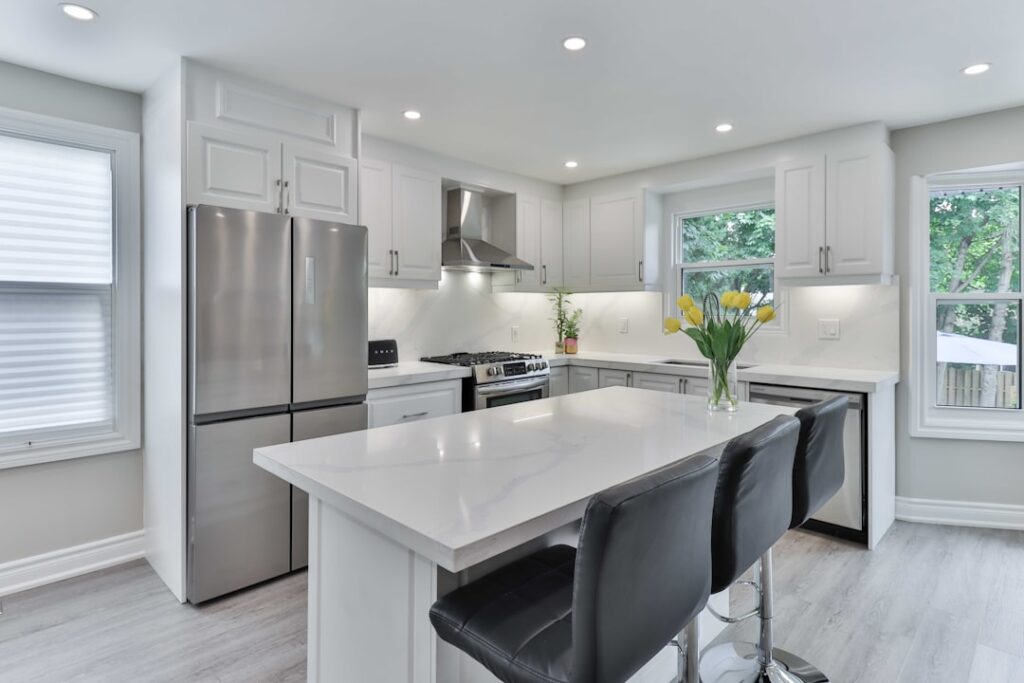
The right fixtures turn an island from a work surface into the visual anchor of the whole room. Luxury kitchen island lighting blends sculptural design, layered brightness, and precise placement so the island glows without glare. This guide covers fixture types, exact sizing and hanging heights, lumen targets, dimming, installation, and the costs that separate a builder-grade look from a designer one.
Part of our Kitchen Remodeling guide — explore the full guide →
- What Makes Island Lighting Feel Luxurious
- Fixture Types to Consider
- How Many Pendants and What Size
- The Right Hanging Height
- Lumens, Color Temperature, and CRI
- Dimming and Controls
- Materials and Finishes That Elevate the Look
- Installation and Wiring
- What Luxury Island Lighting Costs in 2026
- Layering With the Rest of the Kitchen
- Matching Fixtures to Ceiling Height
- Design Styles and Fixture Pairings
- Common Mistakes to Avoid
- Maintenance and Care
- Smart Lighting and Scenes
- Troubleshooting Flicker and Buzz
- Final Thoughts on Luxury Kitchen Island Lighting
What Makes Island Lighting Feel Luxurious
Luxury is less about price and more about proportion, material, and light quality. Hand-blown glass, solid brass, aged bronze, alabaster, and linen shades read as high-end. So does correct scale: fixtures that match the island’s mass, hung at the perfect height, with warm dimmable light around 2700K to 3000K. A cheap look usually comes from undersized pendants, cold blue light, or a single fixture stranded over a long island.
Fixture Types to Consider
The most popular choice is a row of two or three pendants. A linear suspension, one long fixture with an integrated LED bar, suits modern islands and minimalist rooms. Multi-light chandeliers make a dramatic statement over large islands in transitional kitchens. Mini-pendant clusters at varied heights create an artful, gallery feel. Each type carries a different visual weight, so match it to your ceiling height and cabinetry style.
How Many Pendants and What Size
A reliable rule: measure your island length in inches and plan for one pendant per 24 to 30 inches. A 6-foot (72-inch) island typically takes two 14-to-18-inch pendants or three 10-to-12-inch ones. For total fixture width, aim for the combined span to equal roughly one-half to two-thirds of the island length. Space multiple pendants evenly, keeping the outer fixtures at least 6 to 12 inches in from the island ends so they do not crowd the edges.
The Right Hanging Height
Hang the bottom of each pendant 30 to 36 inches above the countertop. In kitchens with 9-foot or taller ceilings, add about 3 inches of drop for every foot of ceiling above the standard 8 feet. The goal is fixtures low enough to feel intimate and light the surface, but high enough to clear sightlines across the island. If people will sit at the island, make sure the shades sit above eye level for someone standing nearby.
Lumens, Color Temperature, and CRI
Island lighting is task lighting, so it needs real output. Target roughly 30 to 40 lumens per square foot of island surface. A 3-by-6-foot island (18 square feet) wants about 540 to 720 lumens delivered to the top. Because pendants sit high, choose bulbs totaling 800 to 2,400 lumens across the fixtures. Stick to 2700K to 3000K for warmth, and insist on a color rendering index (CRI) of 90 or higher so food and finishes look true.
Dimming and Controls
Dimming is non-negotiable for a luxury feel. It lets the island shift from bright prep lighting to a soft dinner glow. Use a quality LED-compatible dimmer, ideally an ELV or TRIAC unit matched to your fixtures, to avoid flicker and buzz. Smart dimmers add scene presets and voice control. If you layer in under-cabinet and recessed lights, put the island on its own dimmer circuit so you can tune it independently.
Materials and Finishes That Elevate the Look
Unlacquered brass develops a living patina prized in high-end kitchens. Antique bronze and matte black ground a space with contrast. Alabaster and opal glass diffuse light softly and hide the bulb. Fluted or ribbed glass adds texture and sparkle. Coordinate the fixture metal with your cabinet hardware and faucet within one or two finish families so the room feels curated rather than random.
Installation and Wiring
Each pendant needs a ceiling junction box rated for the fixture weight, and heavy chandeliers require a fan-rated or specially braced box. If you are adding fixtures where none existed, an electrician must run cable and possibly patch the ceiling. Hardwiring a row of pendants and adding a dimmer typically takes a licensed electrician 2 to 4 hours. Never exceed the box weight rating, and always confirm the circuit is off at the panel before working.
What Luxury Island Lighting Costs in 2026
Designer single pendants run 200 to 800 dollars each, and premium artisan or Italian glass pieces climb past 1,500 dollars. A statement linear suspension ranges from 900 to 4,000 dollars. Expect two or three quality pendants to total 600 to 2,400 dollars. Add 150 to 600 dollars for electrician labor if wiring exists, or 400 to 1,200 dollars if new circuits and ceiling patching are needed. A high-end LED dimmer adds 25 to 150 dollars.
Layering With the Rest of the Kitchen
Island pendants should not do all the work. Combine them with recessed downlights on a separate dimmer for general fill, under-cabinet strips for counters, and perhaps toe-kick lighting for ambiance. This layered approach is the hallmark of luxury lighting design: multiple sources at different heights, each dimmable, so you can sculpt the room’s mood for cooking, dining, or entertaining.
Matching Fixtures to Ceiling Height
Ceiling height shapes every lighting decision. In a standard 8-foot room, compact pendants or a slim linear bar keep the space open without crowding heads. At 9 to 10 feet, you have room for taller drum shades, cascading glass, or a multi-tier chandelier that fills the vertical volume. Vaulted or double-height ceilings call for oversized statement pieces or adjustable cords so the fixtures still hang the ideal 30 to 36 inches above the counter. Getting the drop right on a tall ceiling is the difference between a grand look and fixtures that appear stranded near the rafters.
Design Styles and Fixture Pairings
Let your kitchen’s style steer the fixtures. A modern kitchen loves a clean linear suspension in matte black or brushed brass. Transitional spaces suit a trio of glass globe pendants that bridge classic and current. Farmhouse and rustic rooms wear metal-shade or lantern-style pendants beautifully. Contemporary and glam kitchens shine under crystal, alabaster, or sculptural art-glass pieces. When the fixture echoes the cabinetry, hardware, and stone, the island reads as an intentional focal point rather than an afterthought bolted to the ceiling.
Common Mistakes to Avoid
The top mistake is undersizing the pendants, which leaves them looking lost over a large island. Hanging them too high washes out the design; too low blocks conversation. Using cool 4000K-plus bulbs makes the space feel clinical. Forgetting a dimmer locks you into one brightness. Mismatched finishes across the kitchen cheapen the effect. Finally, ignoring lumen math leaves the prep surface dim despite pretty fixtures.
Maintenance and Care
Dust glass and metal shades every few weeks with a microfiber cloth; grease from cooking dulls finishes fast over an island. Clean glass with a mild glass cleaner, but keep chemicals off unlacquered brass, which you should let patina or polish gently by hand. LED integrated fixtures last 25,000 to 50,000 hours, so bulb changes are rare, but keep a note of replacement modules since integrated units cannot take a standard bulb.
Smart Lighting and Scenes
Adding smart control elevates a luxury island from beautiful to effortless. Smart bulbs or an in-wall smart dimmer let you save scenes such as bright prep at full output, warm dining at 40 percent, and a low late-night glow. Voice assistants or a wall keypad recall them instantly. Tunable-white fixtures shift color temperature from a crisp 3500K for cooking to a cozy 2400K for entertaining, all on the same fixtures. Just confirm your chosen bulbs and dimmer share a compatible protocol so scenes trigger smoothly without lag or flicker.
Troubleshooting Flicker and Buzz
If your dimmed LEDs flicker or hum, the dimmer likely does not match the driver type. Swap to a dimmer specifically listed as compatible with your fixtures, or add a load-correction module. Pendants that hang at uneven heights are usually a cord or chain adjustment away from level; measure from the counter, not the ceiling. A buzzing transformer often just needs a compatible ELV dimmer to quiet down.
Final Thoughts on Luxury Kitchen Island Lighting
Great luxury kitchen island lighting comes down to disciplined choices: fixtures scaled to the island, hung 30 to 36 inches above the counter, delivering warm high-CRI light on a smooth dimmer. Invest in materials that age well, layer your sources, and coordinate finishes across the room. Get those fundamentals right and your island will feel effortlessly elegant every time you switch it on.