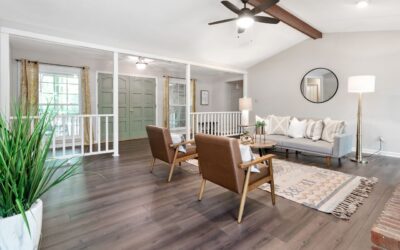
Walk into any flooring showroom today and you will see stacks of LVP planks lined up next to real hardwood, and honestly, most people can’t tell the difference at arm’s length. Luxury vinyl plank has become the default choice for busy households because LVP planks shrug off water, pets, and dropped cast-iron skillets in ways that solid oak simply cannot.
Here is the straight talk on what matters, what is marketing fluff, and how to avoid the mistakes that turn a weekend project into a callback.
What LVP Actually Is
Luxury vinyl plank is a rigid or semi-rigid multi-layer product built to imitate wood. From the bottom up you get a backing pad, a core (either flexible PVC or a rigid SPC/WPC composite), a printed photographic layer that gives it the grain, and a clear wear layer on top that takes the abuse. The plank shape and the beveled edges are what sell the illusion.
The two core types you will hear about are SPC (stone plastic composite) and WPC (wood plastic composite). SPC is denser, harder underfoot, and hides subfloor imperfections better. WPC is a bit softer and warmer to walk on. For most homeowners in high-traffic areas, SPC is the better pick because it dents less when you drag a barstool across it.
Wear Layer: The Number That Matters Most
If you only remember one spec, make it the wear layer thickness, measured in mils (thousandths of an inch). This clear top coat determines how long the floor survives scratching and scuffing.
- 6 mil — light residential, guest bedrooms, closets. Skip it for anything busy.
- 12 mil — the sweet spot for most homes, family rooms and hallways.
- 20 mil — heavy family traffic, big dogs, and light commercial spaces.
- 28 mil and up — commercial lobbies and rentals you never want to touch again.
Do not confuse wear layer with overall plank thickness. A 5mm plank might have a cheap 6 mil wear layer, while a 4mm plank could carry a beefy 20 mil top. The wear layer is the warranty-driver, so ask specifically.
Reading the Price Tag
Material costs for LVP planks generally run from about $2 to $5 per square foot for solid residential product, with premium designer lines pushing $7 or more. Bargain-bin planks under $1.50 exist, but the photo layers repeat every few boards and the click joints get flimsy.
Professional installation typically adds $1.50 to $4 per square foot depending on your region and how much subfloor prep is needed. For a 300 square foot living room, budget somewhere in the neighborhood of $1,200 to $2,700 all in. Doing it yourself can cut the labor entirely, and floating LVP is genuinely one of the more DIY-friendly flooring jobs out there.
Installation Methods
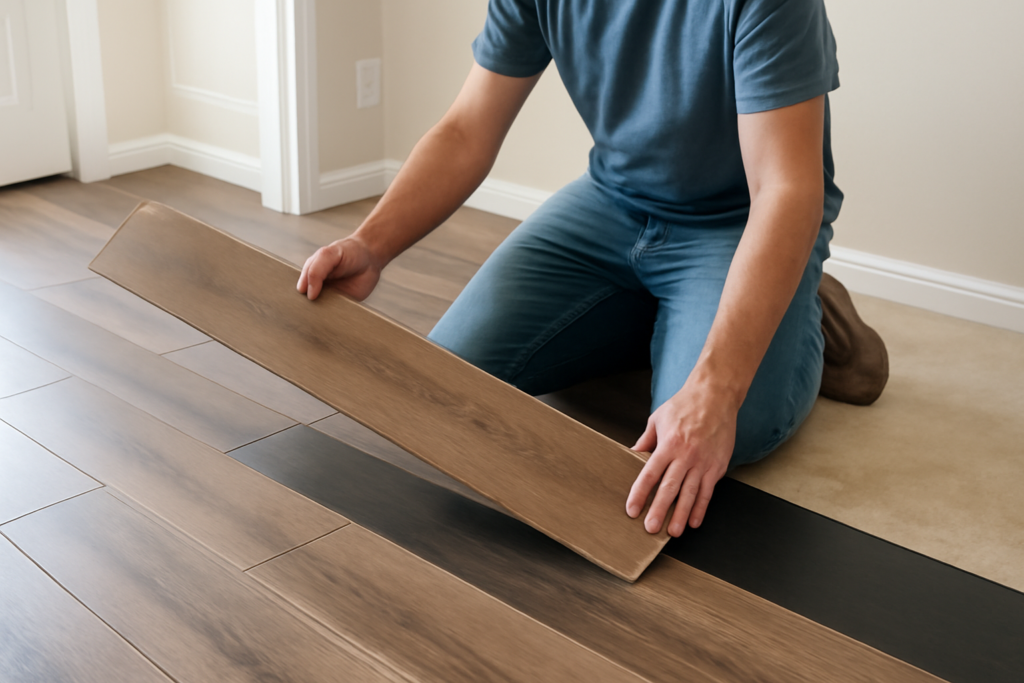
Most LVP sold today is a floating click-lock floor. The planks snap together edge to edge and simply rest on top of the subfloor without glue or nails, expanding and contracting as a single sheet. Leave a 1/4 inch expansion gap around every wall and fixed object, hidden later by baseboard or quarter round.
Glue-down LVP exists too, mostly for very large open spaces, over radiant heat, or in commercial settings where you want zero movement. It demands a flatter subfloor and more skill, so click-lock is the better choice unless there is a specific reason not to.
Subfloor Prep
The number one cause of failed vinyl floors is a bad subfloor. Rigid SPC forgives minor imperfections, but you still want the surface flat within about 3/16 inch over a 10 foot span. Fill low spots with a self-leveling compound and sand down high ridges. Over concrete, check for moisture; over plywood, screw down any squeaky, loose sheets before you start.
Where LVP Shines and Where It Struggles
Waterproof cores make LVP a natural fit for kitchens, bathrooms, mudrooms, and basements. It holds up below grade in basements that get damp, where laminate would swell. Pet owners love it because claws do not gouge the wear layer the way they scar softwoods.
Its weakness is heat and heavy static loads. Direct, prolonged sunlight through a south-facing window can cause some planks to expand or discolor, so check the manufacturer’s temperature rating if you have big windows. Refrigerators and pool tables can dent softer WPC over time, and unlike hardwood, you cannot sand and refinish LVP when it finally wears through.
Cleaning and Everyday Care
Care is refreshingly simple. Sweep or dry-mop to catch grit, which is the real enemy of any wear layer. Damp mop with a pH-neutral floor cleaner; avoid oil soaps, wax, and steam mops, all of which can dull or damage the finish. Felt pads under furniture legs and a walk-off mat at exterior doors will add years to the floor.
Skip the abrasive scrub pads and never wax LVP, because the factory finish is already the protective layer. If something sticky lands on it, warm water and a soft cloth handle almost everything.
Comparing LVP to the Alternatives
Against laminate, LVP wins on water resistance hands down, though quality laminate can look a touch more realistic and feels harder underfoot. Against engineered hardwood, LVP loses on resale prestige and the ability to refinish, but wins on price and moisture tolerance. Against tile, LVP is warmer, quieter, and far easier to install, while tile still rules for showers and truly wet zones.
For a family that wants a good-looking wood floor without babying it, LVP planks hit a sweet spot that is hard to beat. Choose a 12 mil or thicker wear layer, prep your subfloor properly, leave your expansion gaps, and you will get a decade or more of low-drama flooring. That balance of looks, durability, and price is exactly why LVP planks have taken over so many American homes.
Quick Buying Checklist
- Match wear layer to your traffic (12 mil minimum for family areas).
- Choose SPC core for hardness or WPC for a softer step.
- Confirm the plank is rated for your room’s temperature and moisture.
- Buy 10 percent extra for cuts, waste, and future repairs.
- Read the warranty and note what voids it.
Get those five things right and the rest of the project is mostly patience and a sharp utility knife.
Acclimation and Common Rookie Mistakes
Even rigid SPC benefits from acclimation. Leave the sealed boxes flat in the room where they will be installed for at least 48 hours so the planks reach room temperature, ideally in a space held between 65°F and 85°F. Skipping this step is the fastest way to get gaps or peaking after the seasons change and the material moves.
The other classic mistake is racking the planks poorly. Stagger the end joints by at least 6 inches from row to row, and never let joints line up in a stair-step pattern, which weakens the floor visually and structurally. Mix planks from three or four different boxes as you go, so the repeating photo pattern and any color variation blend naturally instead of clustering in one spot.
Finally, respect that expansion gap around pipes, doorways, and thresholds, not just the perimeter walls. A floating floor has to be free to move as a single field. Pin it down anywhere, with a too-tight transition strip or a heavy cabinet set on top of it, and the whole sheet fights itself until something buckles.
Prefer to explore on your own?
See how new flooring looks in your actual room in seconds — free, no signup.
Try the free Floor Studio →