
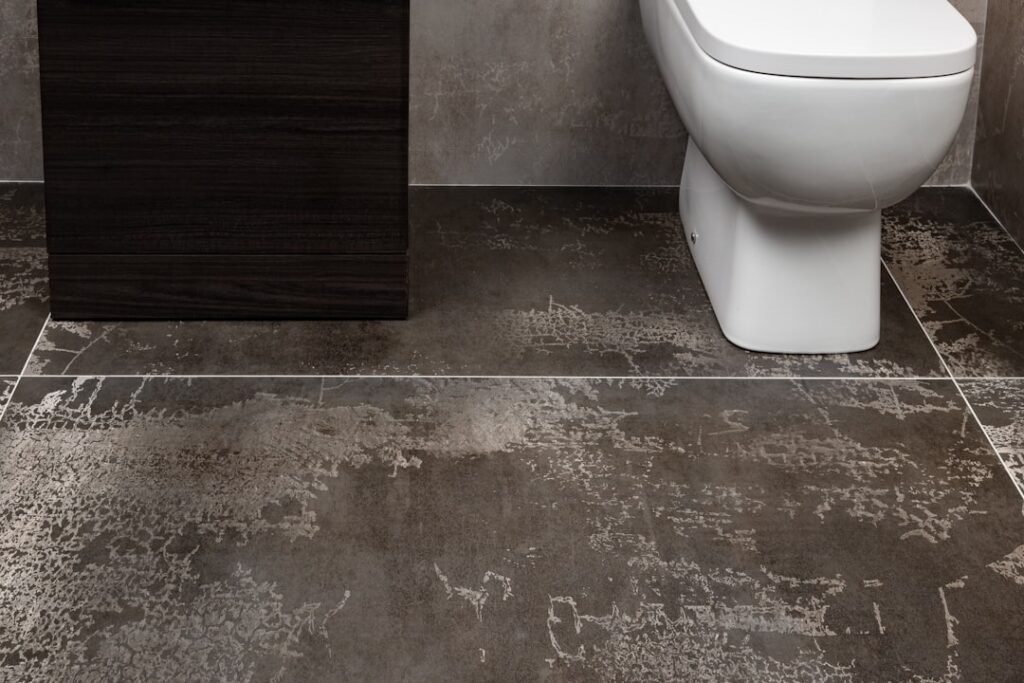
Ceramic tile ruled bathrooms for a century, but it has two flaws every homeowner knows: it is cold underfoot and unforgiving when you drop a bottle of shampoo. That is why an LVT bathroom floor has become one of the smartest upgrades you can make, delivering a fully waterproof surface that feels warmer, installs faster, and costs less than porcelain. Luxury vinyl tile gives you the look of stone or ceramic with a fraction of the hassle, and modern products handle the steam, splashes, and standing water of a real bathroom without flinching. Here is what you need to know before you tear out that cold tile.
Why LVT Works So Well in Bathrooms
LVT stands for luxury vinyl tile, a multi-layer flooring built around a waterproof core with a printed design layer that mimics stone, marble, or ceramic. Unlike laminate, which has a fiberboard core that swells when wet, quality LVT is waterproof top to bottom. That single property makes it ideal for the wettest room in the house.
Beyond waterproofing, LVT solves the comfort problem. It carries a slight warmth and give underfoot that porcelain never will, which matters at 6 a.m. on a winter morning. It is also softer if something, or someone, falls, and its textured finishes offer better slip resistance than polished tile when wet. For a bathroom, those three traits, waterproof, warm, and grippy, are exactly the right priorities.
Tile Format vs. Plank Format
LVT comes in two shapes, and the right one depends on your design goal:
- Tile format: Square or rectangular pieces that mimic ceramic or natural stone. Many can be installed with grout lines for a look nearly indistinguishable from real tile, which suits classic and spa-style bathrooms.
- Plank format (LVP): Long boards that mimic wood. Running a wood look into a bathroom adds warmth and continuity if the rest of your home has wood-look floors.
Both are waterproof and both work in a bathroom. Choose tile format for a traditional stone or ceramic aesthetic, and plank format when you want the bathroom to flow visually with adjacent rooms. Groutable LVT tiles cost a little more and take longer to install, but the realism is worth it for a primary bath.
Wear Layer, Thickness, and Waterproof Ratings
Bathrooms do not see the heavy foot traffic of a hallway, so you do not need a commercial wear layer, but you should not go bargain-basement either. The specs to check:
- Wear layer: 12 mil is plenty for a bathroom; 20 mil is fine if you want extra margin. A 6 mil layer is acceptable in a lightly used guest bath.
- Thickness: 4 mm to 6 mm rigid core gives a solid, stable feel and bridges minor subfloor flaws.
- Waterproof, not just water-resistant: Confirm the product is rated fully waterproof, with an SPC or WPC core, not merely water-resistant laminate.
The waterproof rating is the non-negotiable spec. A water-resistant floor tolerates a quick spill; a waterproof floor tolerates a bathroom.
What an LVT Bathroom Costs
LVT undercuts tile on nearly every line of the budget. Typical figures:
- Material: $2.50 to $5.50 per sq ft for quality waterproof LVT.
- Installation: $1.50 to $4 per sq ft with a pro, or DIY-friendly with click-lock products.
- Total for a typical 40 to 50 sq ft bathroom: roughly $250 to $500 in materials, or $400 to $900 installed.
Compare that with porcelain tile, where material plus professional installation and grouting often runs $9 to $15 per sq ft, and the savings are obvious. A small bathroom is also a manageable first DIY flooring project, since the square footage is low and the layout is simple. Order about 10 percent extra for cuts around the toilet, vanity, and tub.
Installing LVT in a Bathroom
Two installation methods dominate: floating click-lock and glue-down. In a bathroom, glue-down is often the better choice despite the extra labor, because it eliminates any chance of water migrating under a floating floor through the perimeter. If you do float the floor, seal the perimeter and around fixtures carefully. The general process:
- Acclimate the LVT in the bathroom for 48 hours so it adjusts to the room’s humidity.
- Prep a clean, dry, flat subfloor; patch dips and remove any old adhesive ridges.
- Remove the toilet rather than cutting around it; a clean install under the flange looks better and seals better.
- For glue-down, spread adhesive with the specified trowel and roll the floor for full contact.
- Leave the manufacturer’s expansion gap at walls if floating, then apply a bead of 100 percent silicone caulk around the tub, shower, and toilet flange to block water intrusion.
That silicone bead at every fixture is the detail that separates a bathroom that stays dry underneath from one that grows mold. Do not skip it.
Moisture and Maintenance Tips
LVT is waterproof, but the goal is keeping water on top of the floor, not under it. Caulk all seams where the floor meets tub, shower, and vanity. Use a bath mat outside the shower to catch the worst of the drips. Run the exhaust fan to manage the humidity that can otherwise work into edges and subfloor over years.
Cleaning is easy. Sweep or dry-mop to remove hair and grit, then damp-mop with a pH-neutral cleaner. Avoid steam mops, which can drive heat and moisture into seams, and skip abrasive scrubbers that dull the finish. With that routine, a quality LVT bathroom floor stays looking new for 15 to 20 years.
Design Ideas for an LVT Bathroom
LVT gives you design range that tile struggles to match at the same budget. Groutable stone-look tiles in a warm gray or travertine tone read as a spa retreat and pair beautifully with white fixtures and brushed-nickel hardware. A marble-look LVT delivers the drama of Carrara without the sealing and etching worries real marble demands in a wet room.
For a bolder statement, some LVT lines offer patterned and encaustic-style tiles that mimic the cement-tile look popular in powder rooms, at a fraction of the cost and weight. If your home runs a consistent wood-look throughout, a water-tolerant plank format keeps the bathroom visually connected to the hallway and bedrooms. Larger tile formats also make a small bathroom feel bigger, since fewer grout lines mean less visual clutter on the floor.
LVT vs. Tile: The Honest Comparison
Ceramic and porcelain tile still win on two counts: they are essentially permanent, and they add the most resale value in a high-end home. LVT wins on cost, comfort, warmth, DIY-friendliness, and speed of installation. It is also more forgiving of a subfloor that flexes slightly, where rigid tile can crack. For most homeowners doing a mid-range bathroom refresh, the practical advantages of LVT outweigh the prestige of tile, especially in a secondary or family bathroom.
For a room that battles water, steam, and cold feet every single day, an LVT bathroom floor answers all three problems at once: it is genuinely waterproof, noticeably warmer than tile, and priced for a real-world budget. Pick a fully waterproof product with at least a 12 mil wear layer, glue it down or seal the perimeter well, and caulk every fixture. Do that, and you will have a bathroom floor that looks like stone, feels far better underfoot, and shrugs off two decades of daily use.
Prefer to explore on your own?
See how new flooring looks in your actual room in seconds — free, no signup.
Try the free Floor Studio →

