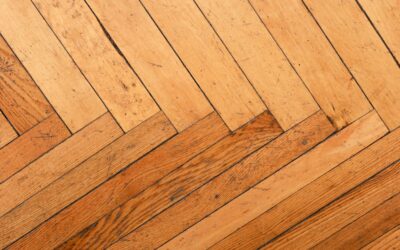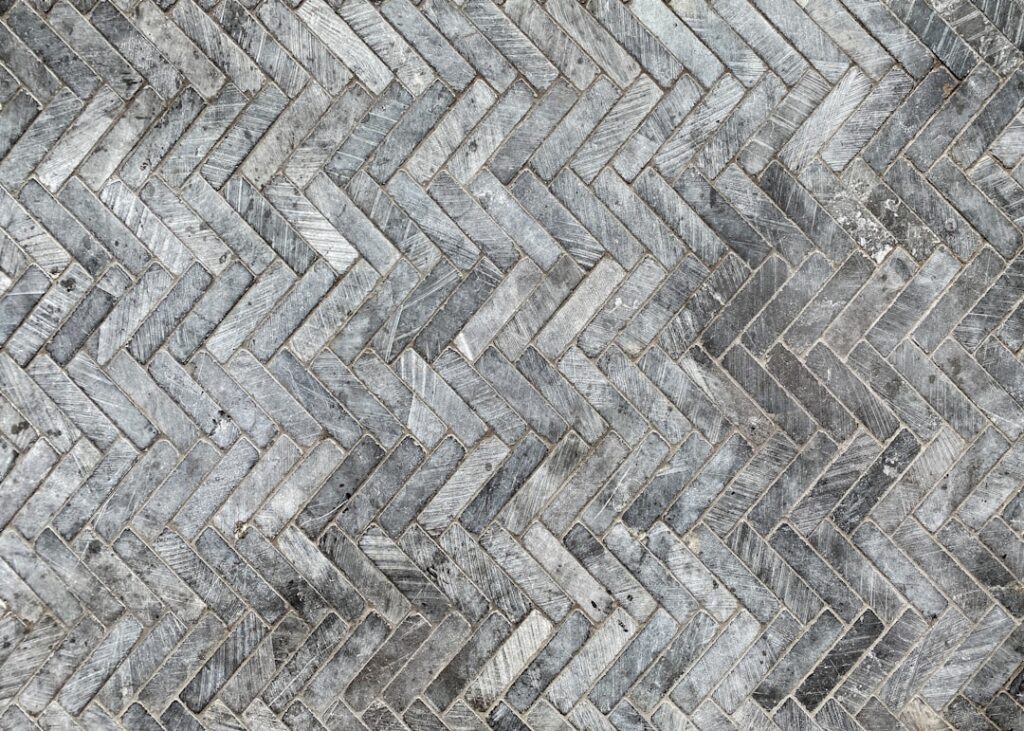
Herringbone is one of the oldest and most elegant flooring patterns, traditionally associated with real wood parquet and high-end interiors. LVT herringbone flooring brings that same visual impact at a fraction of the cost, with the added benefits of waterproof construction, easy maintenance, and straightforward installation. It has become one of the fastest-growing flooring trends as homeowners discover they can achieve a designer look without the designer price tag.
What Is LVT Herringbone Flooring?
LVT stands for Luxury Vinyl Tile. In the context of herringbone, LVT planks are specifically sized and engineered to be installed in the classic zigzag herringbone pattern — rectangular planks laid at 90-degree angles to each other, creating a V-shaped weave effect.
Unlike standard vinyl flooring planks that are installed in a simple staggered row pattern, herringbone LVT planks are usually shorter and narrower (commonly 6 inches x 24 inches or 4 inches x 24 inches) to suit the pattern’s proportions. They are available in click-lock, glue-down, and peel-and-stick formats.
Herringbone vs. Chevron: What Is the Difference?
These two patterns are often confused, but there is a clear distinction:
- Herringbone: Rectangular planks are placed at 90-degree angles, with each plank’s end meeting the side of the adjacent plank. The ends create a staggered, zigzag appearance.
- Chevron: Planks are cut at an angle (usually 45 degrees) at each end so they meet in a continuous V-shape with clean, aligned points.
Herringbone is more common in LVT because it uses standard rectangular planks without angle cuts. Chevron requires specially cut or manufactured planks, which limits options and increases cost.
Why Choose LVT for Herringbone?
Traditional herringbone flooring uses real wood parquet blocks, which are expensive, moisture-sensitive, and require professional installation. LVT herringbone offers several practical advantages:
Cost Savings
Real wood herringbone costs $8 to $20 per square foot for materials alone, plus $6 to $12 per square foot for professional installation. LVT herringbone typically costs $3 to $7 per square foot for materials, with installation at $3 to $6 per square foot — or free if you do it yourself.
Waterproof Performance
LVT with an SPC or WPC core is fully waterproof, making herringbone patterns possible in kitchens, bathrooms, and basements where real wood parquet would be a risky choice. This pairs well with the waterproof flooring requirements of wet areas.
Easier Installation
Click-lock LVT herringbone systems are designed for DIY installation. While the pattern requires more planning than straight-lay vinyl, it does not require the adhesive skills and precision cutting that real wood parquet demands.
Low Maintenance
Sweep, vacuum, damp mop. That is the entire maintenance routine. No sanding, refinishing, or periodic sealing required — unlike real wood parquet that needs refinishing every 7 to 10 years.
Realistic Appearance
Modern LVT printing technology produces highly convincing wood grain patterns. The smaller plank dimensions used in herringbone installations actually help the illusion because the scale is closer to real parquet blocks than standard-width vinyl planks.
Popular LVT Herringbone Styles
Classic Oak
Natural oak in medium brown tones is the most popular herringbone style. It works in virtually any room and pairs well with both traditional and contemporary interiors. Look for products with varied grain patterns across planks to avoid a repetitive look.
Gray-Washed Wood
Light gray and cool-toned wood patterns create a modern, Scandinavian-inspired look. Herringbone in gray tones adds visual interest without overwhelming neutral color schemes.
Dark Walnut or Espresso
Deep, rich wood tones in herringbone create a dramatic, sophisticated statement. Best in rooms with plenty of natural light — dark herringbone in a small, dim room can feel heavy.
Whitewashed or Blonde
Pale, whitewashed herringbone opens up a room and creates an airy, coastal feel. Particularly effective in smaller spaces where the herringbone pattern adds character without the floor competing for attention.
Stone-Look Herringbone
LVT is not limited to wood patterns. Marble-look and limestone-look herringbone tiles create a luxurious aesthetic reminiscent of European villas and high-end bathrooms.
How to Install LVT Herringbone Flooring
Click-Lock Herringbone
Click-lock herringbone systems use modified tongue-and-groove joints that allow planks to connect at 90-degree angles. The installation process differs from standard click-lock vinyl:
- Find the center line. Snap a chalk line down the center of the room parallel to the longest wall. Herringbone installations are built outward from a center line, not from a wall.
- Lay the starter row. Place the first two planks in a V-shape along the center line, clicking them together. This starter row establishes the pattern for the entire floor.
- Build outward. Add planks to each side of the center line, alternating left and right, maintaining the V-pattern. Each plank clicks into the side of one plank and the end of another.
- Cut border planks. When you reach the walls, you will need to cut planks at angles to fill the triangular gaps along the perimeter.
- Maintain expansion gaps. Leave 1/4 inch around all walls and fixed objects, covered with baseboard or quarter-round molding.
Glue-Down Herringbone
Glue-down installation gives you more flexibility in plank positioning and creates a flatter, more permanent floor. It is the preferred method for large rooms and commercial installations.
- Apply vinyl adhesive to the subfloor in sections (working area of about 3 to 4 square feet at a time).
- Follow the same center-line-outward approach as click-lock.
- Press each plank firmly into the adhesive.
- Use a floor roller over the completed sections to ensure full adhesive contact.
Installation Tips
- Plan for more waste. Herringbone installations generate 15 to 20% waste due to the angled border cuts. Order accordingly.
- The first row is everything. If the center row is not perfectly aligned, the pattern will be visibly off across the entire floor. Take extra time getting the starter row right.
- Use a laser level rather than a chalk line for the center reference. It is more precise and easier to see while working.
- Dry-lay a section first. Before committing to adhesive or clicking planks in, lay out a section of the pattern loosely to verify alignment and aesthetics.
Cost Breakdown
| Component | Cost per Square Foot |
|---|---|
| LVT herringbone planks (material) | $3.00 – $7.00 |
| Underlayment (if needed) | $0.20 – $0.50 |
| Adhesive (glue-down) | $0.30 – $0.60 |
| Professional installation | $3.00 – $6.00 |
| Total (DIY) | $3.50 – $8.00 |
| Total (professional) | $6.50 – $14.00 |
For comparison, real wood herringbone runs $14 to $32 per square foot fully installed. Engineered wood herringbone falls in the $10 to $22 range installed.
Where to Install LVT Herringbone
- Living rooms and dining rooms: The most popular application. Herringbone adds character and sophistication to gathering spaces.
- Hallways and entryways: The pattern draws the eye and creates a memorable first impression. It also handles high traffic well.
- Kitchens: Waterproof LVT herringbone handles kitchen spills without worry.
- Bathrooms: A stunning alternative to tile that is warmer underfoot and easier to install.
- Bedrooms: Creates a designer feel without the cold, hard surface of tile or stone.
Rooms to Think Twice About
Very small rooms (under 50 square feet) may not have enough floor space for the herringbone pattern to read clearly. Closets, small powder rooms, and narrow laundry rooms often look better with a simpler layout.
Maintenance and Care
LVT herringbone requires the same minimal maintenance as any vinyl floor:
- Sweep or vacuum regularly to prevent grit from scratching the wear layer
- Damp mop with a pH-neutral vinyl cleaner
- Avoid steam mops, which can damage click-lock joints
- Use furniture pads under heavy items
- Place doormats at entrances to reduce tracked-in debris
Final Thoughts
LVT herringbone flooring delivers one of the best value propositions in flooring design. You get the visual impact of a classic herringbone pattern — traditionally reserved for expensive real wood installations — in a waterproof, low-maintenance, affordable format. The installation takes more planning than standard vinyl plank, but the result is a floor with genuine character that elevates any room it goes in. If you have been eyeing the herringbone look but the cost of real wood has held you back, LVT is the practical path to the same aesthetic.
Prefer to explore on your own?
See how new flooring looks in your actual room in seconds — free, no signup.
Try the free Floor Studio →