Opening up an electrical outlet for the first time can feel intimidating, but the wires inside follow a consistent code that tells you exactly what each one does. Understanding outlet wiring colors is the foundation of any safe outlet replacement, and getting it right is the difference between a working receptacle and a dangerous shock hazard. In US residential wiring, the colors are standardized so that black means hot, white means neutral, and bare or green means ground. This guide explains what each color means, how they connect to an outlet, and the safety steps that keep you out of trouble.
The Basic US Color Code
Standard 120-volt household wiring uses three conductors, each with a defined job and color.
- Black (hot): Carries current from the panel to the device. This is the live wire and is always treated as energized.
- White (neutral): Returns current back to the panel, completing the circuit. Normally not energized, but still treated with respect.
- Bare copper or green (ground): The safety wire that gives fault current a path to earth, tripping the breaker instead of shocking you.
Memorize this trio and most of an outlet’s wiring makes sense. The hot delivers power, the neutral returns it, and the ground protects you if something goes wrong.
What the Other Colors Mean
You may open a box and find colors beyond the basic three. Here is what they typically indicate.
- Red: A second hot wire, common in 240-volt circuits, three-way switch setups, or split-tab outlets where each half is controlled separately.
- White wire with black tape: A white conductor re-marked with tape or marker means it is being used as a hot, not a neutral, often in switch loops.
- Blue and yellow: Usually hot wires pulled through conduit, more common in commercial work or for switched circuits.
If you see a white wire wrapped with black tape, never assume it is neutral. That tape is a deliberate signal that it is functioning as a hot conductor.
How the Wires Connect to an Outlet
A standard receptacle has terminals matched to each wire, and the layout follows the color code.
- Brass (gold) screws: The hot black wire connects here, on the side with the smaller vertical slot.
- Silver screws: The white neutral wire connects here, on the side with the larger slot.
- Green screw: The bare or green ground wire connects to this screw, usually at the bottom of the outlet.
A simple memory trick: brass and black both start with B, and the white wire goes to the silver (whitish) screw. The green ground always goes to the green screw.
Why the Colors Matter for Safety
Wiring an outlet backward is more than a mistake; it creates a reversed-polarity hazard. If you connect hot to the neutral terminal, devices plugged in may have live components even when switched off, which can cause shocks and damage equipment. A correctly grounded and properly polarized outlet routes a fault safely to the breaker. This is exactly why the color code exists and why you should never guess or take shortcuts when matching wires to terminals.
Tools You Need to Verify
Colors are the standard, but real-world wiring is not always done correctly, so verification tools are essential.
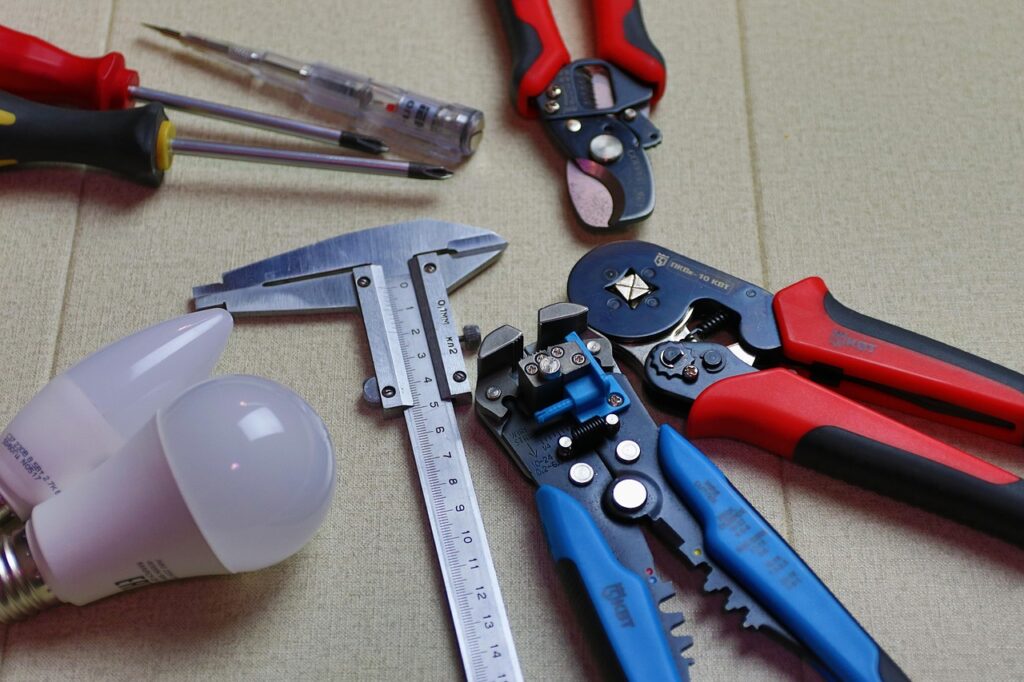
- Non-contact voltage tester: A $15 pen-style tester that lights up near a live wire, letting you confirm power is off before you touch anything.
- Outlet tester: A plug-in device that shows whether an existing outlet is wired correctly, including reversed polarity and missing ground.
- Multimeter: Measures actual voltage between conductors for a precise check.
Never rely on color alone in an older home, where a previous owner or unlicensed worker may have wired things incorrectly.
Safe Steps to Replace an Outlet
If you decide to swap an outlet, follow this sequence carefully.
- Turn off the circuit at the breaker panel, not just the wall switch.
- Confirm the outlet is dead with a non-contact voltage tester.
- Remove the cover plate and unscrew the outlet from the box.
- Note or photograph which color wire connects to which terminal before disconnecting.
- Move each wire to the matching terminal on the new outlet: black to brass, white to silver, ground to green.
- Tighten all screws firmly, tuck the wires back, and screw the outlet in.
- Restore power and verify with an outlet tester.
When to Call an Electrician
Some situations are beyond a routine swap. If you find aluminum wiring (dull silver rather than copper), a box stuffed with more wires than you can trace, scorch marks, or any wiring that does not match the standard code, stop and call a licensed electrician. The same goes for adding a new circuit or upgrading to a GFCI in a complex multi-wire setup. A service call costs far less than an electrical fire or injury.
GFCI and AFCI Outlets
Modern code requires special outlets in certain locations, and their wiring follows the same color rules with one twist. GFCI (ground-fault circuit interrupter) outlets protect against shock in wet areas like bathrooms, kitchens, garages, and outdoors. They have two sets of terminals labeled LINE and LOAD: the incoming black and white wires from the panel connect to LINE, and any downstream outlets connect to LOAD so they are protected too. Wiring these reversed is a common error that leaves the outlet unable to reset. AFCI (arc-fault) protection, now required in many living spaces, is usually built into the breaker rather than the outlet. When replacing outlets in these areas, match the protection type the code requires.
Backstab vs. Screw Terminals
You will notice many outlets offer two ways to connect each wire: wrapping it around the side screw, or pushing it into a small hole in the back called a backstab. Always use the screw terminals. Backstab connections rely on a tiny spring clip that loosens over time, causing intermittent power, overheating, and a real fire risk. Strip about three-quarters of an inch of insulation, bend the wire into a hook, loop it clockwise around the brass or silver screw, and tighten firmly so the screw closes the hook. A solid screw connection lasts for decades, while a backstabbed wire is a frequent cause of mysterious dead outlets.
The Takeaway
Knowing your outlet wiring colors turns a confusing tangle into a clear map: black is hot to the brass screw, white is neutral to the silver screw, and bare or green is ground to the green screw. Treat every wire as live until you confirm otherwise, verify with the right testers, and match each color to its proper terminal. Respect the code and the safety steps, and replacing an outlet becomes a straightforward job rather than a gamble.
Frequently Asked Questions
Why are there 2 black and 2 white wires in an outlet box?
Turn off the breaker and confirm power is off with a non-contact voltage tester before touching anything. Two pairs usually mean the outlet sits in the middle of a run: one cable brings power in and the other carries it on to the next outlet. Both black wires go to the brass screws and both white wires to the silver screws, or each color is joined with a short pigtail to a single screw. If the cables are hard to trace, call a licensed electrician.
What does a red wire in an outlet box mean?
Turn off the breaker and confirm power is off with a non-contact voltage tester first, since a red wire may come from a different breaker. Red is a second hot conductor, often used for a split outlet where one half is controlled by a wall switch, with the brass connecting tab broken off. The red and black then land on separate brass screws. Because these circuits can share a neutral, a licensed electrician should handle any changes.
What does an orange triangle on an outlet mean?
An orange triangle marks an isolated ground receptacle. Its ground terminal is insulated from the metal mounting strap and connected to a separate, dedicated ground wire run back to the panel, which reduces electrical noise for sensitive electronics such as computers and medical or audio equipment. These outlets are more common in offices and hospitals than homes, and any work on them belongs with a licensed electrician.