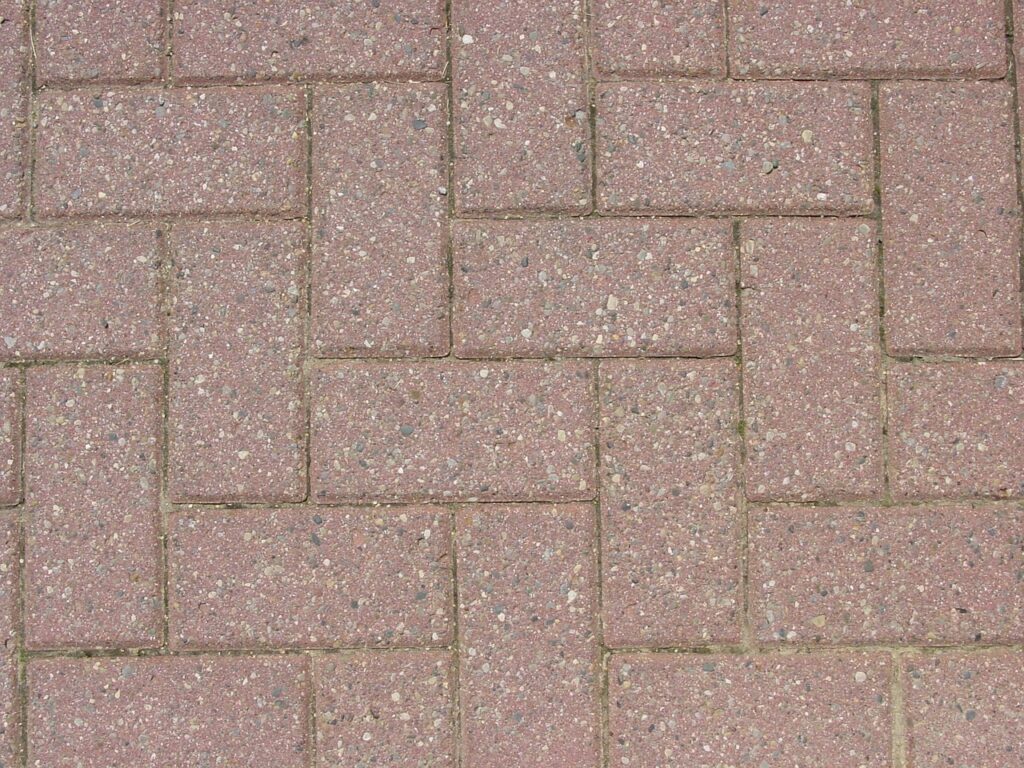
Almost every failed paver patio, the ones that sink, heave, and turn into a tripping hazard within two winters, fails for the same reason: a weak or shortcut base. The patio paver base is the invisible foundation beneath the stones, and it does the real work of carrying loads, shedding water, and resisting frost. Homeowners love to obsess over paver color and pattern, but the base is what separates a patio that looks new in year ten from one that needs to be torn out and redone. Get the material, depth, and compaction right and everything above it stays flat and tight.
Part of our Decks & Outdoor guide — explore the full guide →
What a Paver Base Actually Does
The base is a compacted layer of crushed aggregate that spreads the weight of foot traffic, furniture, and freeze-thaw movement across the soil below. Without it, pavers rest directly on native dirt that shifts, holds water, and swells when it freezes.
A proper base does three jobs at once. It creates a stable, load-bearing platform so pavers do not sink under a grill or dining set. It provides drainage so water passes through rather than pooling and pumping fines out from underneath. And it interrupts the frost cycle, giving trapped moisture somewhere to go before it can lift the surface. Skip it and you are building on quicksand.
The Right Base Material
Not all gravel is equal, and the single most common mistake is using the wrong aggregate. You want a crushed stone with angular edges and a range of particle sizes, often sold as Class 5, road base, crusher run, or 3/4-inch minus. The sharp edges lock together under compaction; smooth pea gravel never will.
Avoid rounded river rock, which rolls under load, and avoid pure sand as a base layer, which lacks structure. The mix of coarse and fine particles in crushed base is what allows it to compact into a nearly concrete-hard slab while still draining. Above this base you will add a thin setting layer, but the structural muscle comes from the crushed stone.
How Deep Should the Base Be
Depth depends on soil and use, and cutting it short is a false economy. For a standard walk-on patio over stable soil, plan on 4 to 6 inches of compacted base. For clay soils that hold water, or if you will drive a vehicle over the surface, increase to 8 to 12 inches.
- Pedestrian patio, good soil: 4 to 6 inches of crushed base
- Clay or poorly draining soil: 6 to 8 inches minimum
- Driveway or heavy loads: 8 to 12 inches
- Cold climates with deep frost: add 2 inches to any figure above
Remember that these numbers are compacted depths. Loose gravel compresses roughly 20 to 25 percent, so order and place extra to reach your target after tamping.
Excavation and Slope
Before any gravel goes down, you have to dig, and you have to dig for both the base and drainage. Total excavation depth equals your base thickness plus about 1 inch of setting sand plus the paver thickness, commonly around 2.375 inches for standard concrete pavers.
Just as important is slope. The patio must fall away from the house at roughly 1 inch per 4 feet, about a 2 percent grade, so rain runs off instead of pooling against the foundation. Establish this slope in the subsoil and carry it up through every layer. Use string lines and a level to check as you go; water is unforgiving of flat spots.
Compaction Is Everything
Placing gravel is not the same as compacting it, and this step is where rented equipment earns its keep. A plate compactor, roughly $70 a day, transforms loose stone into a solid mass. Hand tamping is only adequate for the smallest projects.
The rule is to compact in lifts, meaning layers no thicker than 2 to 3 inches at a time. Spread a lift, run the compactor over it in overlapping passes until the surface stops moving, then add the next lift and repeat. Lightly misting each lift with water helps the fines settle. Trying to compact 6 inches in one shot leaves the bottom loose, and that hidden soft spot is exactly where the patio will sink later.
Geotextile Fabric and Edge Restraints
Two upgrades dramatically extend a patio’s life for modest cost. A layer of woven geotextile fabric laid on the excavated soil before the gravel keeps the base and subsoil from mixing. Over clay or soft ground this prevents the base from slowly disappearing into the mud, a common cause of long-term settling.
Edge restraints are equally critical. Plastic or metal edging spiked into the base around the perimeter locks the outer pavers in place. Without restraints, the edges creep outward under traffic and the joints spread until the field loosens. Budget for both; together they cost under $150 on a typical patio and pay for themselves in longevity.
Drainage Considerations Below the Base
On sites with heavy clay or a high water table, the base alone cannot solve a water problem, and trapped moisture beneath the pavers is a leading cause of long-term failure. In these conditions, add a drainage layer of larger open-graded stone, sometimes called a French drain approach, or install a perforated pipe wrapped in fabric at the base of the excavation to carry water away.
Grade the bottom of your excavation to fall toward that drain or toward daylight so water always has somewhere to go. Standing water beneath the base freezes, expands, and heaves the whole patio, or slowly washes out the fines and leaves voids. If you notice the excavation holding water after a rain, do not simply bury the problem under gravel. Address the drainage first, because no amount of compacted base compensates for water that has nowhere to escape. In well-draining sandy soils this is rarely an issue, but on clay it is often the difference between a patio that lasts and one that fails.
Common Base Mistakes to Avoid
Most patio failures trace back to a short list of avoidable errors, and knowing them lets you dodge every one. The biggest is using the wrong material, rounded pea gravel or plain sand instead of angular crushed base, which never locks together and shifts underfoot for years. The second is skipping proper compaction or trying to compact too thick a layer at once, leaving a soft, hidden bottom that sinks later.
- Making the base too shallow to save on gravel, then watching the patio settle
- Ignoring slope, so water pools and undermines the surface
- Omitting edge restraints, letting the perimeter pavers creep outward
- Forgetting geotextile fabric over soft or clay soil
- Rushing the excavation depth and ending up with pavers proud of the surrounding grade
Every one of these is cheap to do right during the build and expensive to fix afterward. Take the extra hour on prep and the patio rewards you with decades of flat, stable service.
The Setting Layer and Final Steps
On top of the compacted base goes a thin, screeded layer of coarse concrete sand, about 1 inch thick, that lets you fine-tune each paver to a perfect plane. Do not use this sand as structure; it is only a bedding course. Screed it flat with a straight board riding on pipe rails, then set the pavers without disturbing it.
Polymeric sand is worth the small upgrade over plain jointing sand here. It contains a binder that hardens when wet, locking the joints, resisting weeds and ants, and keeping the surface tight for years. Sweep it fully into every joint before misting, and take care to clear all residue off the paver faces before wetting, because dried polymer haze is stubborn to remove. Mist gently in several light passes rather than blasting with a hose, which can wash the sand out of the joints before it sets.
Once the pavers are laid and the edges restrained, sweep polymeric jointing sand into the gaps and compact one final time, then mist to activate the polymer. Done properly, this whole assembly, from a well-graded patio paver base up through locked joints, delivers a surface that stays flat and handsome for decades with almost no maintenance beyond an occasional sweep.
Frequently Asked Questions
How much paver base do I need for a 10×16 patio?
A 10×16 patio needs about 2 cubic yards of compacted base at 4 inches deep, so order roughly 2.5 cubic yards to allow for compaction. To figure any size, multiply length by width by depth in feet, divide by 27 for cubic yards, then add about 20 to 25 percent. At 6 inches deep the same patio needs about 3 to 4 cubic yards delivered.
What is the difference between paver base and paver sand?
Paver base is crushed angular stone, compacted 4 inches or more thick, that carries the load and drains water. Paver sand is coarse concrete sand screeded about 1 inch thick on top of the base to bed the pavers at an even height. The sand is never a substitute for the gravel base, and fine play sand should not be used for either layer.
Can you lay pavers directly on compacted clay soil?
No, even compacted clay needs a crushed stone base, because clay holds water, swells when wet or frozen and shrinks when dry. Dig out the topsoil and enough clay for 6 to 8 inches of compacted base plus the sand and paver, lay geotextile fabric on the clay, and slope the excavation so water drains away. A small patio needs the same layers as a large one.
Can plastic paver base panels replace a gravel base?
Plastic paver base panels can replace part of the gravel on light foot traffic projects such as small patios and walkways, which cuts down on digging and hauling. They still need well-compacted, level soil or a thin compacted layer beneath them, plus edge restraints and a sand bedding layer on top. For driveways, clay soil or hot tub pads, a full compacted crushed stone base remains the safer choice.